It’s been a few months since I have worked on openHAB but that is mostly due to focusing on FriedCircuits, Hackaday Prize and the Maker Faire. Not a dull moment around here! I finally sat down while watching some tube (or rather crystals) to start work on the JeeNode to MQTT gateway. Up to this point if you have read my other posts I have still relied on DomotiGA to get the JeeNode data into openHAB. This is because DomotiGA has support for JeeNodes. I noticed the sensor nodes weren’t checking in again which usually is because DomotiGA is not running, this time I think it just needed a restart plus one node actually needs batteries. This prompted me to …
Switchmate
Last year my friend and I backed the Switchmate on Indiegogo. At the time I didn’t have much of a home automation setup – just two window nodes and the slider. Not even any connected bulbs and I was still on DomoitaGA so I didn’t have any of the fancy rules I now have in openHAB. Over the course of the campaign, they had different deals so I ended up with three rewards. I had actually forgotten about them, in part because since switching to openHAB and getting connected light bulbs, the need for these switches seemed diminished. But one day I was pleasantly surprised to receive a shipping notice. A few days later I received the package in the mail …
Routing High Speed Signals and USB
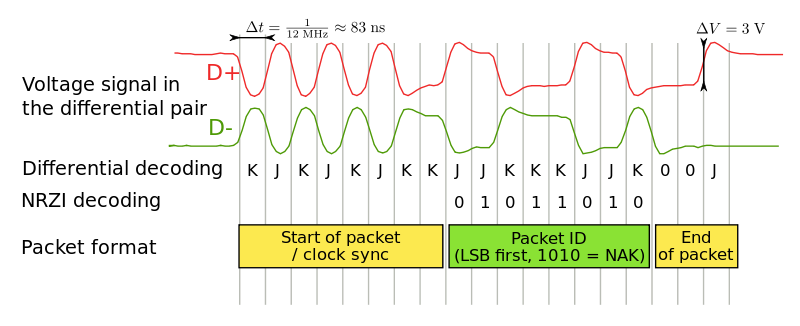
Eventually in most hobbyists’ path, one will end up working with high speed signals. These days so many microcontrollers support USB and even ones that don’t can use software USB. Of course using a microcontroller is the answer to every engineering problem, right? Most of us just work with USB 2.0 connected directly to a microcontroller for uploading and serial communications. With advent of the USB Tester, I have learned more about USB than I ever thought I would. Recently I have dived into USB 3. Which compared to 2.0, is so much more sensitive to your PCB routing as I found through trial and error. I have seen many projects on the various blogs and for sale on the …
Quest for a Logic Analzyer
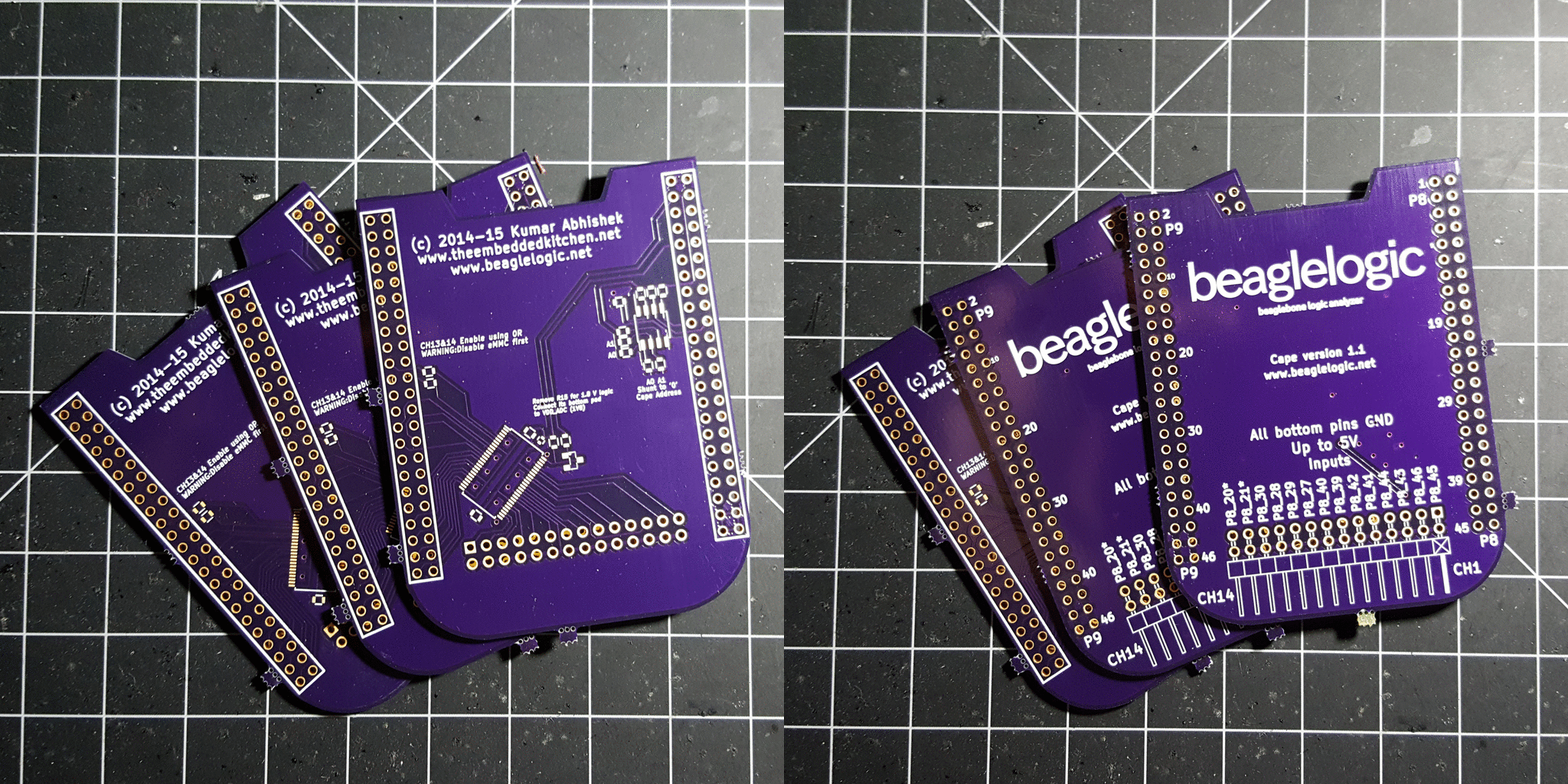
Since I started this adventure in hardware I have wanted to get an logic analyzer. I have an older but good oscilloscope that only goes so far when it comes to digital logic signals. I could go for the Saleae, but if I am going to do that I would rather sprint for the higher end model which is an easy $400+. In the mean time I was on a quest to find a low cost option. Upon my travels of the interwebs I found a few options. There’s Dangerous Prototype’s bus pirate (which I have) or their openbench logic. There are also the microcontroller options using, say, a Teensy or STM32. Then when I came across the BeagleLogic, it …
openHAB Last Sensor Update
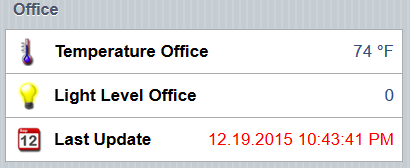
A few of the sensor nodes are battery powered so it is important to know if they have stopped transmitting. My previous system (which is still feeding openHAB) tracks last seen time stamp. In openHAB you have to set an item and a rule to handle that. This is one of the items at the bottom of this post that is required to remove my reliance on DomotiGa. All this requires is one item to store the time stamp and a rule to update it whenever the sensor item receives a change. The only catch in my case is if the new value is the same as the current, it seems it is not triggered as an update. I am …
openHAB Proximity Update
Just a quick update to the proximity tracking. The original post was just using Bluetooth which tends to not be completely reliable. So we need a backup such as WiFi. OpenHAB has a binding that can check for network devices. Between this and the device scan script for BT, we are set. Just need to add an item for each device you want to track on the network. This can be used to see if a laptop is on or even check to make sure a sensor or something it alive. Install the NetworkHealth binding – sudo apt-get install openhab-addon-binding-networkhealth There isn’t much in openhab.cfg to figure. I just setup the cache period to 60. Just restart openHAB if you make a …
openHAB and Fireplace Rules Part 5
Now that everything is humming along we can make some fancy rules. This includes creating a flexible timer and auto mode based on room temperature. I went through a lot of iterations but ended up with some nice rules that work well. I will post the current version here but any updates will be maintained on Github. Timer Items Number tempFire_TimerValue “Fireplace Timer [%d min(s)]” (gHeating)Switch tempFire_TimerSwitch “Start Timer” (gHeating)DateTime tempFire_TimerStart “Timer stated at [%1$tr]” (gHeating)Number tempFire_TimerElapsed “Time elapsed [%d min(s)]” (gHeating)Number tempFire_TimerLeft “Time remaining [%d min(s)]” (gHeating) Sitemap Setpoint item=tempFire_TimerValue minValue=5 maxValue=60 step=5 Switch item=tempFire_TimerSwitch Text item=tempFire_TimerStart visibility=[tempFire_TimerSwitch==ON] Text item=tempFire_TimerElapsed visibility=[tempFire_TimerSwitch==ON] Text item=tempFire_TimerLeft visibility=[tempFire_TimerSwitch==ON] Rules rule “Fireplace Timer”when Item tempFire_TimerSwitch changed from OFF to ONthen val fireMin = (tempFire_TimerValue.state …
openHAB the Fireplace and Rules Part 4
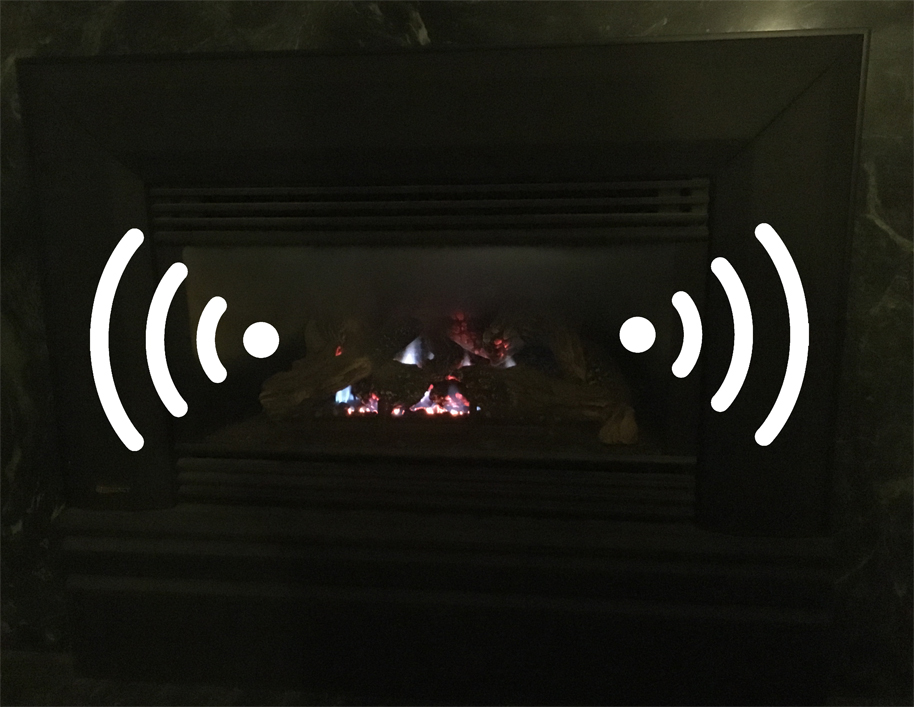
If you haven’t read part 1, part 2, and part 3. Start there and I will wait for you here. Welcome back! Now we get to do all of the fun stuff now that we have software control of the fireplace. We can have some real fun adding features. The original remote does have a set point and scheduling options but we never used that and of course you couldn’t trigger remotely or based on other triggers. The features I had in mind are listed below. On/Off Keep original remote functionality Timer Temperature set point Remote turn on/auto when temp is under a certain value and we are coming home This would be instead of setting up scheduling Part of …
openHAB the Fireplace and Wiring Part 3
Now that the relay works we can do the final wiring. Read part 1 and part 2 to see how we got here. It’s been a rabbit hole for sure, but don’t fret, we are on our way out! Compared to everything else, the wiring is the easiest part. The fireplace uses a simple switch to control it as it is a millivolt system which generates its own power (from the heat of the pilot) to trigger the gas valve. Ripe for hacking. In the end for safety (and for long term vacancies), I decided to wire the local override switch as a hard disable. That way if we are gone for the weekend or during the Summer months, I …
openHAB and our Fireplace Part 2 and OpenZWave
Finally, the MimoLite replay has arrived. Even though it was Amazon Prime, it look about five days to land in my eager hands. At least it was free shipping! In Part 1 we looked at a solution to control the fireplace via our openHAB network. Now the fun part of actually installing it. I set aside an evening after work for the installation. Of course when projects seem simple, they end up taking a lot longer. MimoLite Relay First thing is to pair the relay with the Z-Wave network. This involved shutting down opeHAB and bringing the USB controller over to where the relay will be installed. This allows the relay and controller to see the layout of the network from …


