
Back at it again, I decided to add a few more features before I deem this project complete and ready to be put into service. In case your are wondering, this is based on my previous work on the IKEA Motion LED Lamp Hack. This time around I just wanted to make a few hardware changes that will let me have full control of the light.
 |
| IKEA Motion Lamp Resistor Modification |
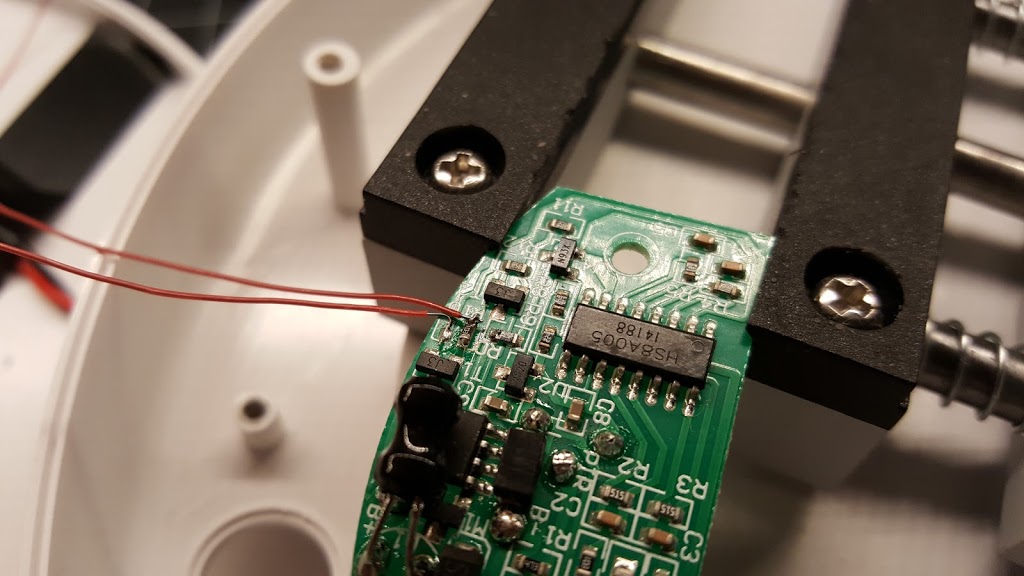
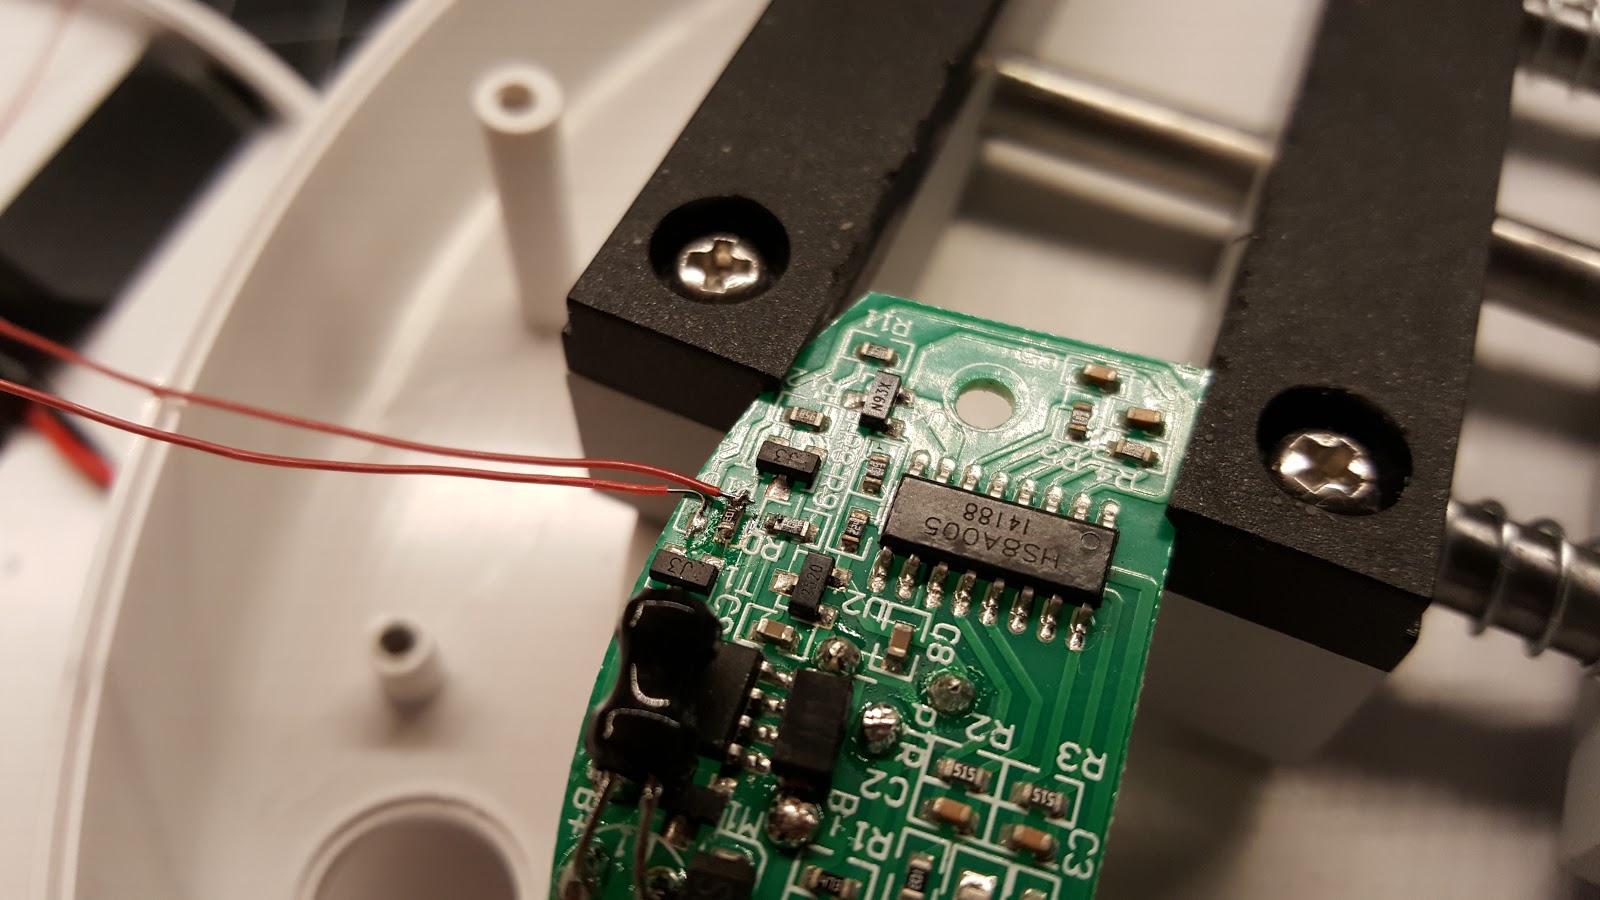
Instead of just reading the trigger voltage I decided to also inject my own signal. This way I can control if/when the lamp is on. The easiest place to intercept the signal is to move the resistor rather than cutting a trace. I rotated the resistor 90 degrees and soldered another thin wire to it. The micro can read the trigger which is based on motion and either act on it by passing it through via a GPIO output or ignore it. (For example, if it is too bright in the room based on the light sensor threshold.) Alternatively, I could force turn on the lamp remotely. The only thing with the latter option is the RFM12B currently isn’t setup to receive commands which means I would also need to remotely change the brightness threshold.
Per my previous post, I can’t use the esp8266 module I found as it doesn’t have an ADC for the LDR. I suppose I could just feed it into a GPIO to trigger on the high/low voltage threshold. The newer esp8266 modules do have an ADC, but they’re limited to 1.8V. For now the Tiny328 will suffice. I can leave the esp8266 version for another time.
In trying to remove the resistor I lifted a trace, drat! Nothing like some hot snot to keep the wires secure. Good thing it didn’t break – the hot glue helps with this as well.
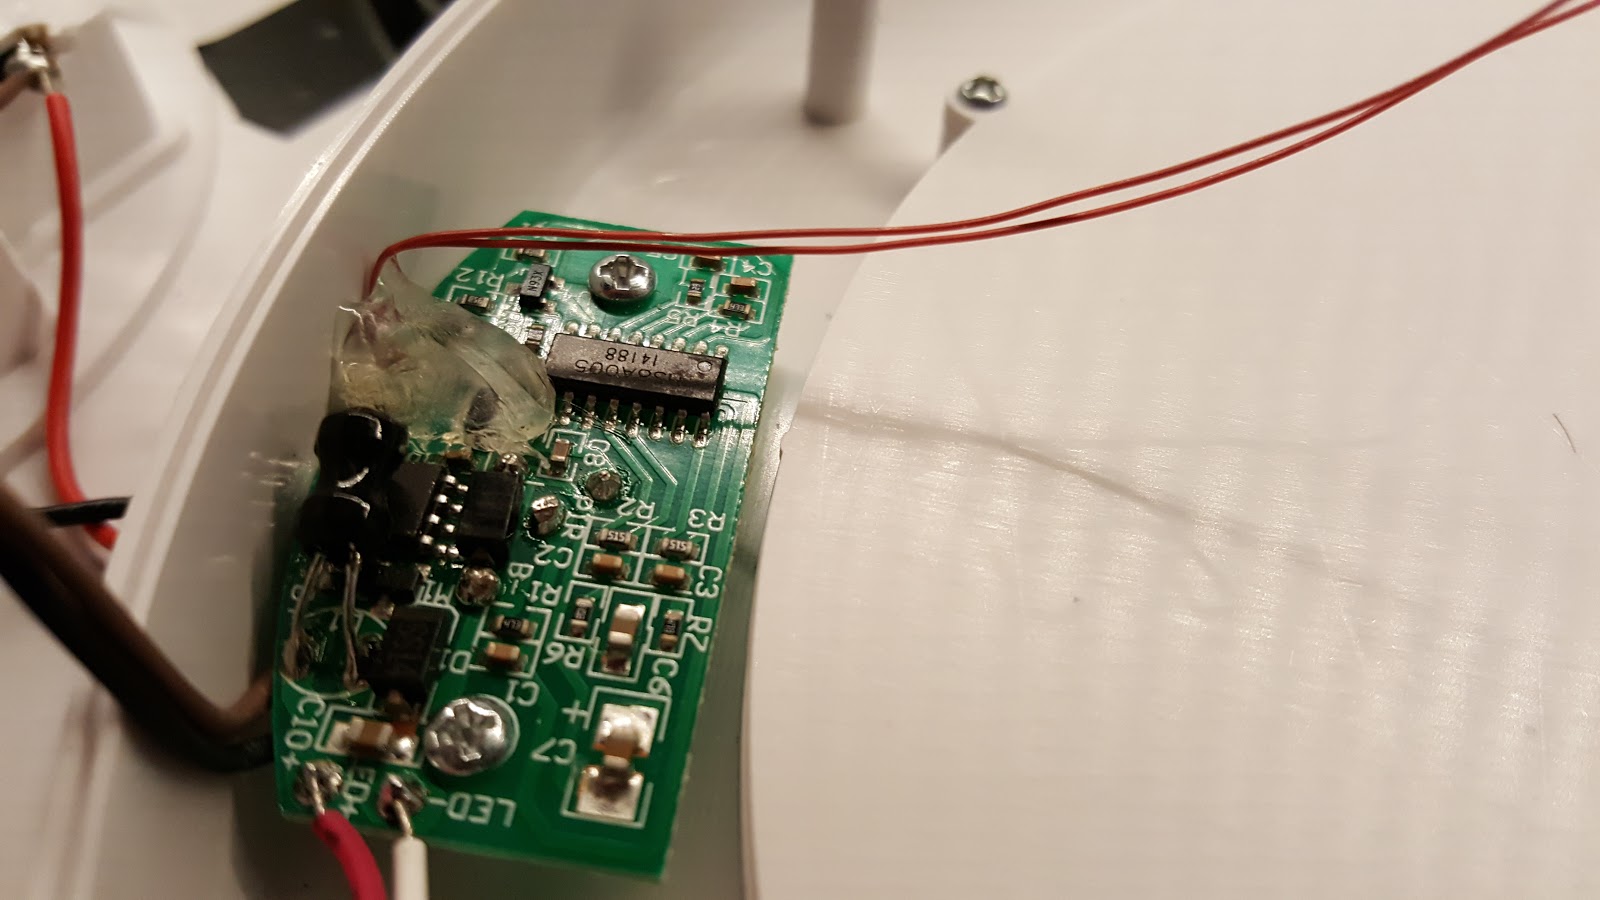 |
| Hot Snot to the Rescue! Perfect for Strain Relief. |
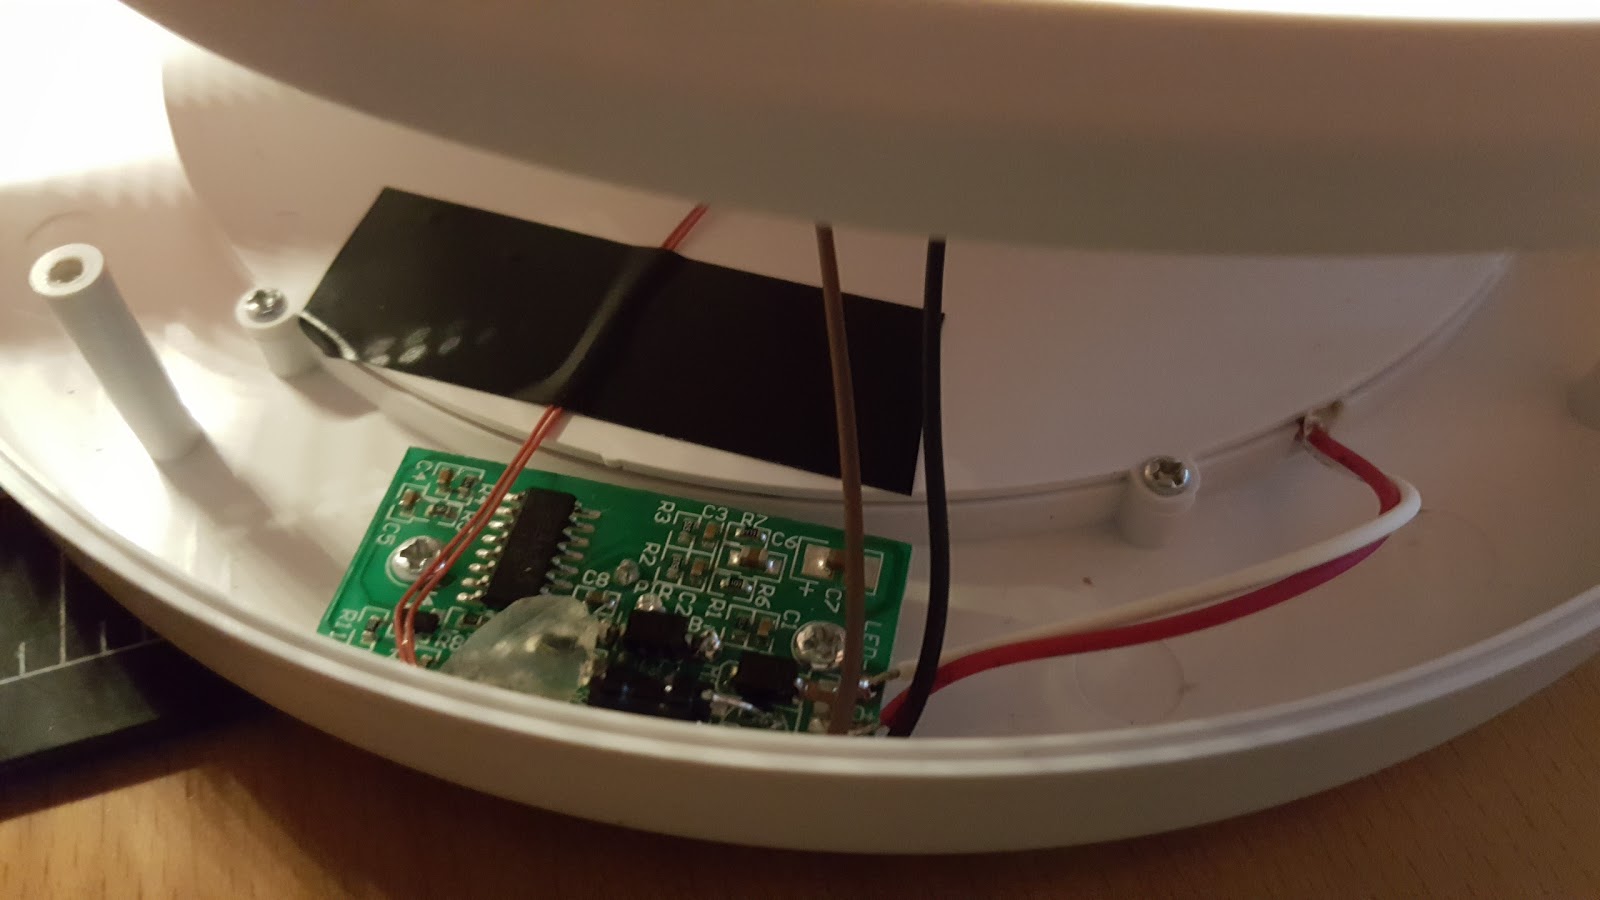 |
| Closing up the Housing. |
The final piece is to figure out a good way for the LDR to “see” light whilst maintaining the moisture seal. A simple pierce of the drill and some hot snot and we are good to go, and take it apart again.
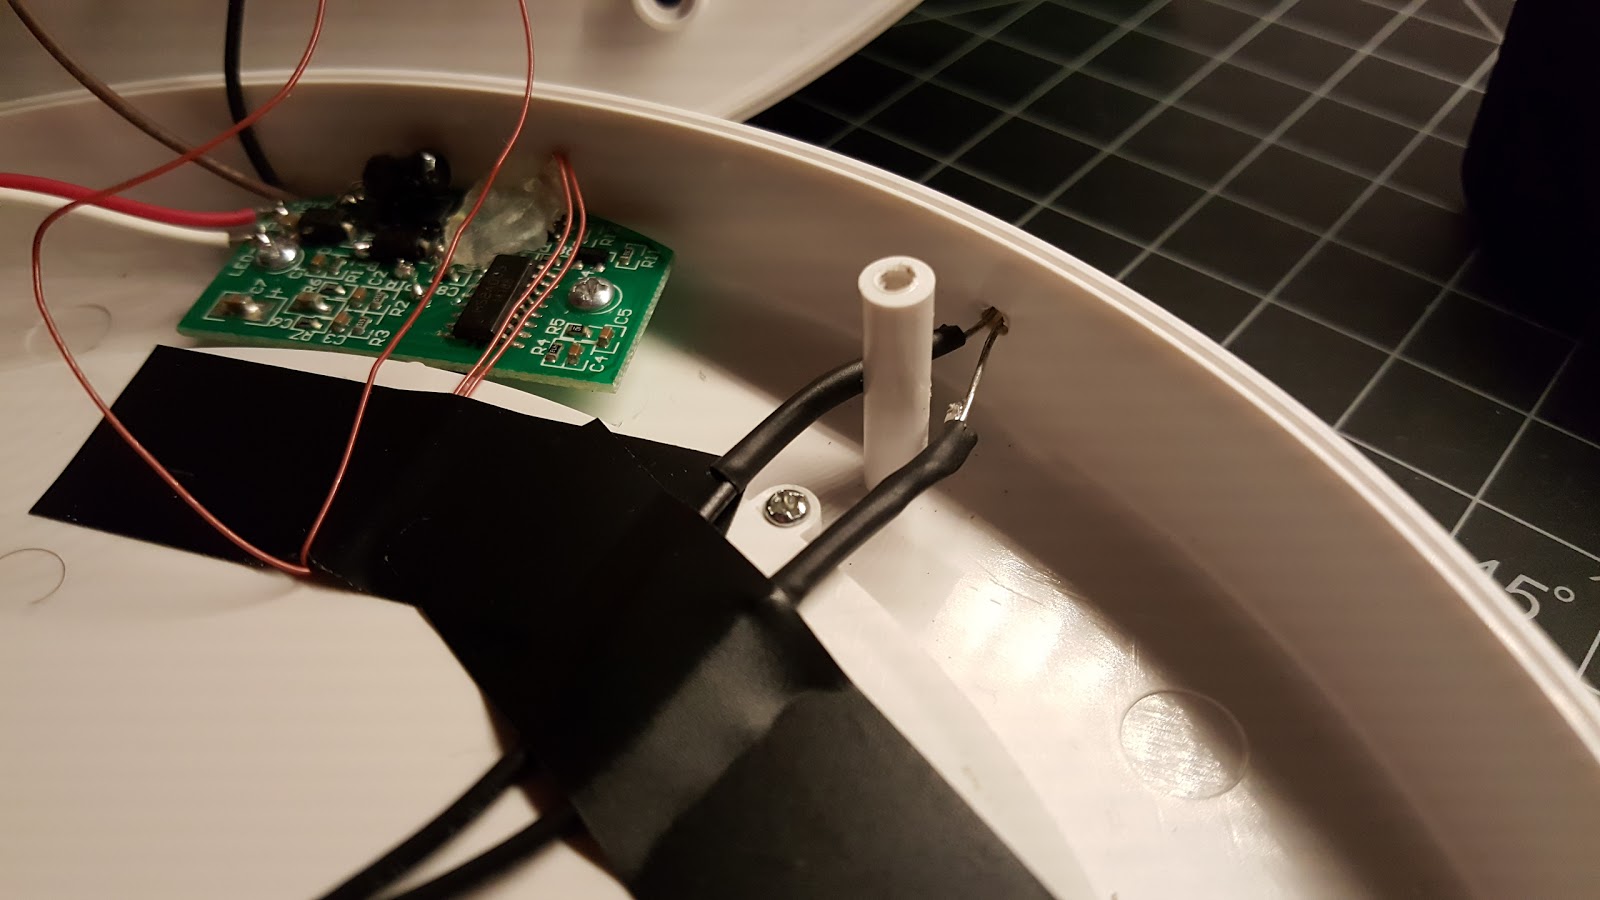 |
| IKEA Lamp LDR soldered |
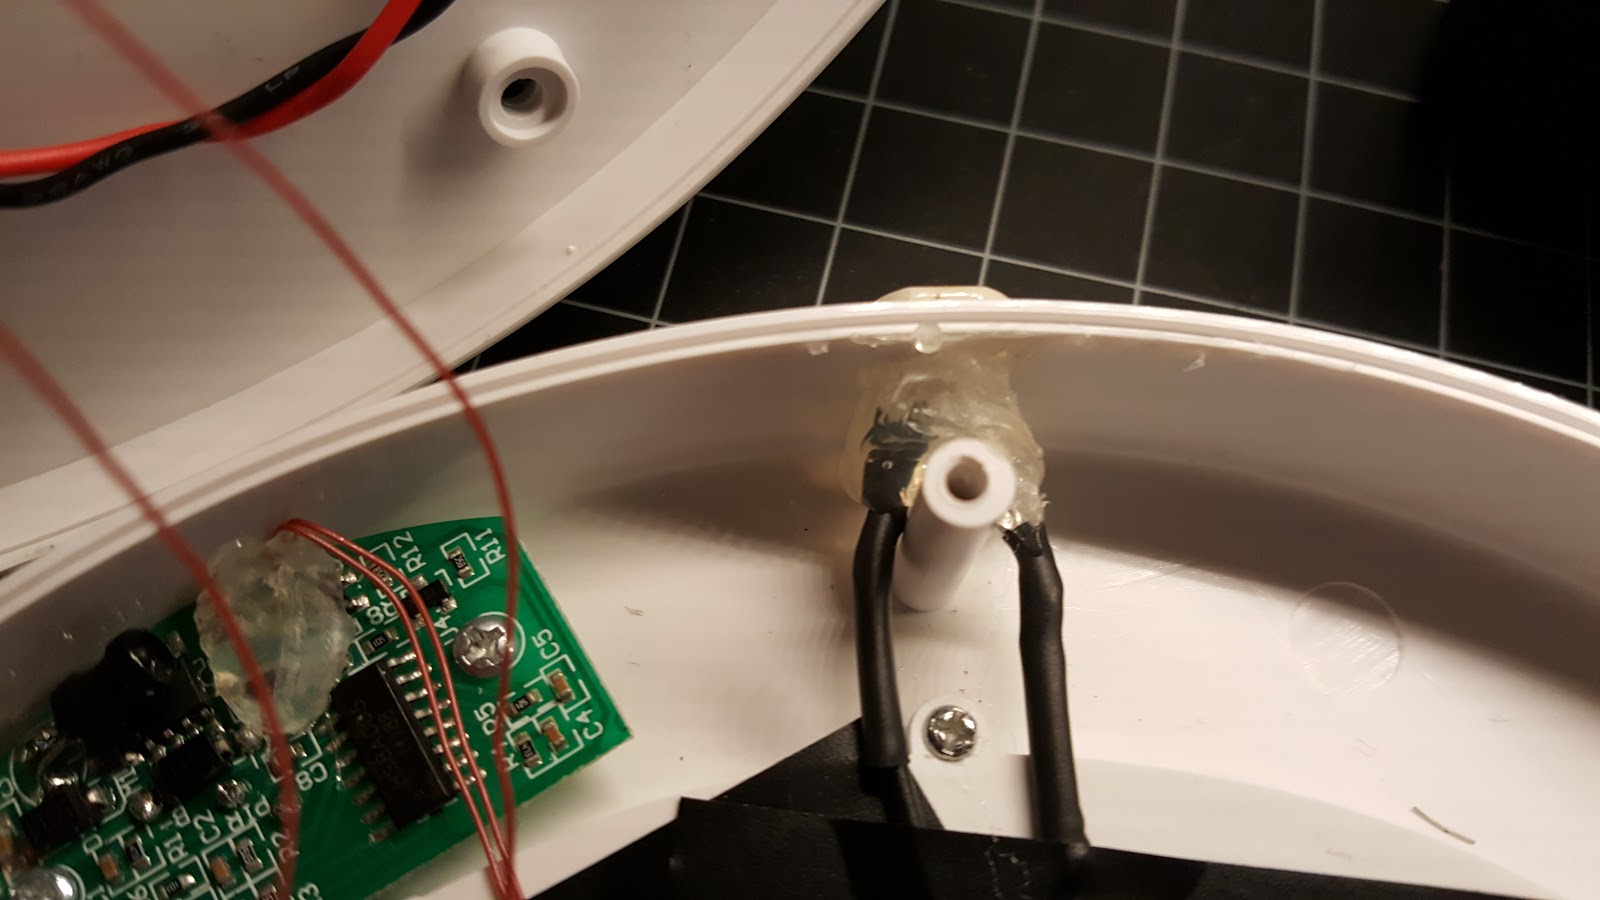 |
| IKEA Lamp LDR secured with hot glue |
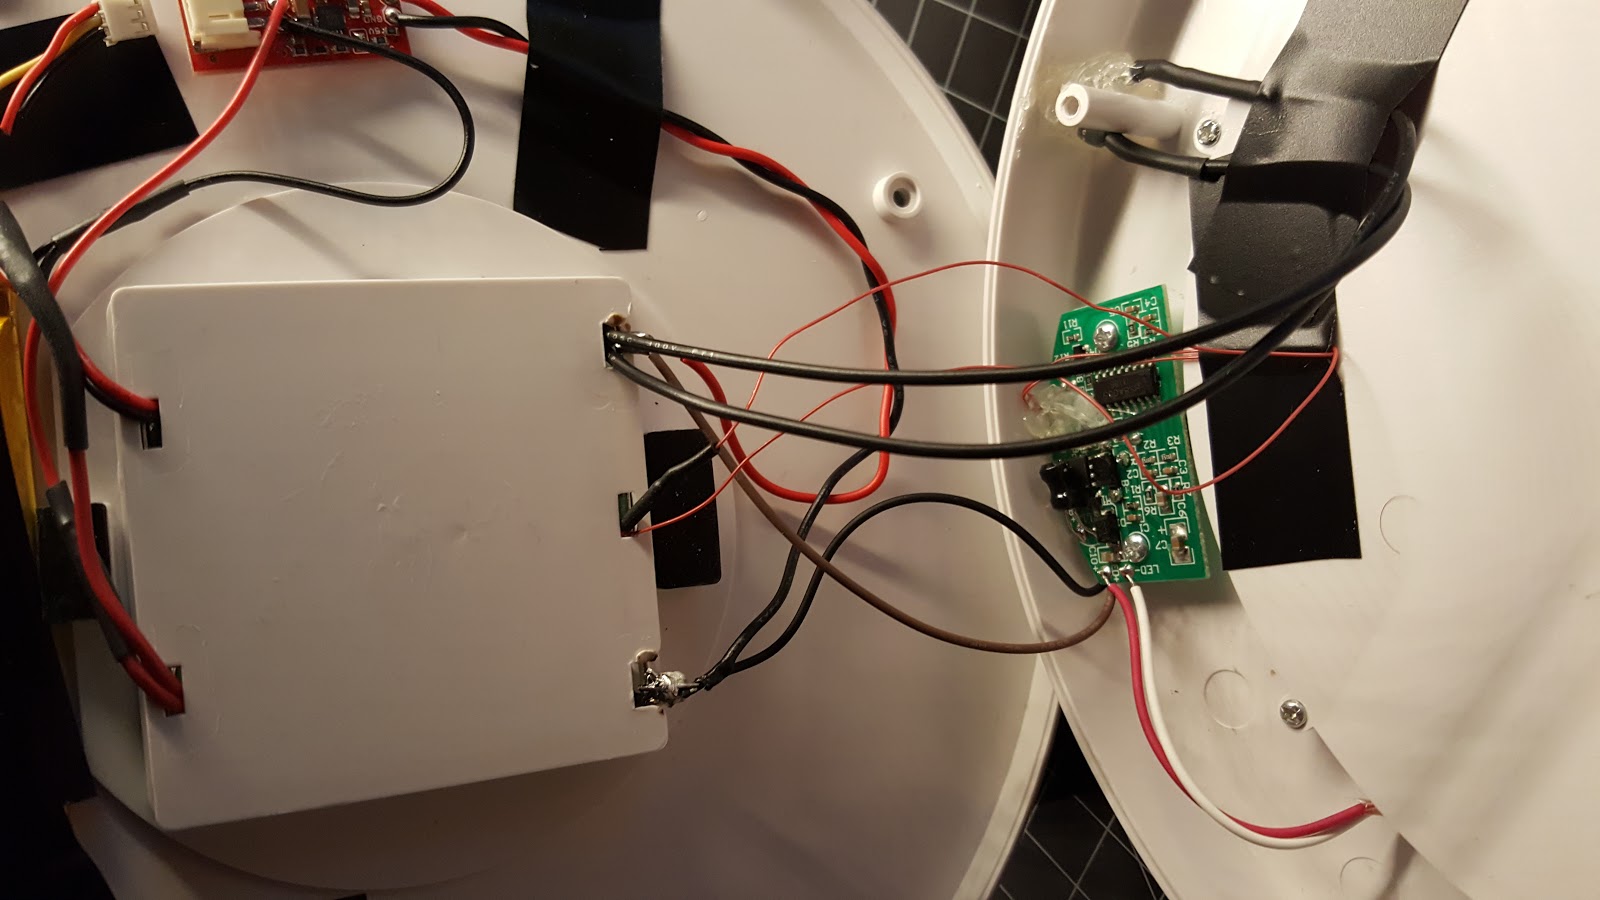 |
| IKEA Lamp LDR wired through battery housing |
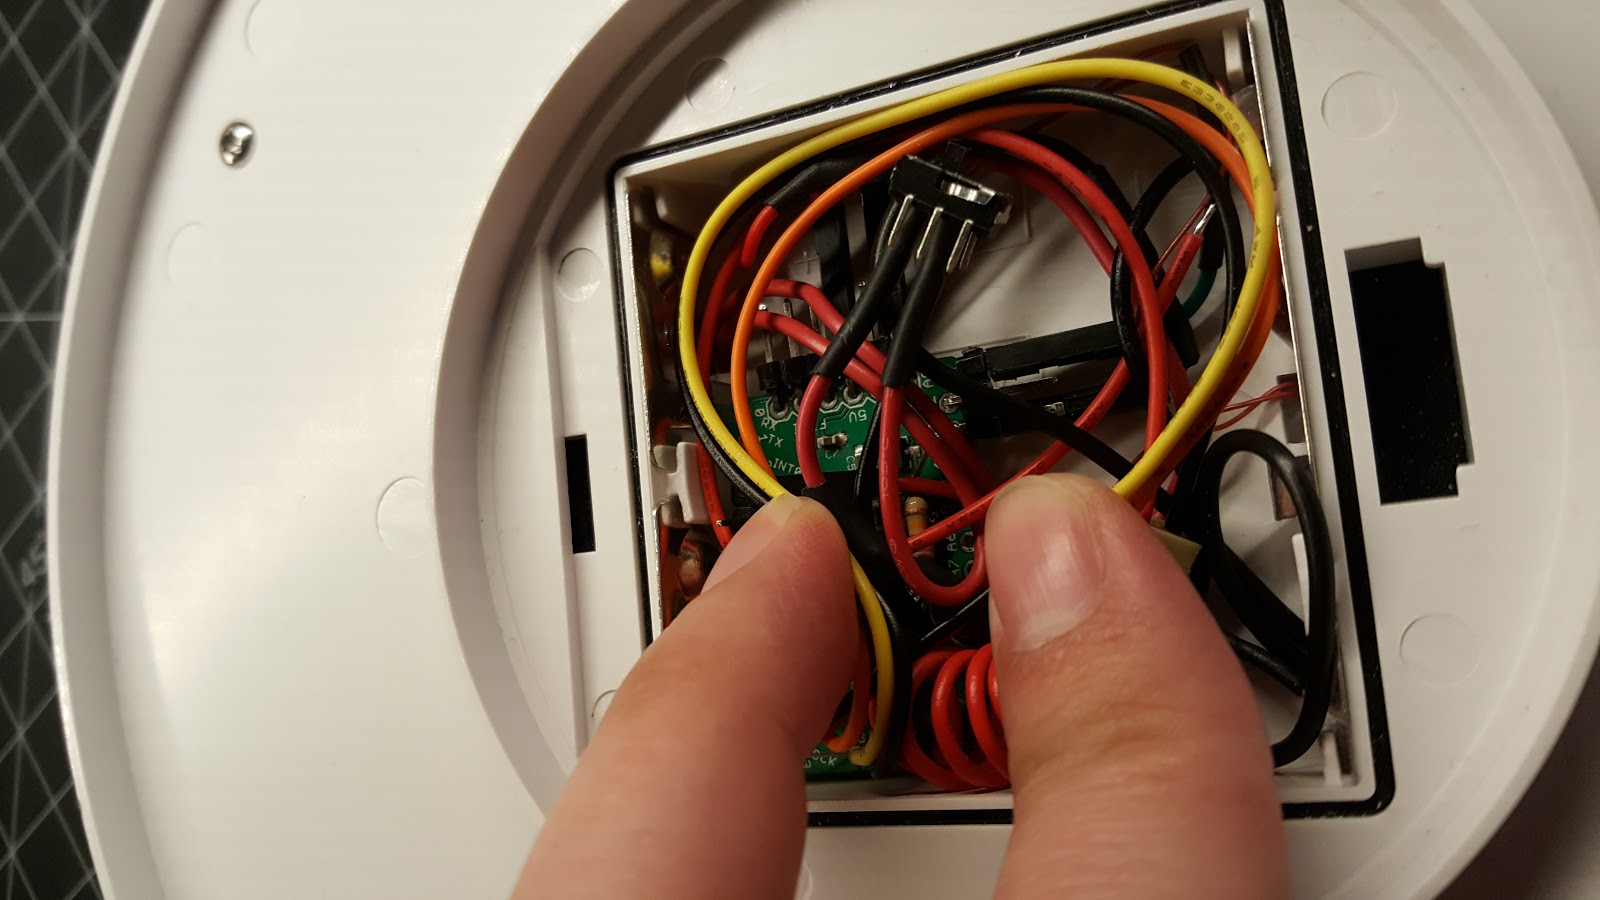 |
| IKEA Lamp wired with LDR to Tiny328 |
 |
| The Final Product. |
Comments 2
Clearly I am going to have a problem modifying it to stay on. I can’t even get it open. Any tips on how to get the back off?
Author
It’s been awhile but I believe after I took the screws off the back I was able to pop it off, maybe a bit of prying.