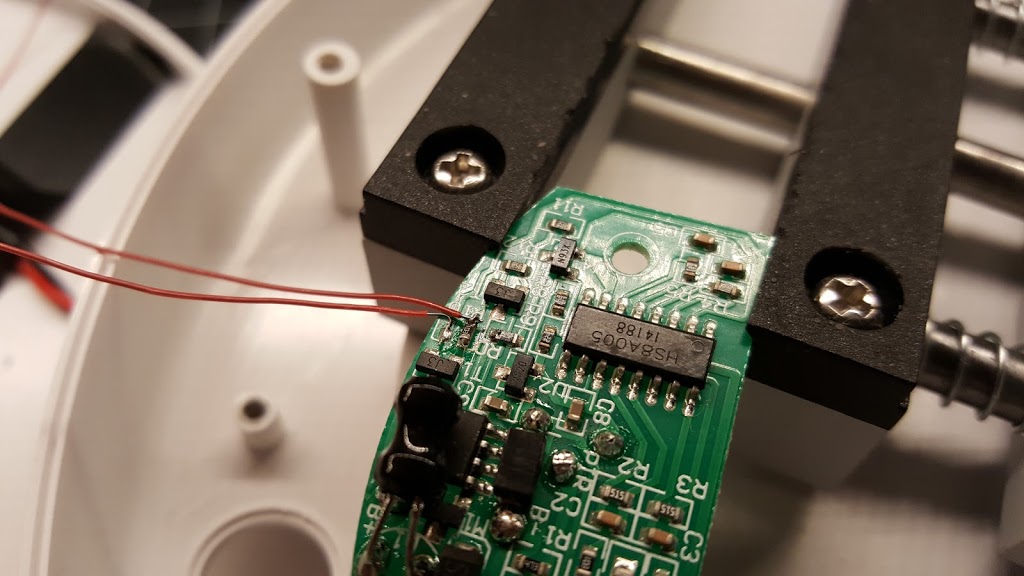
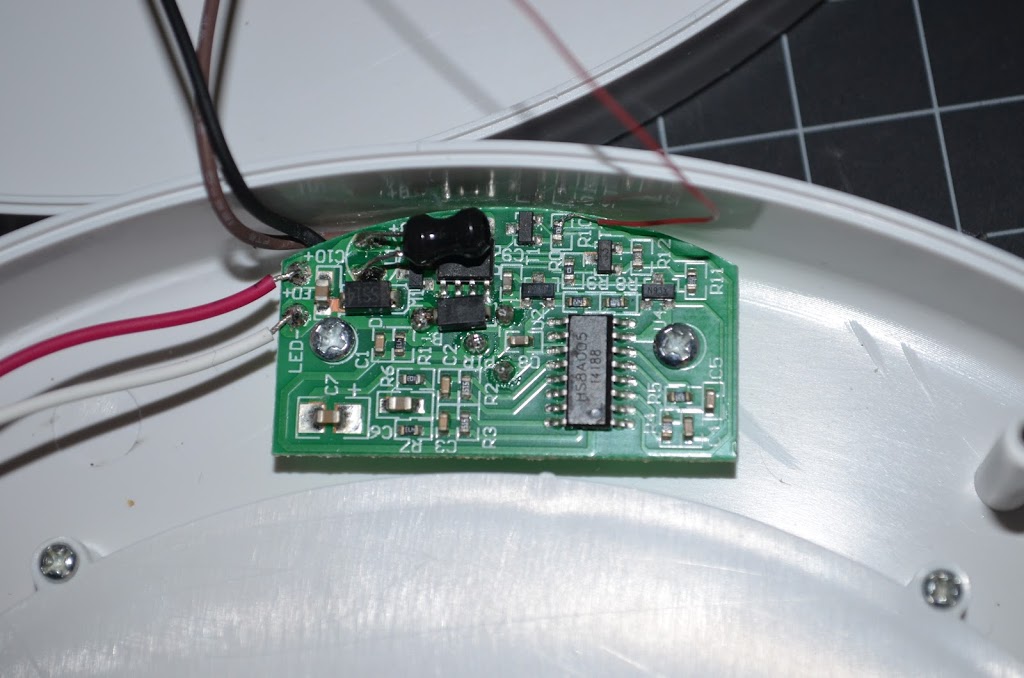
Back at it again, I decided to add a few more features before I deem this project complete and ready to be put into service. In case your are wondering, this is based on my previous work on the IKEA Motion LED Lamp Hack. This time around I just wanted to make a few hardware changes that will let me have full control of the light. IKEA Motion Lamp Resistor Modification Instead of just reading the trigger voltage I decided to also inject my own signal. This way I can control if/when the lamp is on. The easiest place to intercept the signal is to move the resistor rather than cutting a trace. I rotated the resistor 90 degrees and …
IKEA Motion Lamp Hack
Last year while visiting a friend for the Portland Mini Maker Fair I became the owner of an IKEA STÖTTA, a battery powered, motion activated, LED lamp. I knew it was ripe for hacking. After arriving home, it sat on my desk waiting to be disassembled to reveal its secrets. I figured the only way to get it off my desk was to get around to tearing it apart and seeing what I could do with it. Over the weekend I spent more time trying to decide which direction to take since there are plenty of features I could add. At least I can get something going now and add to it later. Who ever said a project had to …
nodeLED
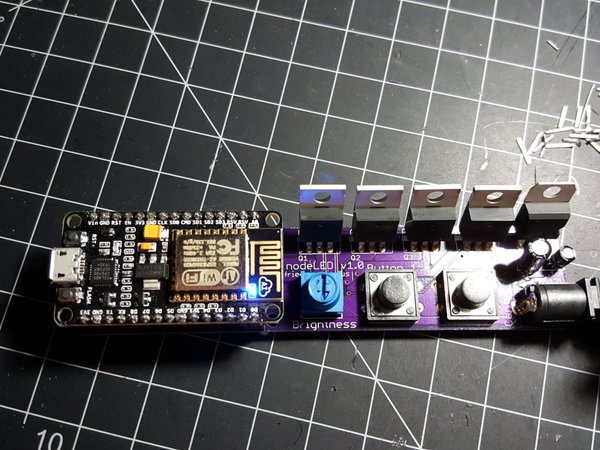
As a hacker, I know all too well how much workbench space is vital. Alongside my three monitors, I have an extended desk that houses my soldering irons, compartment shelving, and countless projects, among other tools and devices. One constant that seems to get in my way is an old desk lamp. That’s where this project came to light, ha! I decided to design my own lamp using an analog RGBW LED strip. This board I designed will give you the tools to design your own WiFi controlled light source. The boards’ controller is run by the NodeMCU which is connected to an N-Channel MOSFET for each color of the RGBW LED strip. Trimpot for brightness and two user buttons …
LED Matrix Display: Final Completed Pictures
Wow, I cannot believe that it’s been over two months now since my wedding. It all happened so fast, as most people will say. We had a great time, and even though we had some mishaps (a vendor was a no-show), everything else came together for the most part. Remember the LED Matrix Display? Well I wanted to share some photos of how it turned out. My best friend and also best man, Warren, was able to help build an enclosure for the LED Matrix display before the wedding. We were able to stick with using the Wifly shield instead of Ethernet shield, but we had to jumper over the pins since they aren’t the same for the Arduino Due. The only issue …
LED Matrix Link: Last day of fundraiser
Today is the last day to get in on the LED Matrix Link. You can get yours on Tindie: https://www.tindie.com/shops/FriedCircuits/led-matrix-link/ If you are unable to get one today, they will be in stock in about 2-3 weeks. After the fundraiser you can sign up to be notified on the Tindie product page.
Labor Day Weekend: LED Audio Meter
Two weeks ago I received some MAX7219 samples from Maxim. So this past labor day weekend was the perfect opportunity to try one out. I started out by assembling another Atmega Lite from Gizmoz USA. I have three of them, of which this is the second to use. My friend bought me two and I bought another one while I was visiting Portland, OR last year. These are great, cheap and breadboard usable, or good to embed in a project like I have done with my Smart Outlet. Plus you can use the Arduino bootloader. So the first thing was to get one LED to light up, which I thought would be easy. Ha! I started on Saturday afternoon by gathering my components and my large breadboard setup. Originally, it didn’t occur to me that …


