
Excited, I ripped open the package to find my Raspberry Pi. The packing looked like it had been run over but my Pi was still intact. Yay! First thing I realized I needed to find a power source and a SD card. After some digging I just ended up using an iPad power adapter with a cell phone micro USB cable. I was going to use my Galaxy S power adapter but I didn’t want to run it close to the limit of 700ma. For some reason I thought I had plenty of SD cards around, but I guess not. Luckily Best Buy had a 32GB Sandisk Ultra class 10 available in store for $27. Perfect!
 |
| Raspberry Pi packaging, amazing it wasn’t damaged |
For the most part I hard a smooth experience out of the box. I wish I had been a little more prepared before it came but I was able to get it running within the evening. I suggest if you are waiting for yours, go ahead and get the SD card and power ready. That way you can start playing right away. Good thing I looked online for a compatible SD card, it didn’t occur to me that some might not work. With the latest build from 06-19-2012, this one from BestBuy works well.
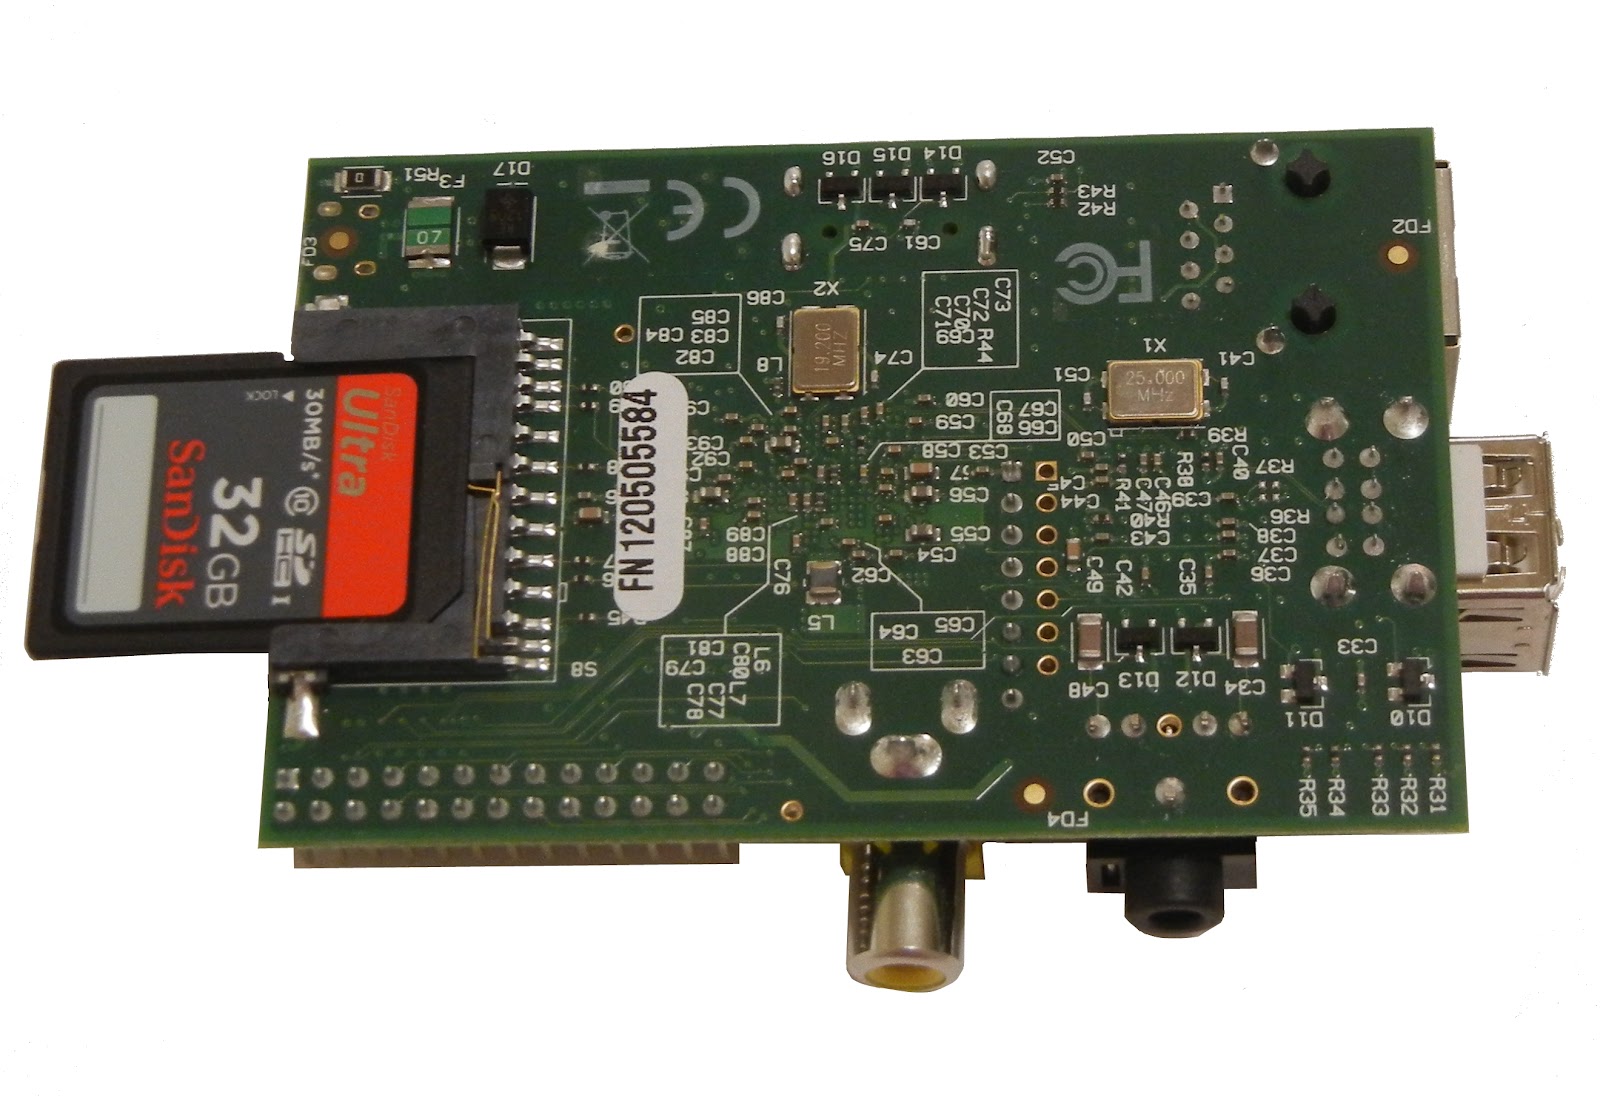 |
| Raspberry Pi rear with 32GB SD card |
Once you get your SD card you can go ahead and write the Debian (or distro of your choice) image. I went with Debian for now since I am just getting started but I would like to try XBMC and the fedora remix distro’s. A few things to note about getting it up and running:
- If you run Debian you need to resize the SD card either after you write the card or after you boot the Pi. Fedora remix is able to resize on first boot. I used this video to resize it.
- Some keyboards draw too much power so check that or get a powered USB hub. Mine was borderline as it only repeated letters once.
- Don’t forget to change the Pi password and add a new account for yourself. Especially if you plan on porting it outside your network.
- SSH and VNC need to be setup even though on their website it says SSH should work.
- Enable SSH (Their site has been down today)
- Enable VNC
- The GUI is slow but only if you try to do more than one thing at a time. I actually had it freeze on me where I had to pull the power to reboot.
- If you want audio make sure and set it up before you start the GUI. Here is the guide I used:
- Setting up ALSA – Haven’t tried any videos yet.
- For running a webserver, I ended up using lighttpd instead of Apache (uses less memory).
- Install lighttpd and PHP – I ended up doing this after removing Apache, but I used apt-get install php5-cgi instead of php5-cli. PHP wouldn’t work until I found this guide which edits the config files manually to enable PHP. So far it runs pretty fast. Maybe I will set something up and link it from the blog to see how it does.
- In case you get an error about invalid group, here is the fix, happens in Apache as well.
- While writing this I found this, so I might try fastcgi instead.
- I setup Eclipse as a PHP IDE with NetDrive to map a drive letter to ftp server on the Pi (still testing)
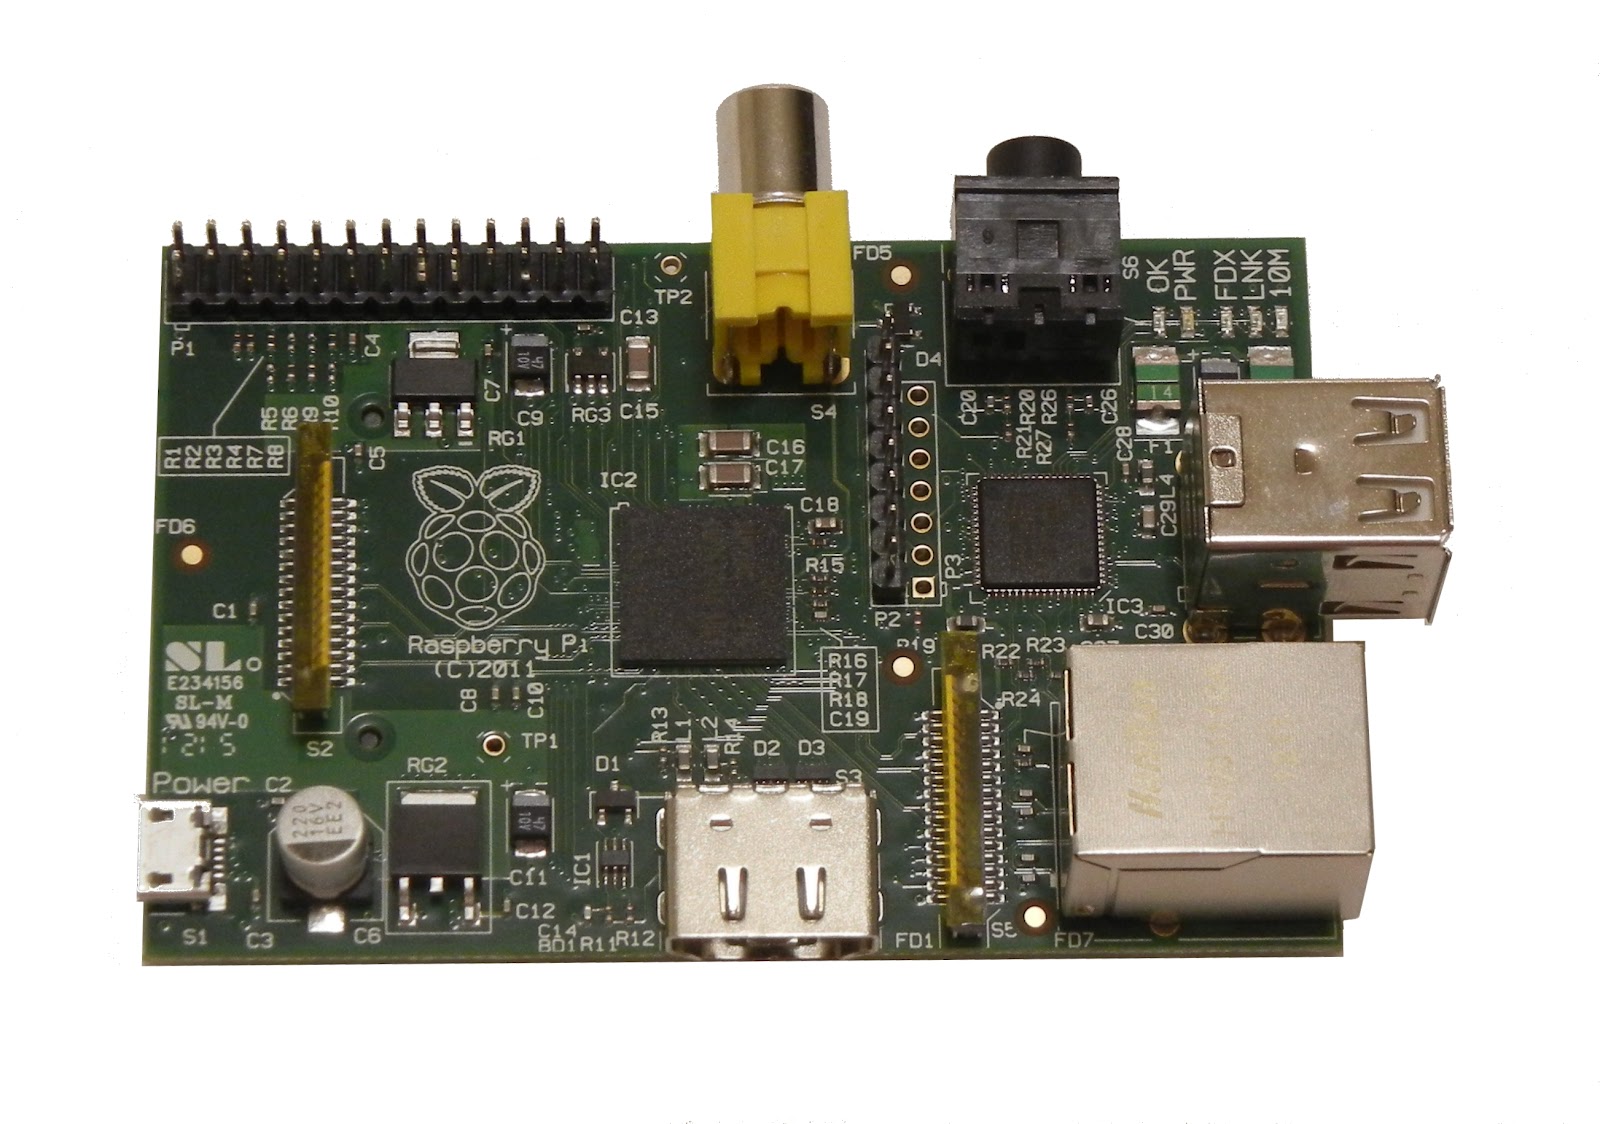 |
| Raspberry Pi |
Other than that, it runs well and I am happy with my impulse buy. I have no idea what I want to do with it but maybe something to do with home automation or robots. Could run a control panel with a touchscreen or something like that. I have mixed feelings because a lot can just be done with a VM on my ESXi server, but this can interface with the physical world directly instead of needing an Arduino connected to a PC. For now I am just going to get comfortable with it and do some PHP web stuff. Maybe play with some LEDs or i2c sensors. Hmm… maybe a LCD that shows web server load or GPIO status……. or something with the Ti Chronos watch. Wonder if the Access Point will would work on the Pi?