A short time after posting about the Blinky GRID SMT build I received an email from wayneandlayne.com. They had seen my build post and really liked it, especially the videos and pictures! I had mentioned that I was looking at getting their Blinky POV SMT kit so to say thanks they offered to send me one. I was super excited! Here’s my build.
The Blinky POV SMT is similar to the Blinky GRID but it only has one row of LEDs. By waving the Blinky in the air you can see the design/text due to the effect of persistence of vision. This happens because your retina sees the image slightly longer than it is being displayed. Read more about persistence of vision.
Last Thursday I came home and there it was, waiting for me to rip it open! Since I was leaving for a weekend trip, I decided I would assemble it that night so I could show it off. So at 10:30pm I got started.
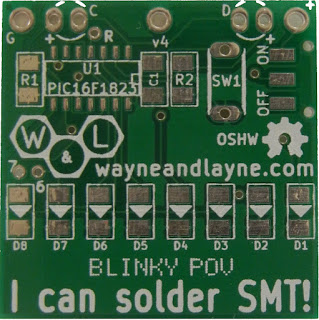
I whipped out the drag soldering tip to start with the PIC. This time I started without putting flux and quickly realized how much the flux really helps! After applying some flux I was able to solder the PIC easily. I was able to get the capacitor and resistors nice and straight.
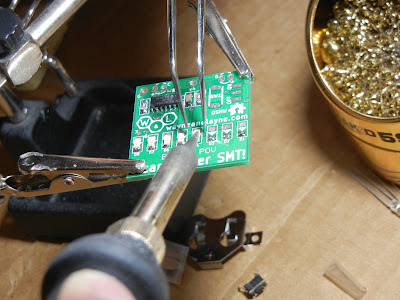 |
| Ahhh, flux! Much nicer! |
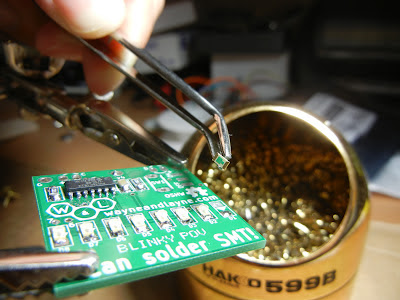 |
| Steady hands are key… |
Despite there being fewer parts, it still took awhile finish. I am sure starting at 10:30pm had something to do with it. Otherwise it came out great. Really happy with my SMT soldering skills!
Programming:
Loading new designs is the same process as the Blinky GRID SMT. All you need to do is point it at your monitor while the their website blinks the squares to transmit the design. I think is a very clever way of loading designs, no programmers, cables, or loading software. Great way to programming on the go with any device that has a web browser. Since being back from my trip, I haven’t had a chance to try some of my own, I just used the shipping designs to show it off.
Once again I highly recommend either kit to learn SMT soldering. You might want to start with this one as there is only 8 LEDs vs 56 LEDs on the Blinky GRID.
One thing worth mentioning is it would be nice if there was a way to save the designs. You can spend a good amount of time to set one up on the site and there isn’t a way to save them. The worst is if you loose your tab or your browser crashes. It hasn’t happened to me yet, but it could. One way could be a text box on the site that can you can copy and paste the design as a raw binary. That might be the easiest instead of doing online saving. Most people probably won’t want to modify the code on the PIC but maybe in a newer revision they could add the breakouts for programming. Just a thought.
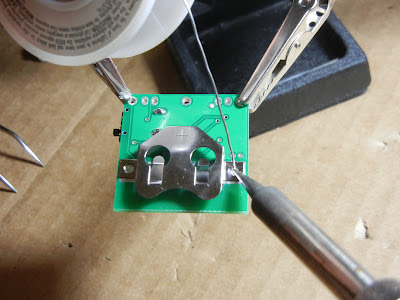 |
| Back side with battery holder. |
COMING SOON: I’ll have pictures of it in action; the completed board and a demo.
Have you tried any of their kits? As I mentioned, I highly recommend them!

Comments 3
Sweet! It looks like you've got the hang of SMT soldering.
I used to have an Ideal Sky-Writer back in the 70's… it had a built-in keyboard. Our arms got real tired trying to wave messages back and forth:
http://www.samstoybox.com/toys/SkyWriter.html
Here's the vintage commercial that went with it:
I thinking maybe later on to make a motorized one. I saw another one that Dangerous Prototype is making with a accelerometer so it can sync your speed.