Since I started this adventure in hardware I have wanted to get an logic analyzer. I have an older but good oscilloscope that only goes so far when it comes to digital logic signals. I could go for the Saleae, but if I am going to do that I would rather sprint for the higher end model which is an easy $400+. In the mean time I was on a quest to find a low cost option. Upon my travels of the interwebs I found a few options. There’s Dangerous Prototype’s bus pirate (which I have) or their openbench logic. There are also the microcontroller options using, say, a Teensy or STM32. Then when I came across the BeagleLogic, it seemed like it fit what I had in mind. And actually, if I remember correctly, I saw it during the Hackaday Prize 2015. Funny how you end up somewhere on the Internet you’ve been before but have long forgotten.
The BeagleLogic is a logic analyzer based on the Beaglebone created by Kumar Abhishek, a semi-finalist of the Hackaday Prize Best Product 2015. What makes the BeagleLogic special is it uses the BeagleBone PRUs which are basically 200Mhz microcontrollers attached to the ARM CPU with shared memory. This is one thing that sets the BeagleBone apart from other SBCs. I have always been interested in the PRUs but they are a bit complicated and I’ve yet to have the time to investigate. I wish Ti would make an easy way to use them like Arduino did for microcontrollers. For me it’s more of the lack of time to learn them when I have so much going on with other projects.
Features:
- 100MSPS
- 14 Channels (13,14 require you to disable eMMC)
- 320MB Capture Buffer
- 5V tolerant inputs
- Web Interface
- Capture interfaces from the BeagleBone itself
- Opensource
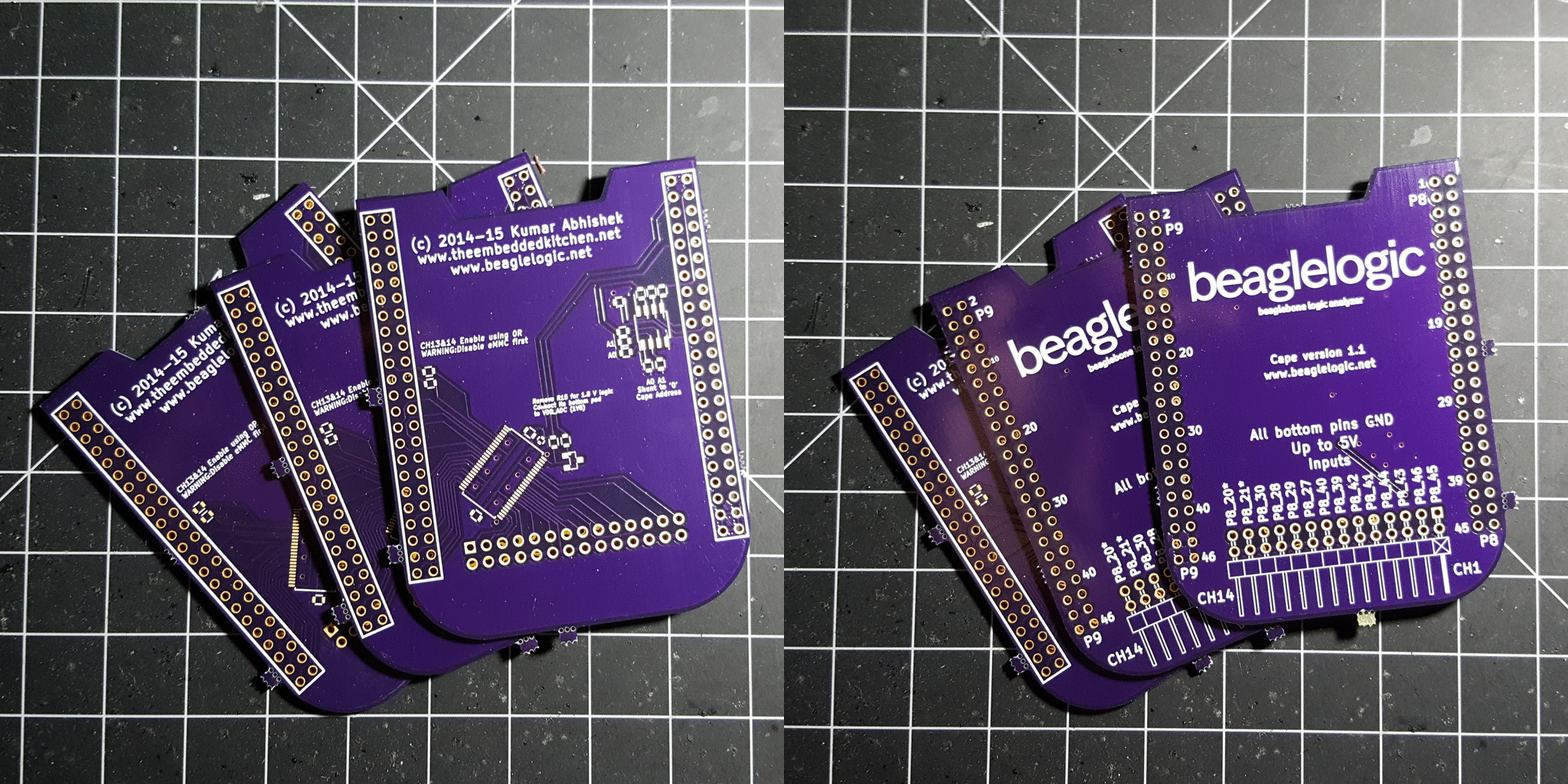
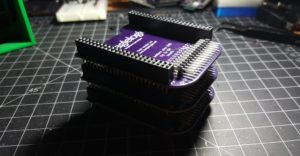
At the moment, you have to make your own BeagleLogic. There isn’t a place to order it. In addition, you need your own Beaglebone. Hardware wise, all it provides is the ability to probe up to 5V. since the BeagleBone ADCs only accept 1.8V signals. The BeagleLogic is fairly simple to make with the help of OSHPark. With a bit of drag soldering it would be easy to hand solder as well. I opted to order a stencil from OSHStencils and use my re-flow oven just to make it look nice and professional.
OSHPark Shared Project: (Just click order now)
https://oshpark.com/shared_projects/PKPgfF7q
Bill of Materials:
https://docs.google.com/spreadsheets/d/12azxrOXTphC75ShBOmVUEJG1oJav0N1jhAYYi9JiIA4
Notes:
- You don’t need the EEPROM parts anymore but the footprints are on the PCB if needed.
- The transistor BSS138 was out of stock on Digikey so I ordered samples from Fairchild.
- I did have some issues with the cape affecting the power on boot process. It’s okay during a reset though. So you can’t attach it till after you power up.
Software is where the magic happens. There is a pre-made image for the BeagleBone with everything loaded and configured to use the BeagleLogic. It’s a recent image based on Debian instead of the older Armstrong builds. The nice thing is that it doesn’t flash the eMMC so you can leave your existing setup alone and just pop in the SD card when you need your logic analyzer. Which is another reason that makes it a good option. I can still use the BeagleBone hardware for other projects and not keep it collecting dust in between uses.
BeagleLogic is setup to be used in two ways. One is the web based interface. Just power it up and fire up your web browser. You can use the USB NIC which will put the BeagleBone at 192.168.7.2:4000 or plug in the on-board Ethernet or even use WiFi with a USB dongle. Plenty of options for connecting to it.
There aren’t many options in the web interface but it’s a great start to be expanded. In my case I couldn’t get the “Dump Raw Data” option to work, unless it saves to the BeagleBone and it’s not downloaded via the browser which is what I was expecting. If you have a I2C bus that only talks a few times a second, it can be challenging to find the data just by scrolling. There is software triggering but you can’t use it via the web interface. You can by means of the command line, which is the second way to capture your data.
The command line tools are provided by the Sigrok software suite. The output file can be exported to the desktop app, PulseView to do protocol decoding.
First you have to capture from the command line and specify how you want to trigger, which channels and the sample rate / sample limit.
Example:
debian@beaglebone:~$ sigrok-cli -d beaglelogic -c samplerate=5m -o outputfile.sr -C P8_45,P8_46 –samples=10000 -t P8_45=e,P8_45=e
Using WinSCP on Windows you can copy the output file to your desktop and open it with PulseView. The PulseView binary for various operating systems are available.
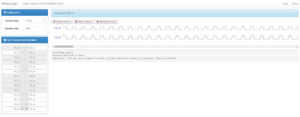
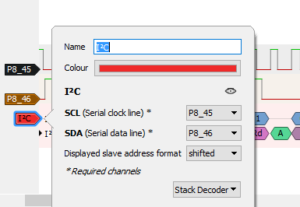
From this point, select the protocol using the last icon on the toolbar. Finally just click the protocol tab to configure it. (This took a bit to figure out.) Select the pins that map to clock and data in this case.
If you need to, look at timing use the cursors tool.
The BeagleLogic is a great inexpensive logic analyzer especially if you have a BeagleBone laying around collecting dust as I did. (It was supposed to eventually be for a robot project but now I want to use the new BeagleBone Blue.) The BeagleLogic has a lot of potential to be a full feature tool. One big thing that is missing is the ability to connect to it directly form the host without having to copy a file each time. I haven’t tried running PulseView directly on the BeagleBone then using VNC to connect. Even as is, it’s a useful tool and a good place to start if you have never used a logic analyzer. Be sure to visit Kumar’s blog http://theembeddedkitchen.net/ There is a lot of good info – especially on PRUs. I had actually came across it researching some STM32 SDIO stuff earlier this year.
Due to the nature of OSHPark, I have two extra fully assembled. If anyone is interested in them please send me an email. william at blog domain.
Here are some other links with more info on BeagleLogic and Sigrok.
https://github.com/abhishek-kakkar/BeagleLogic/wiki/Using-BeagleLogic:-Post-processing
https://github.com/abhishek-kakkar/BeagleLogic
http://beta.beaglelogic.net/use-beaglelogic/
https://sigrok.org/wiki/Supported_hardware
https://hackaday.io/project/4395-beaglelogic
http://hackaday.com/2015/02/19/turn-your-beagleboneblack-in-to-a-14-channel-100msps-logic-analyzer/
Correction: The BeagleLogic doesn’t need the ADC’s but the BeagleBone GPIO’s are only 3.3V




Comments 7
The Saleae Logic 8 Pro is worth the $400.
I created a project BOM at Mouser. Folks will need to tweak the quantities if they want exact part counts for their OSH Park board orders. I typically over purchase on passive components.
http://www.mouser.com/ProjectManager/ProjectDetail.aspx?AccessID=637e40ca64
-Freeman, N5FPP
FYI – those using my Mouse project BOM – the 14×2 right male header is a non-stocked item. It's on back order. Use another part.
@Freeman: You might want to try a BC847 instead of a BSS138 as MobileWill faced issues about the board interfering with the first boot of the BeagleBone.
[developer of BeagleLogic]
Hello,
did you make any extra boards? I'd like to buy one if possible.
cheers.
https://groups.google.com/forum/#!topic/beaglelogic/tbBD9y19p8k
Very nice solution to the problem. FWIW, I ran across this problem a year ago and opted for the Papilio Pro FPGA board( http://papilio.cc/index.php?n=Papilio.PapilioPro ) and a $10 level shifting "Wing". Around $120 with bag of $20 logic clips and color coded wires off eBay. BTW, all the code is in the custom Arduino based IDE for the FPGA board called DesignLab. It's crazy to think you can put an Arduino MPU in the FPGA, and the logic analyzer and design your own hardware and use the Arduino/Processing IDE to debug it all. Geeks love'n this Beaglebone hack should get a kick out of the FPGA route to solve the problem of a good and cheap logic analyzer.
On Linux you can remote mount the BeagleBoneBlack so you dont have to copy.
But my experience with this setup is not that good.
In sigrok the Protocol analyser for example are written in Python and not well suited for the amount of data you can now capture thanks to BeagleLogic firmware.
Pulseview is crashing more often than i like and its options too search, present and generally deal with the amount of data are a pain.
The same is true for the BeagleLogic web interface.
So in the end sadly this setup is good only for low sampling speeds cause of the current software limitations.