From the beginning I designed the USB Tester to use the Dangerous Prototype Sick of Beige (SOB) standard PCB sizes. 50x31mm being the smallest rectangle and most ideal for the USB Tester. One of these reasons was that in doing so it would fit their standard acrylic cases which can be found at Seeedstudio.com for $3. After waiting many days, my order has come in and I can show you one way you can use the case.
When you order the enclosure it comes with the following:
- 4x Long Screws
- 4x Short Screws
- 4x Tall Stand offs
- 4x Short Stand offs
- 2x 50x31mm Acrylic cut with mounting holes
I found what worked is to use one acrylic sheet, all eight hex stand offs and the four long screws.
 |
| Needed parts |
Start by putting the longer screw through each of the corners and then thread the longer of the hex nuts.
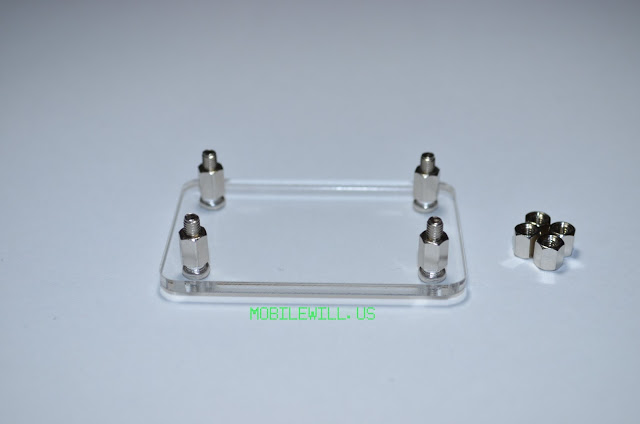 |
| Long screws with long hex nuts |
Now you can put the USB Tester on top and then the shorter hex nuts to tighten it down.
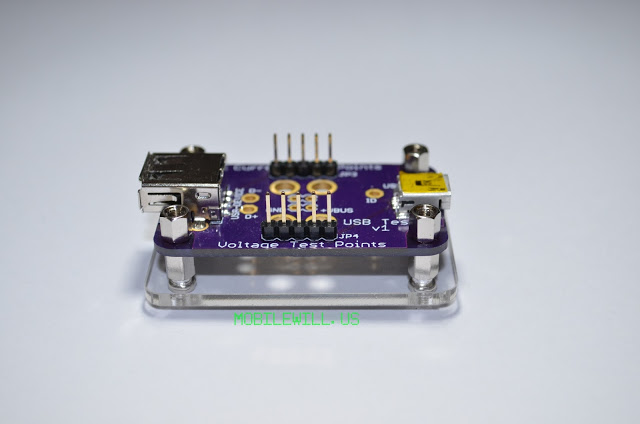 |
| Assembled with USB Tester |
If you have the OLED Backpack you can attach it now.
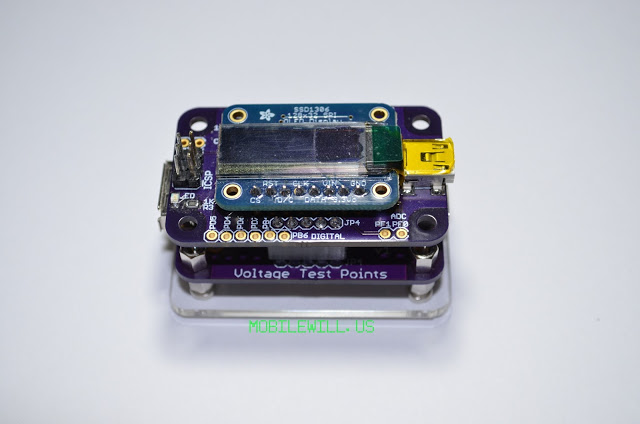 |
| Assembled with USB Tester and OLED Backpack |
The great thing with the Sick of Beige base is that it adds a bit of weight and when using a DMM, it keeps the leads from going too far into the holes and touching each other. Not to mention touching anything else on your workbench.
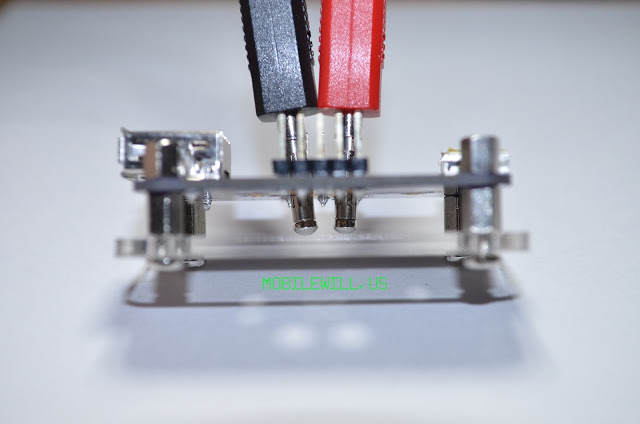 |
| SOB with USB Tester and test leads |
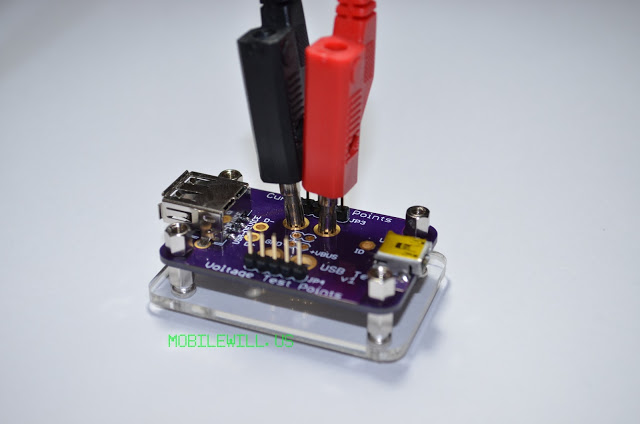 |
| SOB with USB Tester and test leads from the top |

Comments 3
I just recieved the entire kit (including acylic base) found & installed the arduino-1.0.5-windows.exe, now I cannot get my Atmel based maXTouch controller to be recognized through your device – it cannot connect. Any idea's? Also the Tx/Rx – could I potentially (that is if I can get communication going through the USB OLED Tester) send/recieve via RS232?
I left a reply on your other comment. http://friedcircuits.us/docs/usb-tester-oled-backpack-desc
HI,
I want to see demo how test micro usb cable