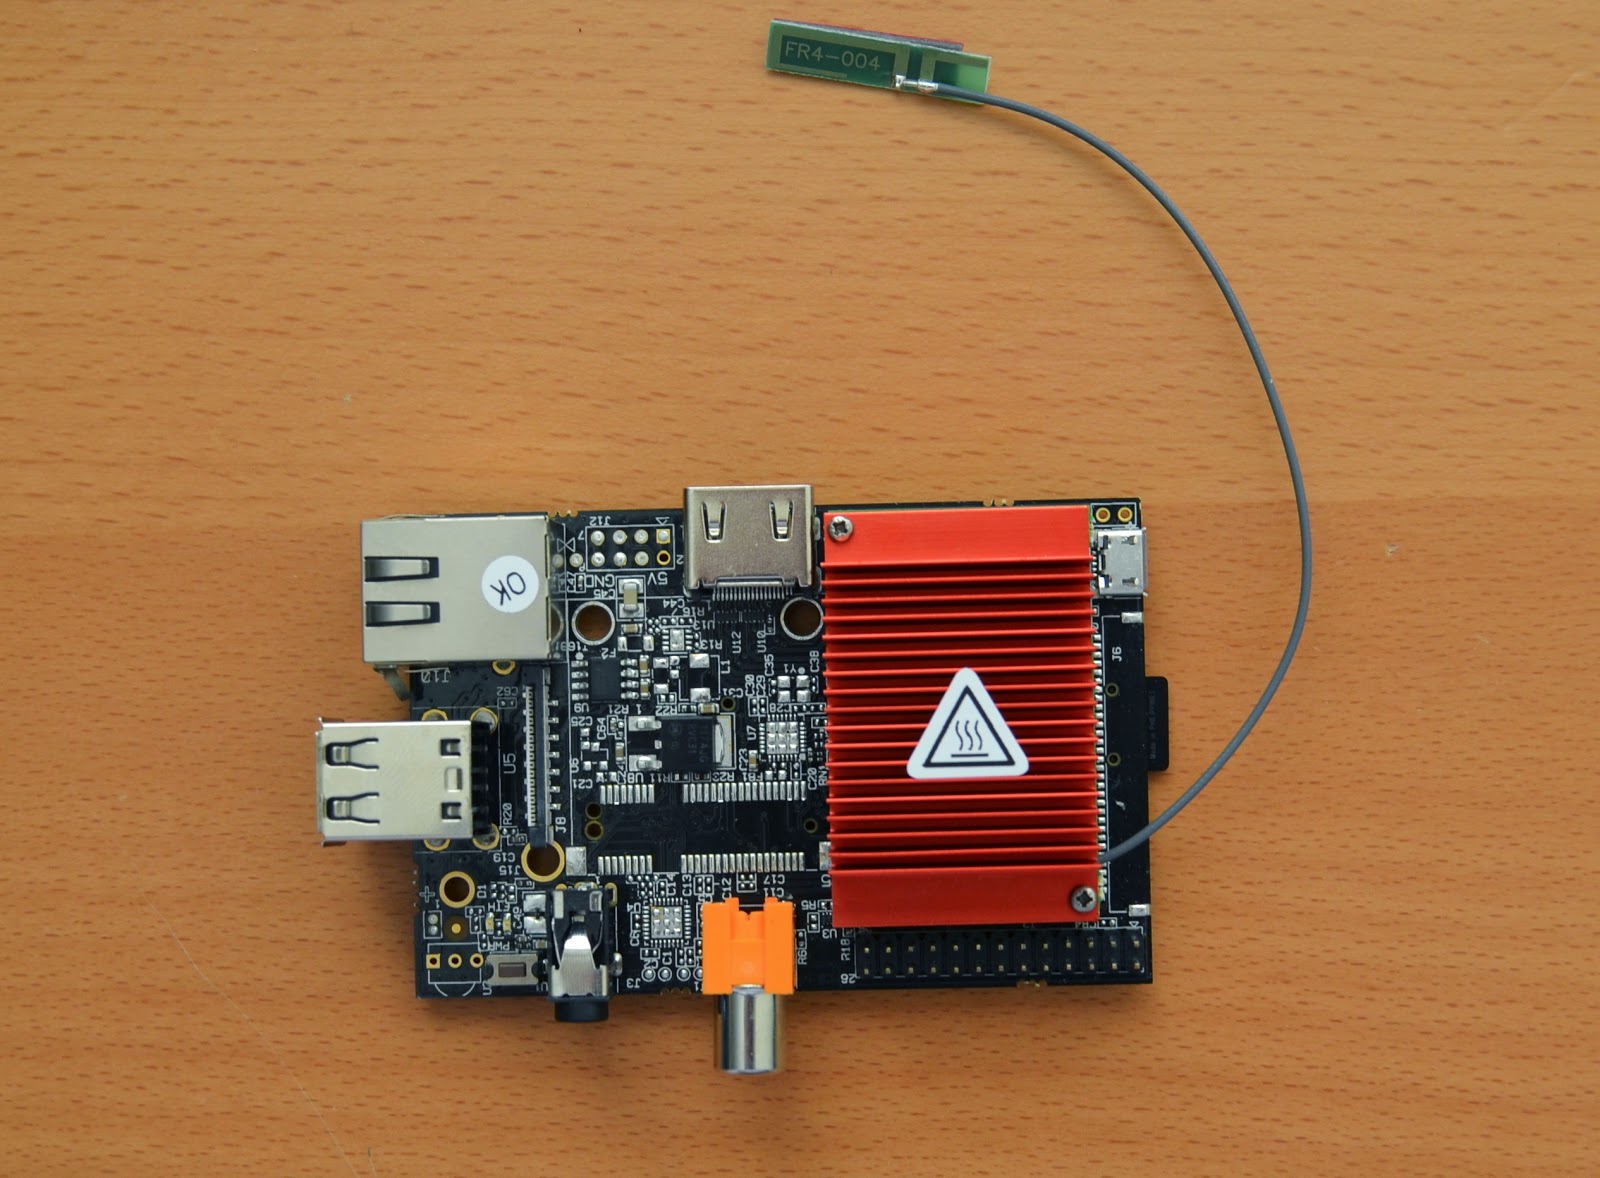
I came across the Hummingboard while reading Engadget. This isn’t your run-of-the-mill Linux board, it’s jam-packed with features that other boards don’t have. The main feature that sets this board apart from the others is that the SOC is socketed and swappable. What a great idea! Need more power for your project or different board features? Just swap out the SOC module or board and now you can have an expanded set of features all while using the same platform.
Does this new board look strangely familiar for some reason?
This board shares the same footprint and IO layout as the Raspberry PI.
The Hummingboard is made by Solid-Run, a company based in Israel. It comes in three flavors but you can mix and match carrier boards and SoCs. It is a pretty cool concept! The three preconfigured models are the i1, i2, i2eX. The i1 and i2 are the same except the i2 has a dual-core instead of a single and 1GB of RAM instead of 512MB on the SoC. If you want all of the extras such as IR, mSATA and PCIe you will have to opt for the i2eX. Check their site for a full list of specs. Depending on the SoC options you can get gigabit Ethernet. Even if you get the carrier board without all the bells and whistles, it still has all the footprints for the extra modules. So in theory, you could add some of the missing features. IR seems like it would be pretty easy to solder on.
The Hummingboard shares the same footprint as the Raspberry Pi and the location of the connectors are also similarly placed too. Instead of an analog audio connector like the Pi, there is an S/PDIF coaxial connector. Most Raspberry Pi cases should fit the Hummingboard with the exception of cases that are more form-fitting to the Pi’s PCB. One example that doesn’t fit is the beautiful Pimoroni cases which you might know as the Pibow Case.
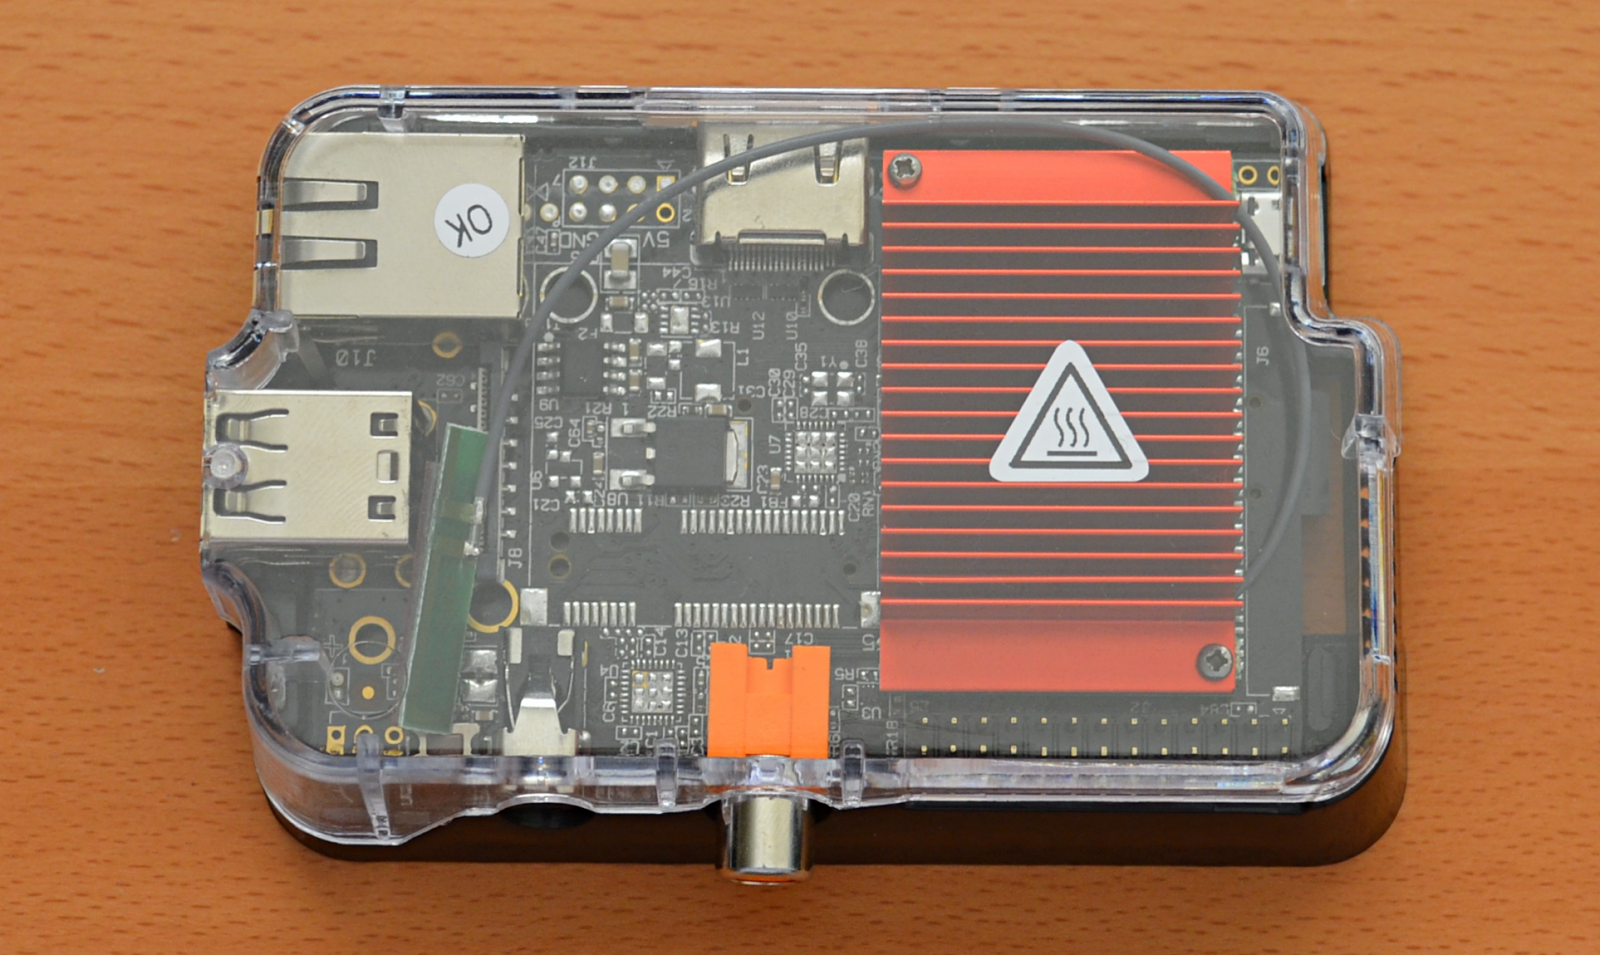 |
| Adafruit Raspberry Pi Case |
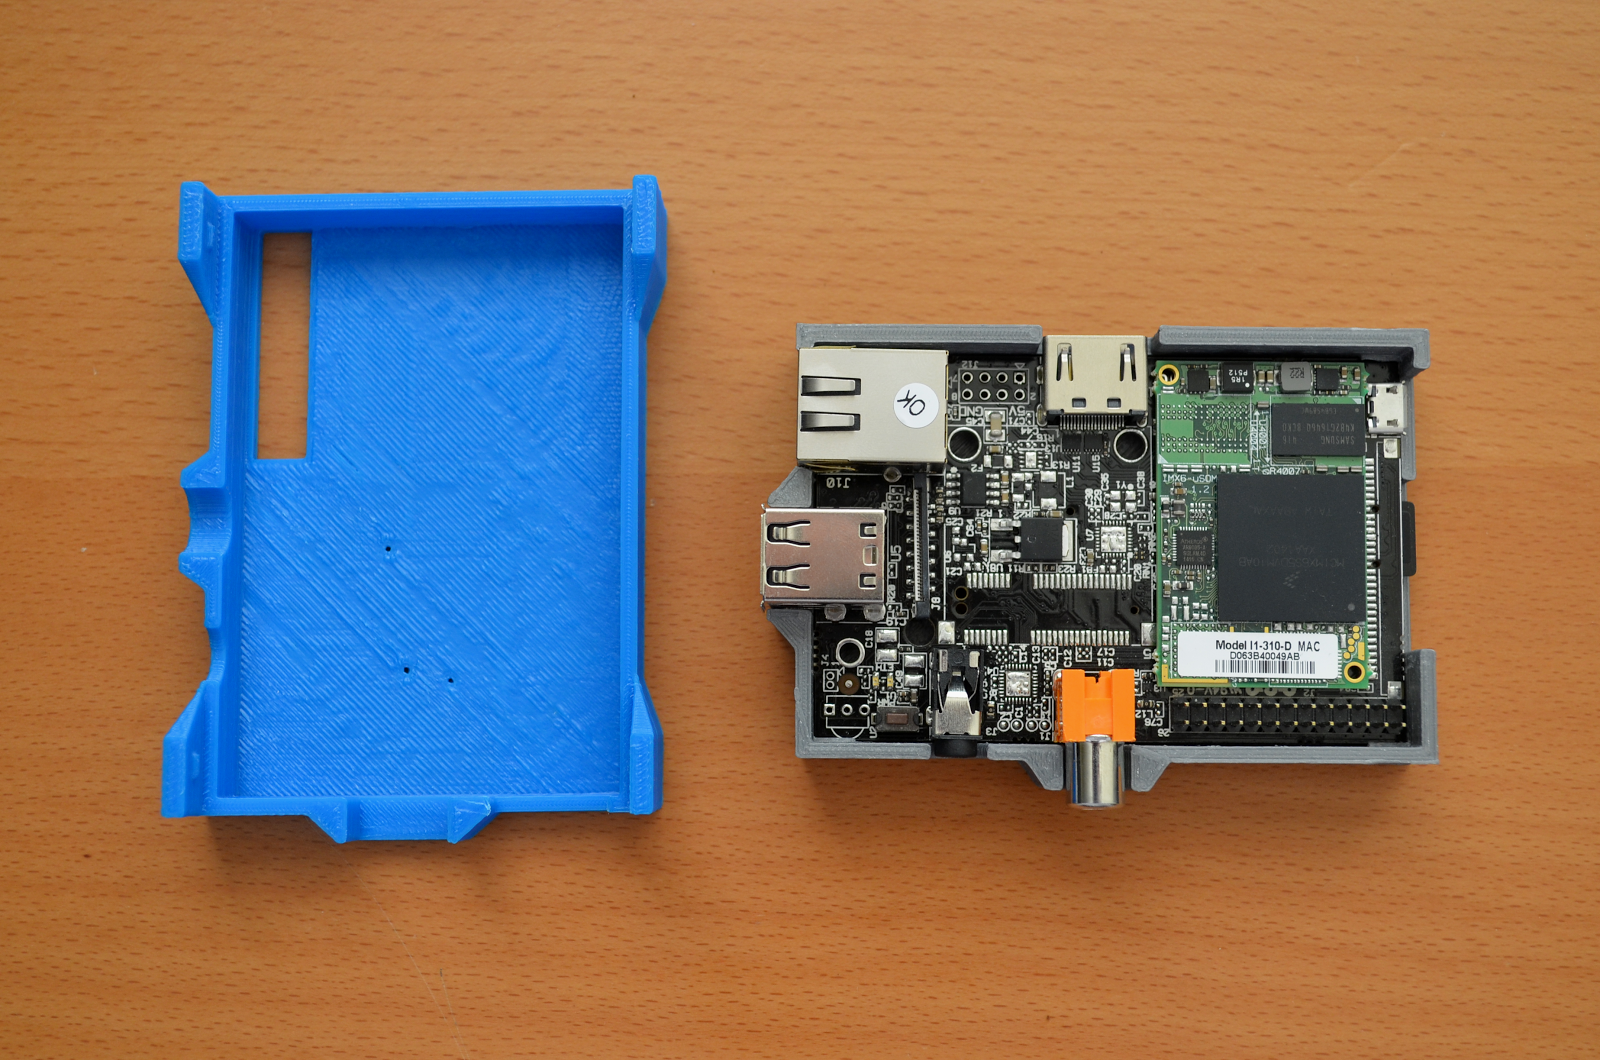 |
| 3D Printed Raspberry Pi Case (Single Core Hummingboard) |
Getting Started:
You can visit http://www.solid-run.com/products/hummingboard/linux-sbc-documentation/ to get started and familiar with the Hummingboard. This page includes all of the schematics so you can become completely familiar with the hardware and bend it to your will.
Now that the Hummingboard has been out for a few months, they have released the Ignition Installer which is like NOOBS for the Raspberry Pi. Since there are multiple OS choices, Ignition makes it easy to load them. All you need to do is flash the startup image to your SD card boot up and select the OS of your choice.
For this review I used a new Samsung 16GB Evo Class 10 (48MB/s) SD Card and the bundled 8GB card. An 8GB SD card with Android 4.4.2 pre-loaded can be bundled when you configure your purchase. If you are planning on using your own SD card, the minimum spec is a 4GB Class 6. Currently the Ignition directions are geared for Windows users using Win32DiskImager, but you can follow directions from the Raspberry Pi for writing the SD Card using Linux or OSX. You will need a monitor/TV with HDMI and a USB Keyboard to complete the installation. A mouse is optional, you know, this being Linux and all. The setup directions are based on using WiFi which the dual core SoC comes with. If you don’t have WiFi, you can use Ethernet.
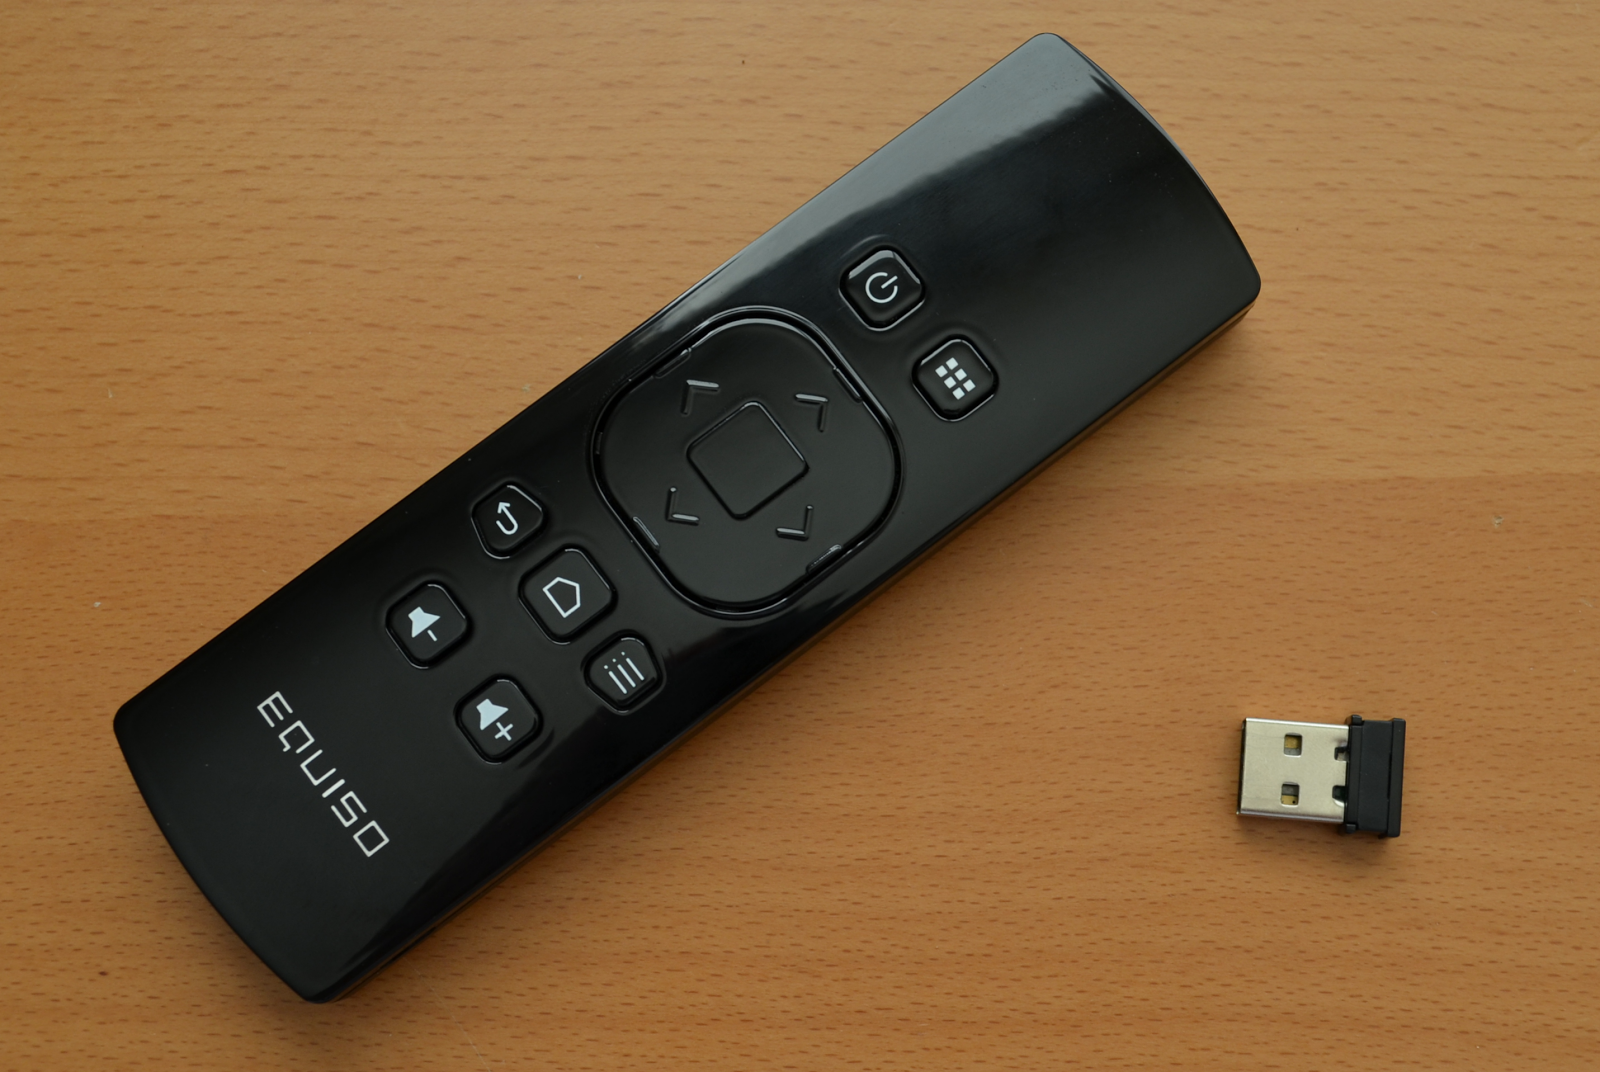
For input, I used a wireless remote with a mousekeyboard to control the Hummingboard. It was from an old Equiso Android HDMI Stick I had lying around.
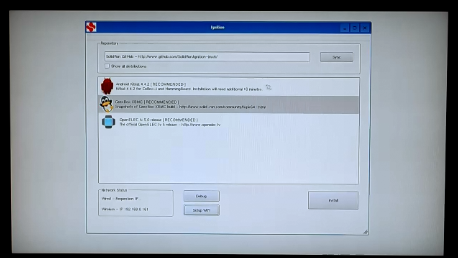 |
| Default Ignition Install List |
OS Options:
You have quite a few OS options. There should be one that will suit your needs. The pre-loaded card comes with Android but if you use the Ignition Installer you can pick from:
- Android Kitkat 4.4.2
- GeexBox XBMC
- OpenELEC
- Debian
If you choose to show all distributions, you will get a list of many more distributions than the main ones listed above. Out of the box without any messing around, I am quite impressed at the options available.
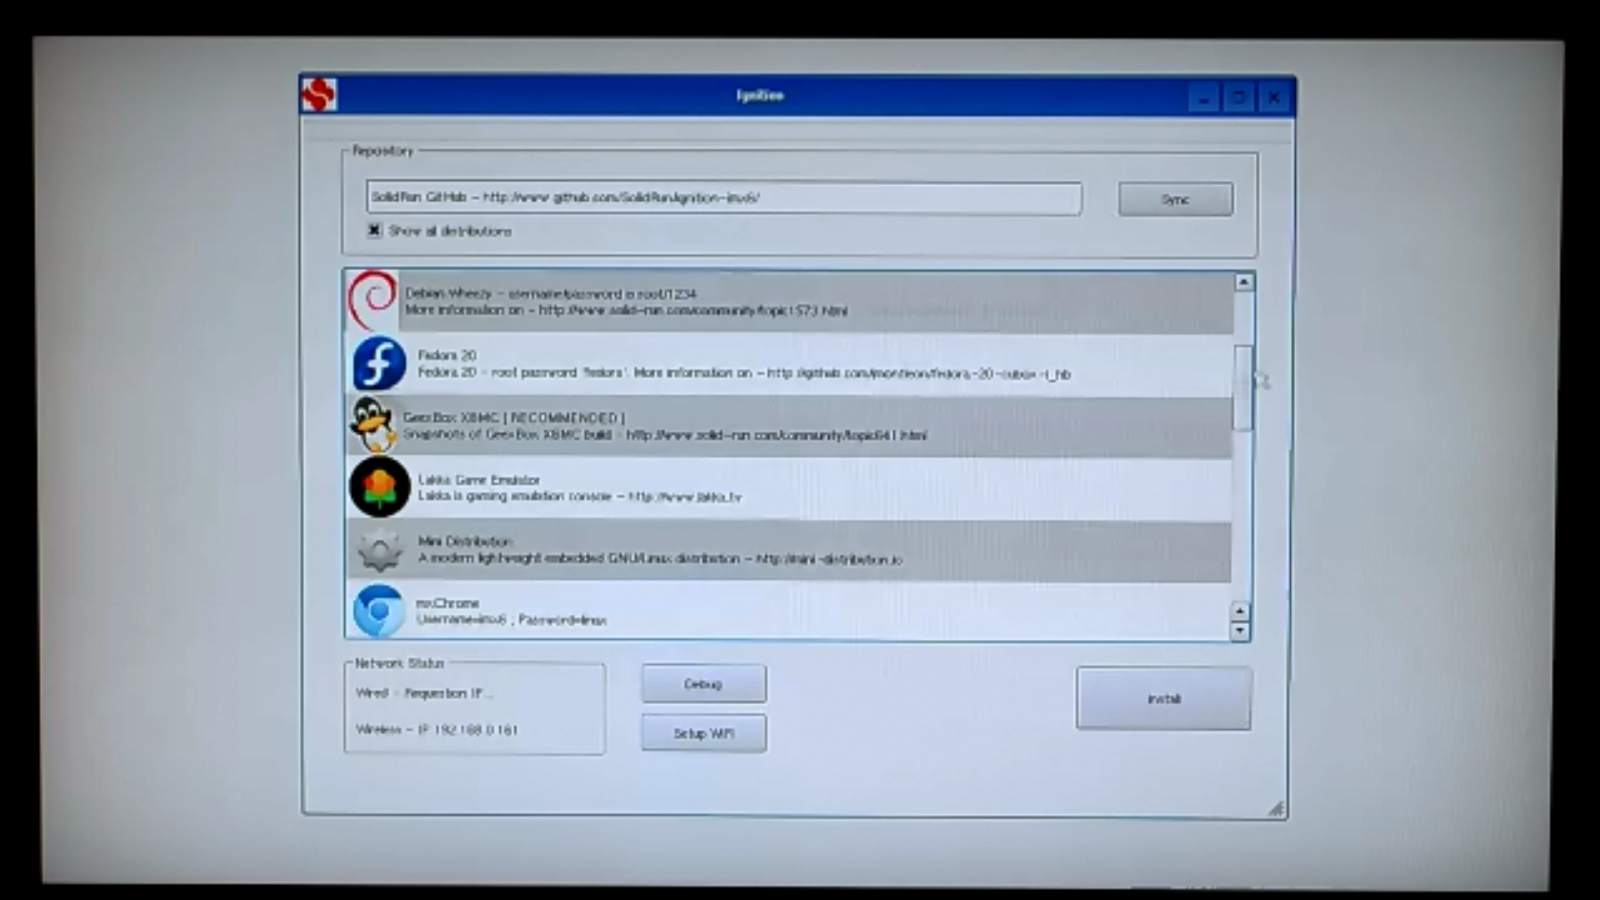 |
| Extended Ignition Install List |
Some of the other distribution options:
- Arch Linux
- Debian
- Fedora
- Lakka Game Emulator
- Mini Distro
- mxChrome
- openSUSE
- RedSleeve
- Slackware
- Volumio
- XBian XBMC
You have plenty to choose from, keeping you busy for hours and/or days trying them all. With its powerful hardware running Android or XBMC, it would make a very nice media center system. Especially if you add the carrier board with SATA for extra media storage.
Once you make your OS selection (in this case I am trying GeeBox XBMC), you can select to either install to current SD card overwriting Ignition, or to swap SD cards and install to another card. The most current version of the distro that you choose will be downloaded to the cardl. The time required for download and installation depends on your Internet speed and SD Card class. Once the process is complete, you will be asked to restart. I had to perform a hard restart (by the way there is a real reset button).
Performance:
Using the included 8GB with the pre-installed Android, the Hummingboard runs very well. The first boot took a while, but once you are up and running, Android runs smooth like butter. One of the first tests I ran was connecting to WiFi and playing some YouTube videos. YouTube was seamless – not a single hiccup occurred in video or audio. Very impressive! I have used several Android HDMI sticks and none of them run this fluidly. The only place where I saw the dual core SOC struggle was running apps that are CPU hogs like Google Earth. Textures took a while to fully load which was noticeable when zooming in to city buildings.
Power Usage:
Since the Hummingboard is feature rich, I expected it to use a bit more power than a Raspberry Pi. (During this review the quad core RPi was released so that will warrant another post.)
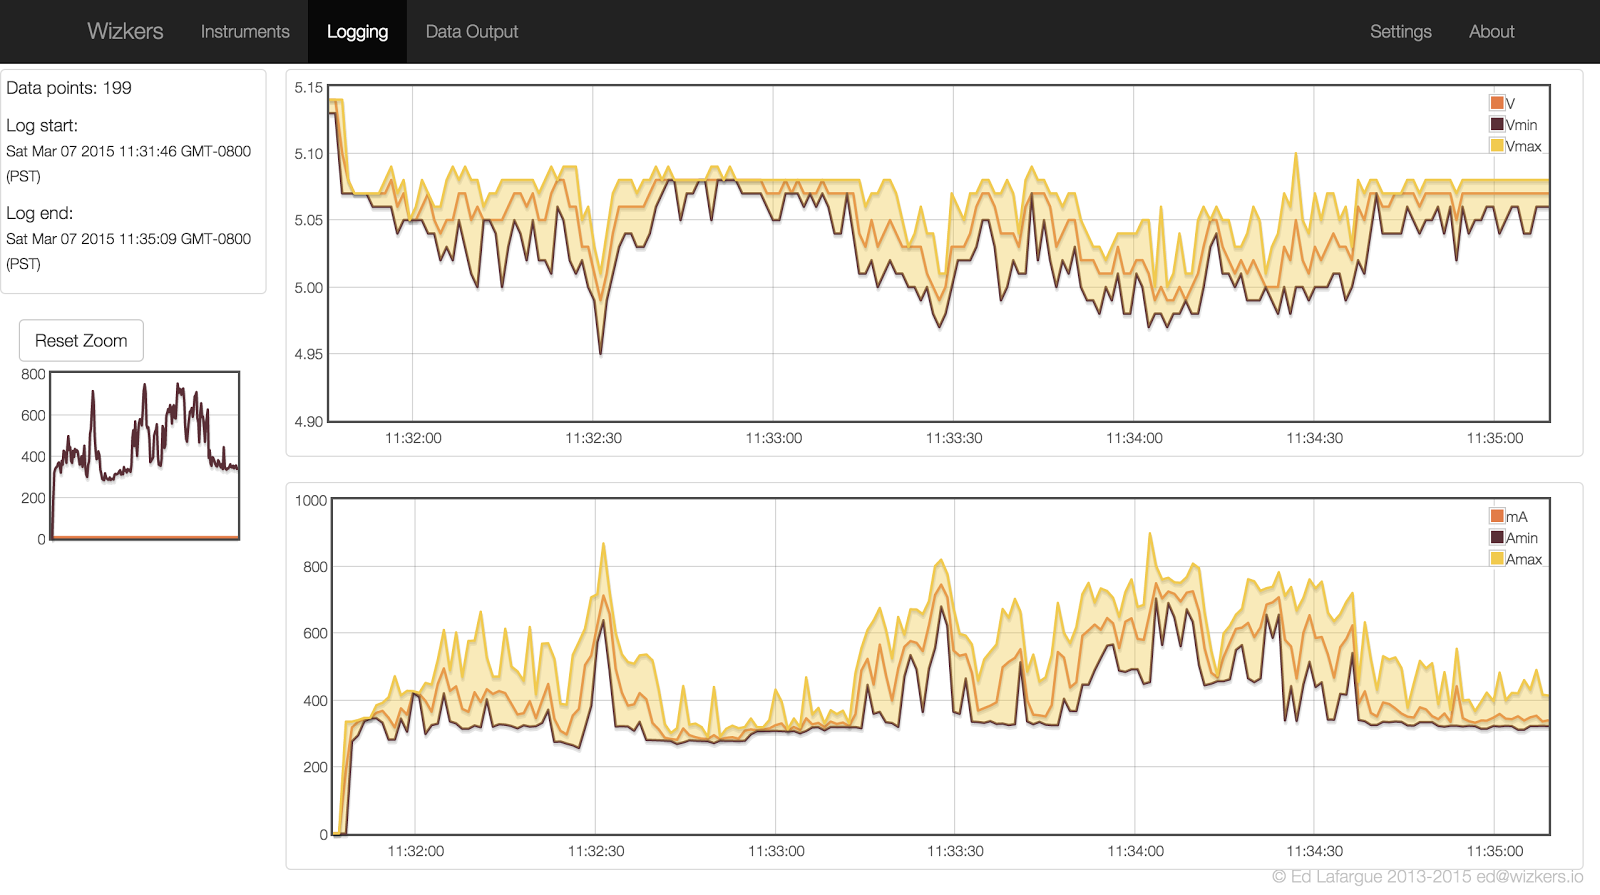
Here are the results booting Android 4.4.2 and browsing Engadget.com with Chrome. This test was performed with the dual core SOC using WiFi. It was also powering the USB receiver for the remote, Bluetooth was turned off.
I used my USB Tester with Wizkers.io by Ed Lafargue for measuring power usage. The graph below shows the max., avg. and min. for each one second sample period. Each one second period is ten samples at 100ms each which is handled internally by the USB Tester.
You can see the voltage dip at the beginning of the graph when I plugged the Hummingboard into the tester. Once it finished booting Android you can see the power fluctuations level out while it is idle at the lock screen. It picks up again while using Chrome. Then levels out again when it is idle at the home screen. You won’t be able to run it directly from a computer USB port without causing an overcurrent condition but a 1A USB charger would work well. Even with heavy browsing it only passes 800mA a few times.
Community:
Solid-Run has hosted a forum for the community to ask questions and show off projects. At this point it is small, but I am sure it will grow over time as people hear about the Hummingboard. The forums also serve the other products that Solid-Run makes. The forum has a section for beginners and one for each of the distributions that are currently available through the installer. Just by looking at the post times, you can tell it is very active.
Pros and Cons:
With all of the features and supported distributions it is difficult to think of any cons.
Pros
- Feature set
- Flexible and upgradable hardware
- Fast CPU with different configurations to meet your needs
- OpenGL 3D Engine
- HDMI supports 3D and CEC (could make for some interesting projects)
- Multiple supported OSes
- Fits most existing Raspberry Pi cases
- MicroSD
- Supports Raspberry Pi Camera
- Same GPIO pinout as Raspberry Pi
- On-board reset button
- Powered USB ports (current limited)
Cons (these are dependent on your application)
- Small community (for now)
- Higher entry level price compared to some of the similar SOC alternatives
- No composite display option (most people won’t find this to be an issue)
- Power usage is higher than competitors
- DualQuad Core SOC runs hotter than other SOCs and comes with a heat sink
Conclusion:
Although it is a little bit more expensive than its competitors, if you need something with a little more oomph and many on-board features, this board is for you. If you find your project needs more power or RAM later on down the road, you can just swap the SoC out! With options like on-board WiFi and IR, you can use this system in many projects without the need for additional hardware. Overall, it’s a great Linux board and I cannot wait to put it to use.

Comments 1
According to the hummingboard site: (*) Note that due to internal i.MX6 buses the 1000Mbps interface speed is limited to 470Mbps.
This is still better than the raspberry pi (both 1 and 2), but not full gigabit support even though they claim it on their site as well.
I enjoyed your post; makes me want to go out and play with new toys too! 🙂