
In my last Adafruit order, I decided to get the Raspberry Pi camera and the Pimoroni Raspberry Pi Camera Mount. This has been on my to-buy list for quite some time. I first saw the camera in person at Hacker Dojo when Rob from RPi came on his tour in the States. I am really excited to see what fun stuff I can come up with. In the past I have used a webcam on my desktop with ActiveWebCam to stream my entry-way to keep tabs on it. I want to try the Raspberry Pi to replace this setup as well as other projects. I have may have to put a few more cameras to go with all the Pi’s on my desk.
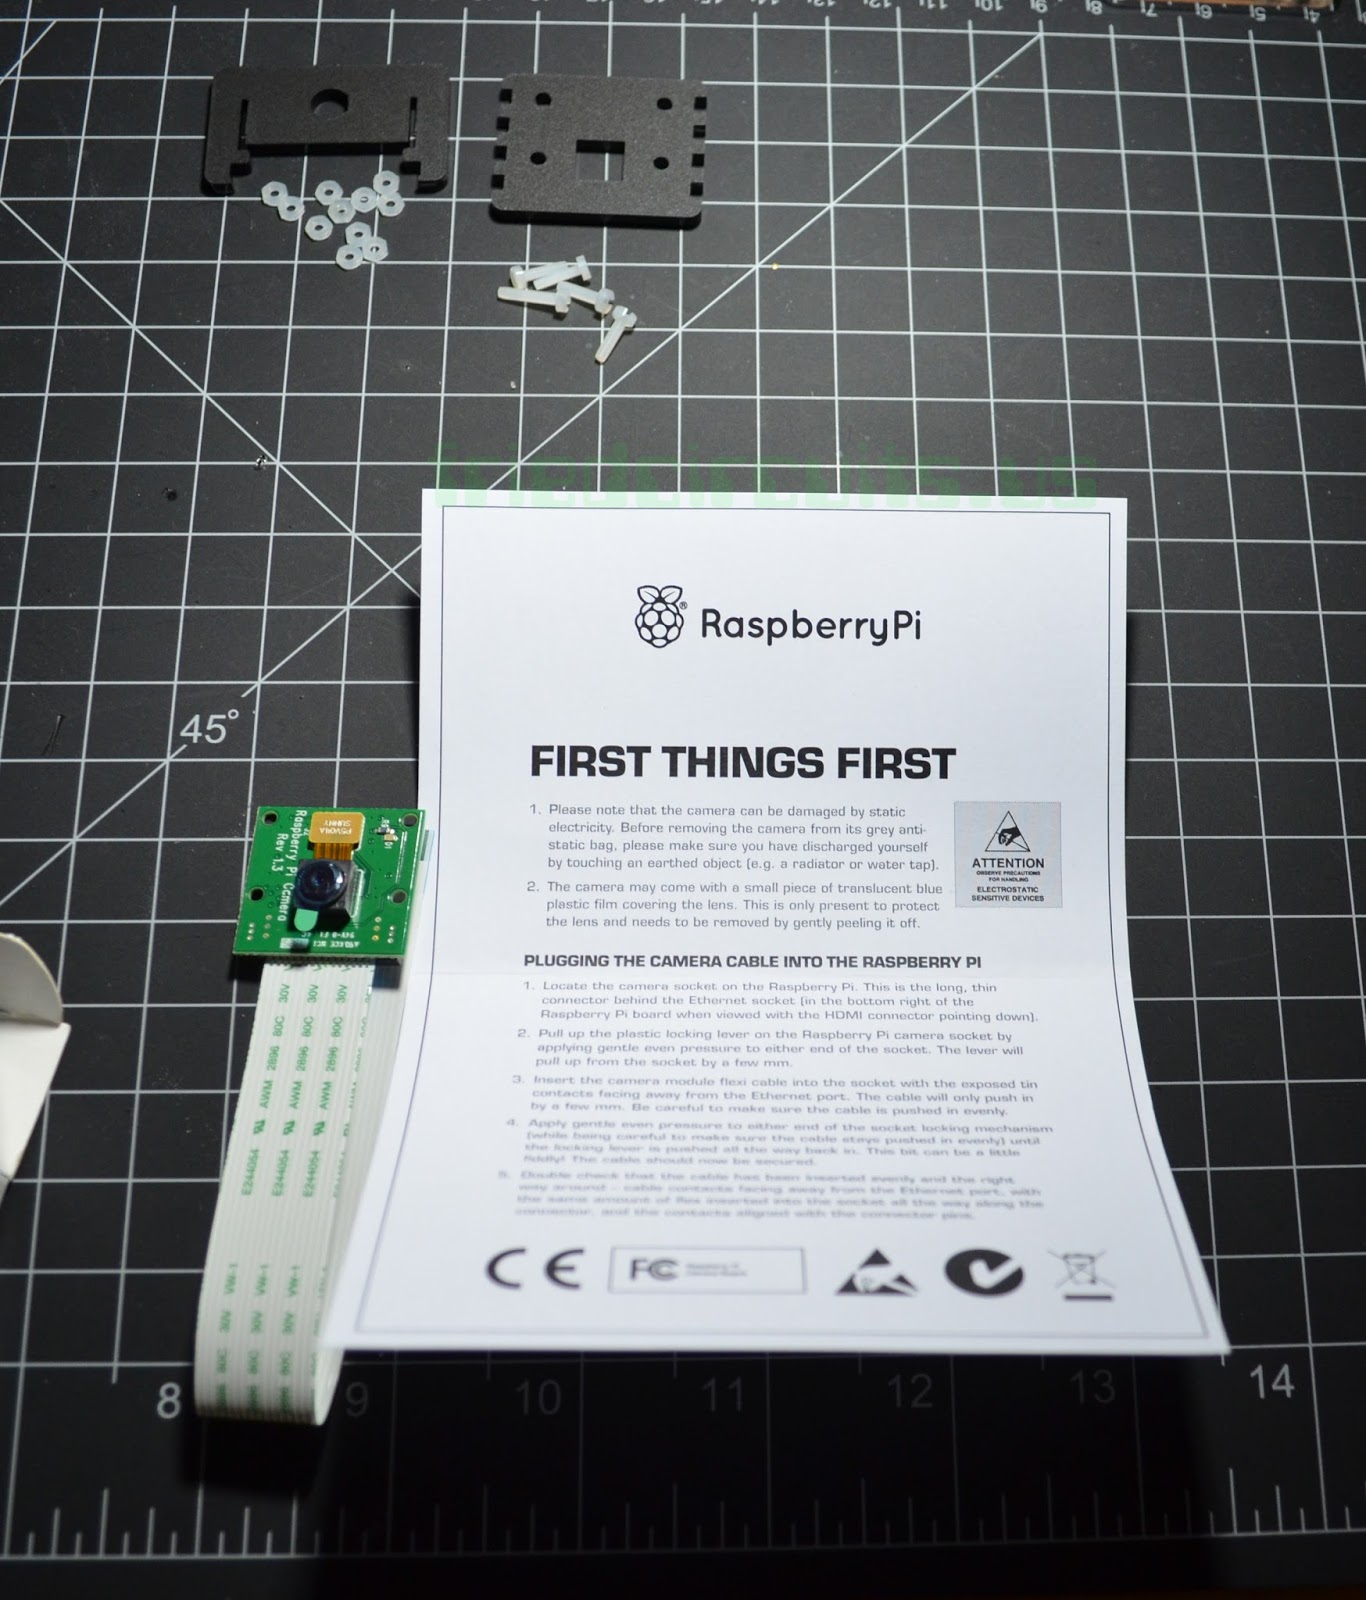
The camera comes in a static bag with a how-to card and in the same box as the Raspberry Pi comes in.
 |
| Raspberry Pi Camera Box and Camera Mount |
 |
| Contents of Raspberry Pi Camera |
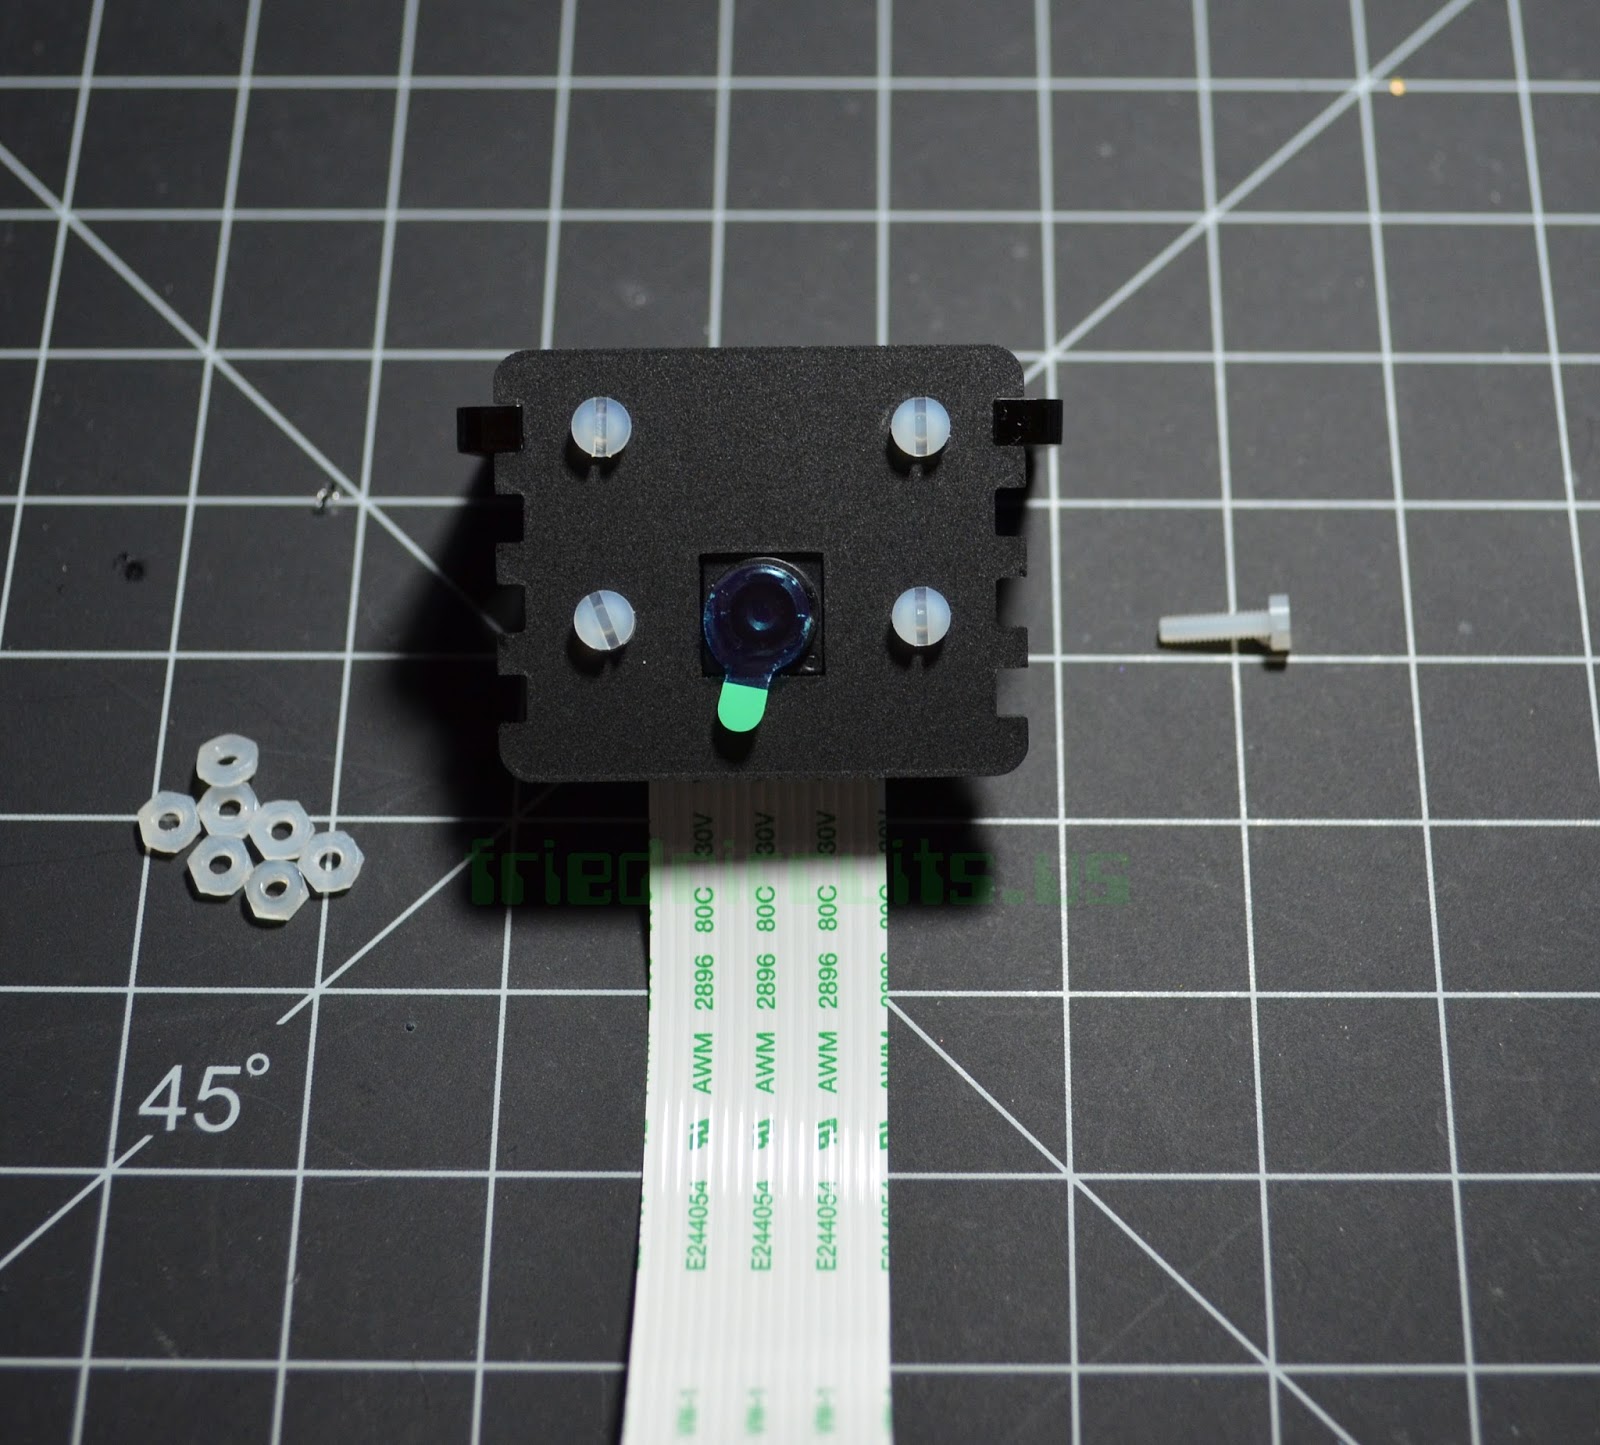
The camera mount comes in a small zip lock with a set of nylon screws and nuts. After assembly I was left with one screw and nine nuts. Assembly is pretty straight forward. First you remove the plastic cover from the finished side of the acrylic and then put the camera face through the opposite side. This way the finished side is what you see. Slide the nylon screws in from the finished side and attach the nuts. I left the film on the camera lens for now till I am ready to use it. The second part of the camera mount is adjustable to your needs and has a hold to mount a tripod. Enjoy the pictures below.
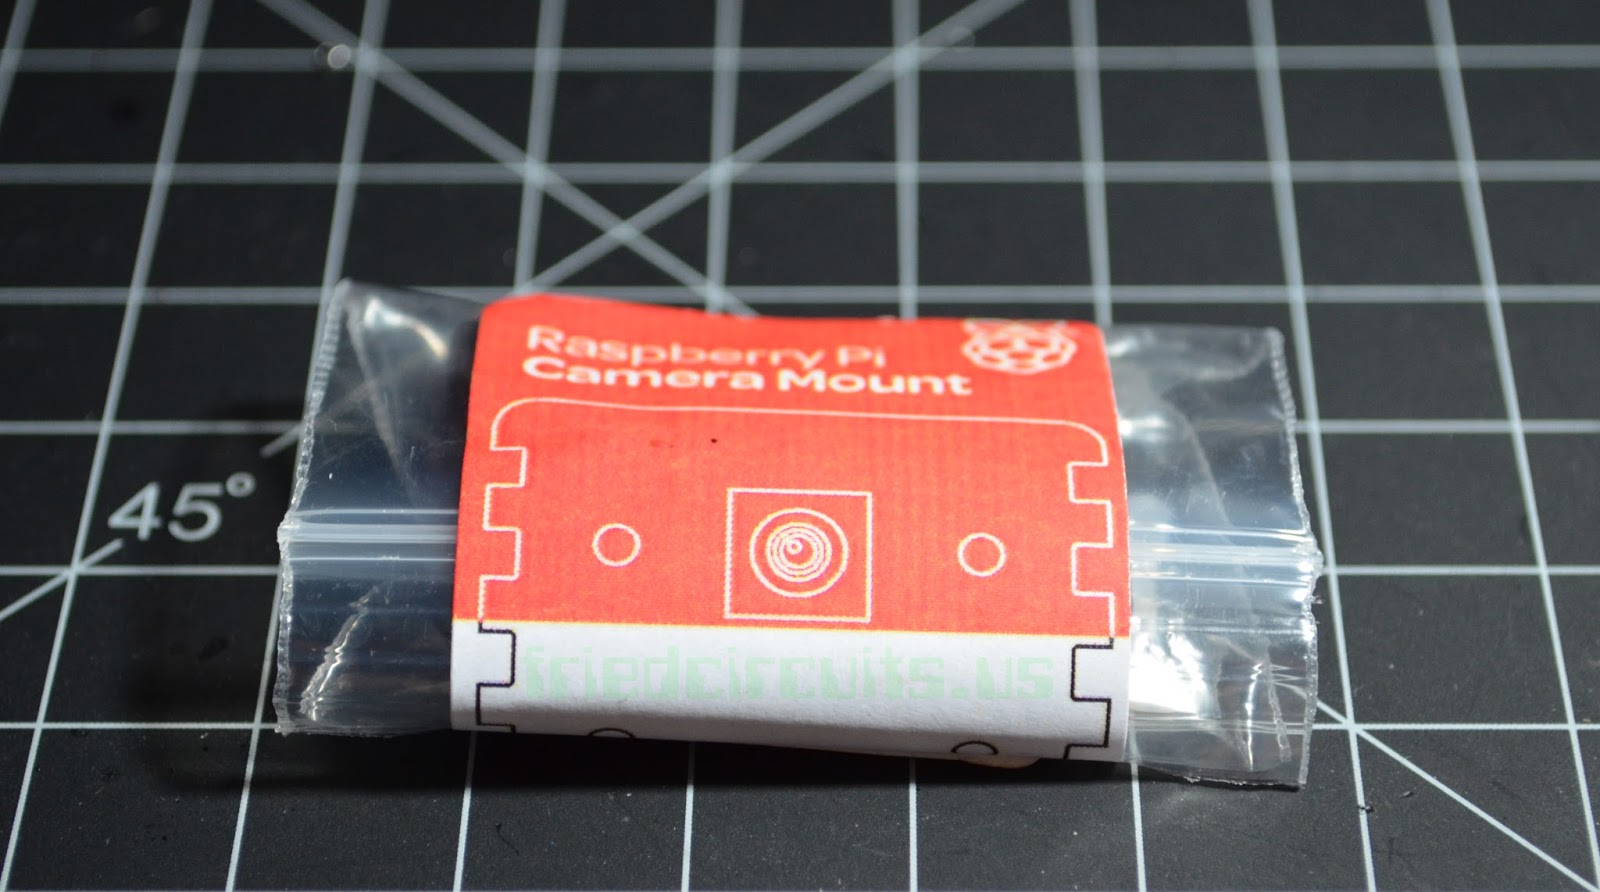 |
| Camera Mount Packaging |
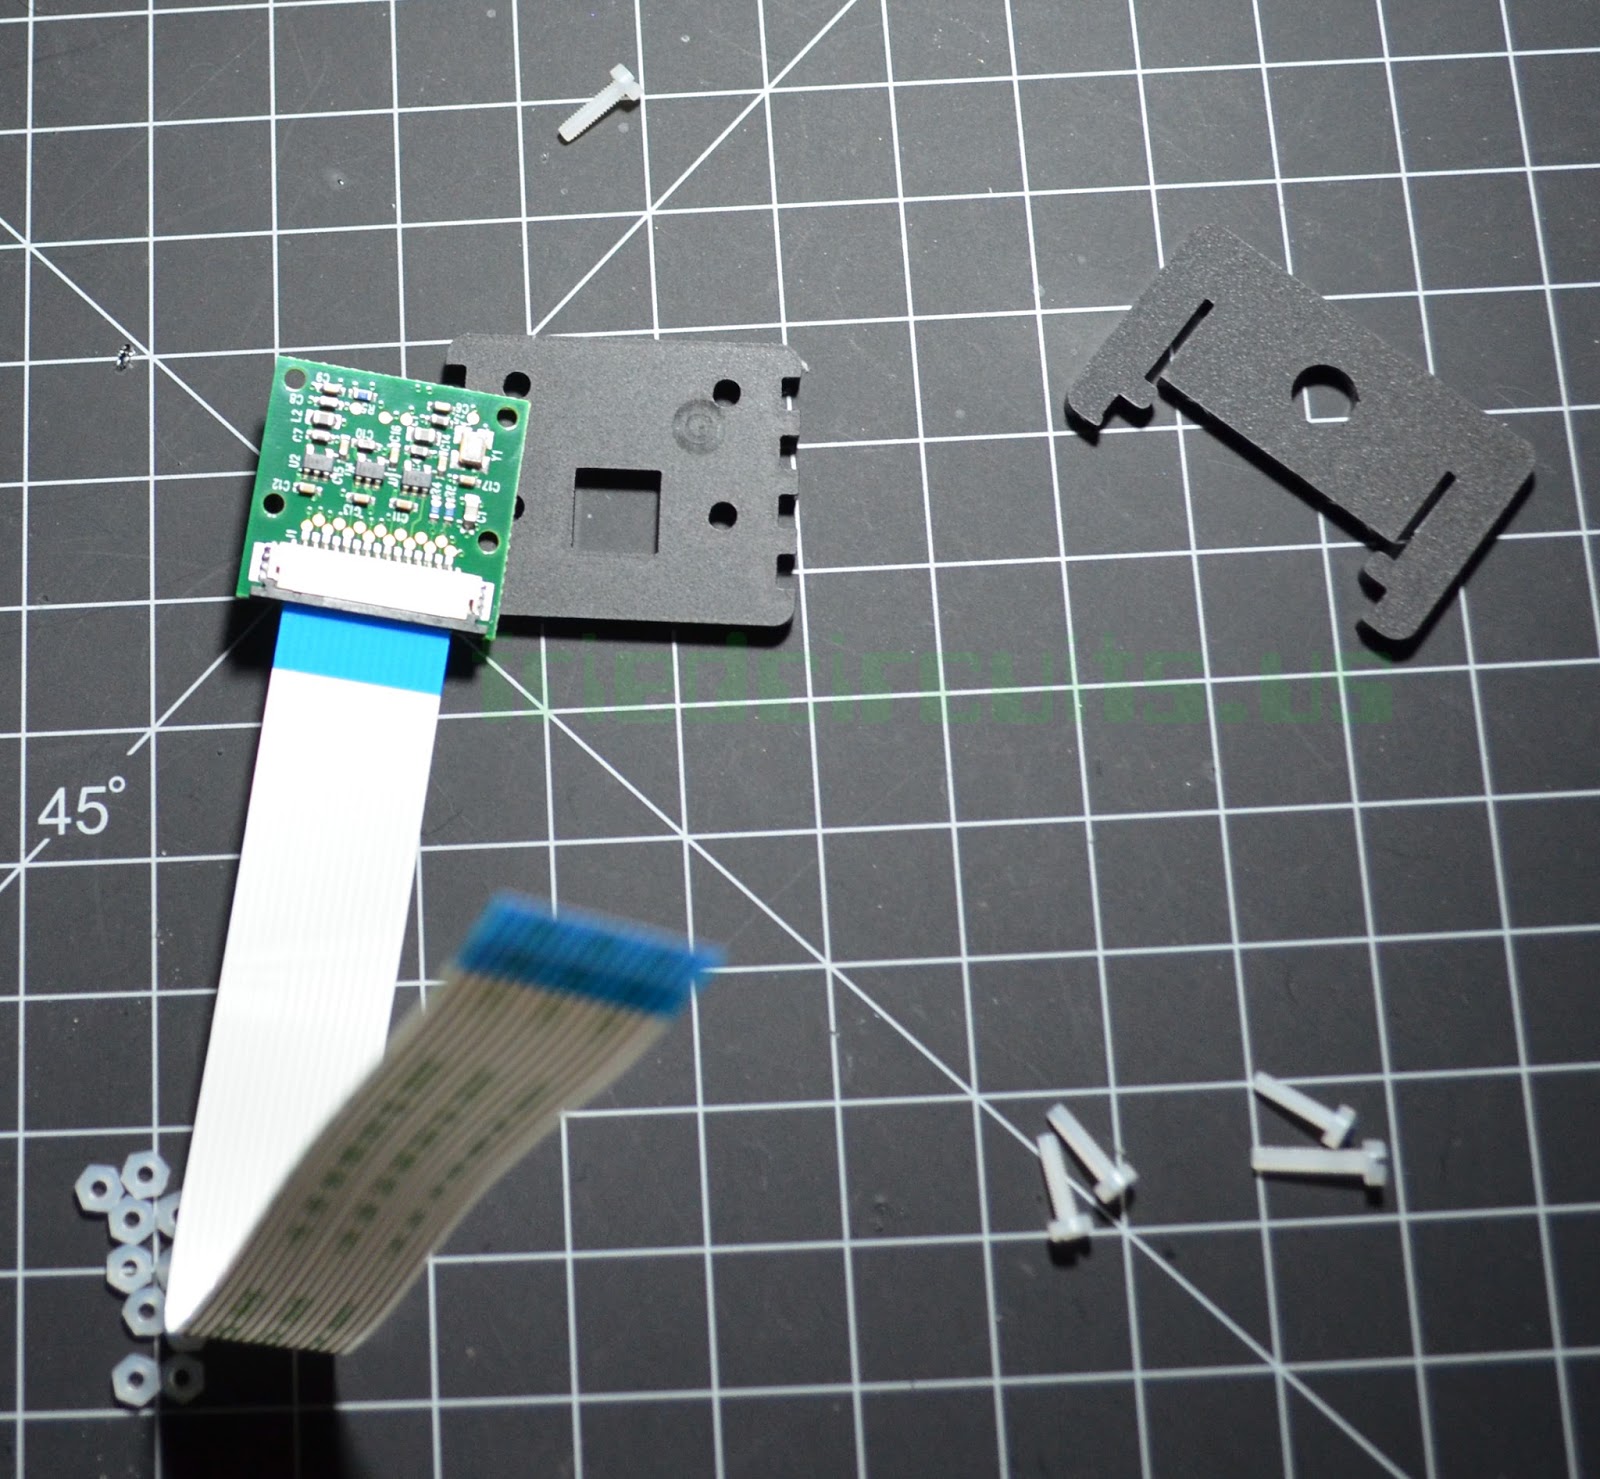 |
| Insert camera into mount |
 |
| Add a few screws to hold in place |
 |
| Front of mounted camera |
 |
| Adjustable clip |
 |
| Front of mounted camera |
Comments 2
I'm not sure calling it an "Adafruit Camera Mount" is entirely correct. It'd probably be better referred to as a "Pimoroni Camera Mount, supplied by Adafruit".
Pimoroni product page here: http://shop.pimoroni.com/products/camera-mount
My camera mount was a little loose, sliding the plates together didn't quite have the friction/tension required to hold the joint. There isn't much leeway in the cuts for a design like this; I probably got unlucky with my unit being slightly off template.
I use a small rubber band to pull the joint tight, which solves the problem in a functional but slightly unsightly way.
Thanks, I missed that part. I just updated it. Good idea with the rubber band. I will check mine out and see how tight it is. I want to try it with one of those little tripods.