Its alive! Last Christmas (or was it the one before that?), I received a La Crosse wireless weather station from my mom who is obsessed with them. This one has just a small display that can gauge inside and outside temperature. What interested me is that it’s a simple 433Mhz radio link. So sometime between then and a while ago, I got a 433Mhz receiver from Sparkfun with the intention of capturing the binary data from the outside sensor.
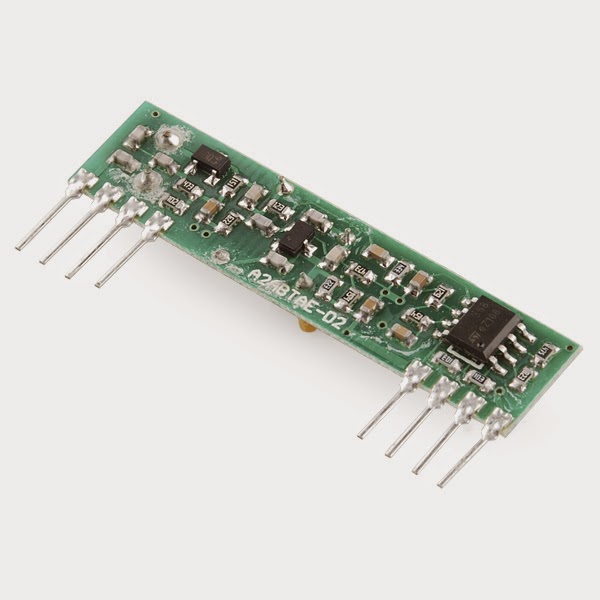 |
| Stock photo from SFE – CC BY-NC-SA 3.0 |
Occasionally, I’ve seen blog posts about other people doing the same thing. Thanks to the world of Opensource, I don’t have to reinvent the wheel. Sweet! Well, that is if I could find code that worked for this radio. Seems like they are different encoding even from the same manufacturer. Finally, at the end of a late night and with the glow of my monitors, the Arduino spit out real data from the serial port! This code looks like it can easily be adapted to different timings for other weather stations. Very nicely done.
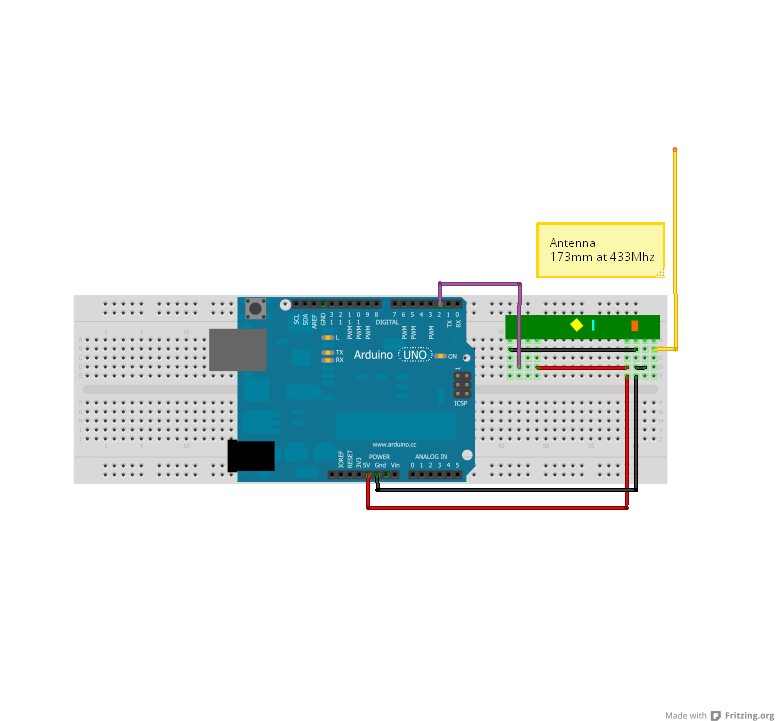 |
| Basic setup as a receiver |
The interesting thing is the data bits are set up to allow space for humidity but unfortunately this one doesn’t have it – just temperature.
010011110000000011101101111100000000 – Battery=0 Channel=1 Temperature=23.7C Humidity=0%
This is received nine times. I guess to deal with poor signal or interference.
Fast forward to a few weeks to last night and I setup a gateway so that it becomes a node on the JeeNode network, broadcasting the temp and channel. Which then feeds into DomotiGA. The code is a combination of the above setup with my Node Received sketch which is based on JeeNode RoomNode.
I didn’t have any more of my home automation boards, but some time ago I received four Tiny328 PCBs for free from a giveaway on the Dangerous Prototypes forums. (zorg.org/tiny328). I had populated two of them except for the RFM12B radio until now. It helps to have a board with a microcontroller and radio in a small footprint but you can easily build your own with an Arduino and a RFM12B or a JeeNode which has the radio. The only change to the above code other than the RF12M stuff, is changing the interrupt to 1 since the RFM12B uses interrupt 0.
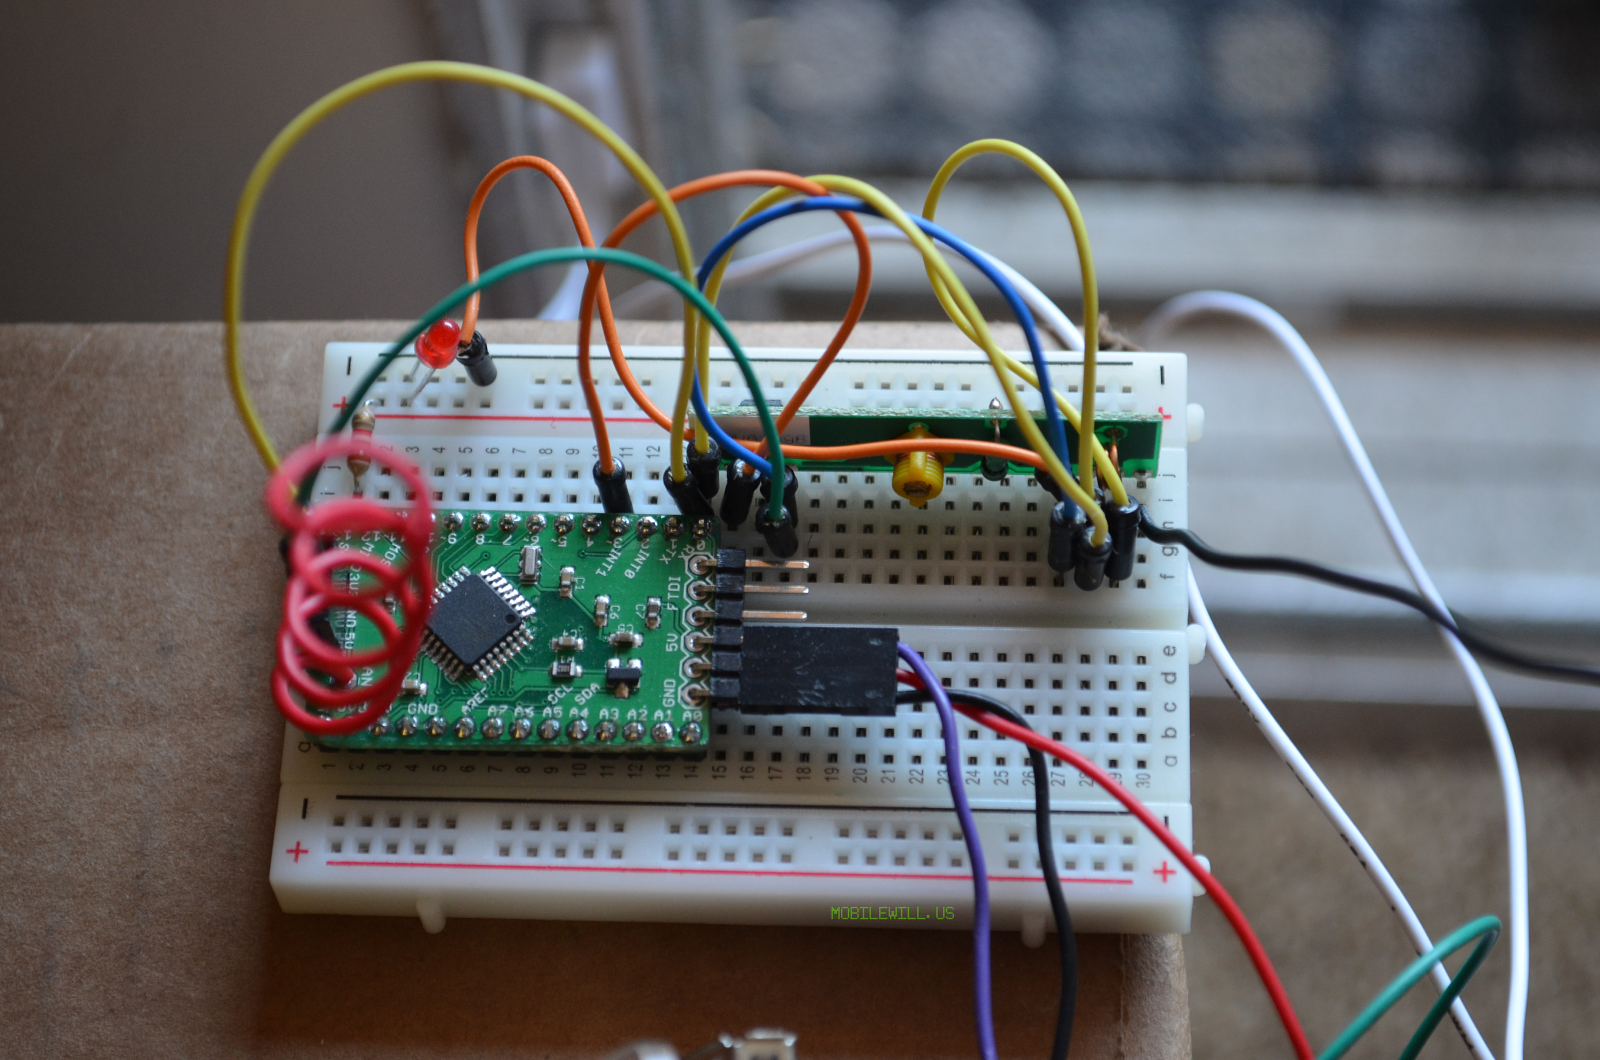 |
| Atmega328p(Tiny328) as weather station gateway to JeeNode network |
Now to finally testing with the sensor outside. My first tests were pretty poor with range. I couldn’t read the signal unless I was within a feet or two of the transmitter. After some research and testing I switched the radio to run off of 5v instead of 3.3V. I checked with the oscope that the data output pin doesn’t go above 3.3V since the Tiny328 is running at 3.3v for the RFM12B radio. The range still isn’t great but at least it works through the glass slider enough to get a reading and transmit it back via the JeeNode network.
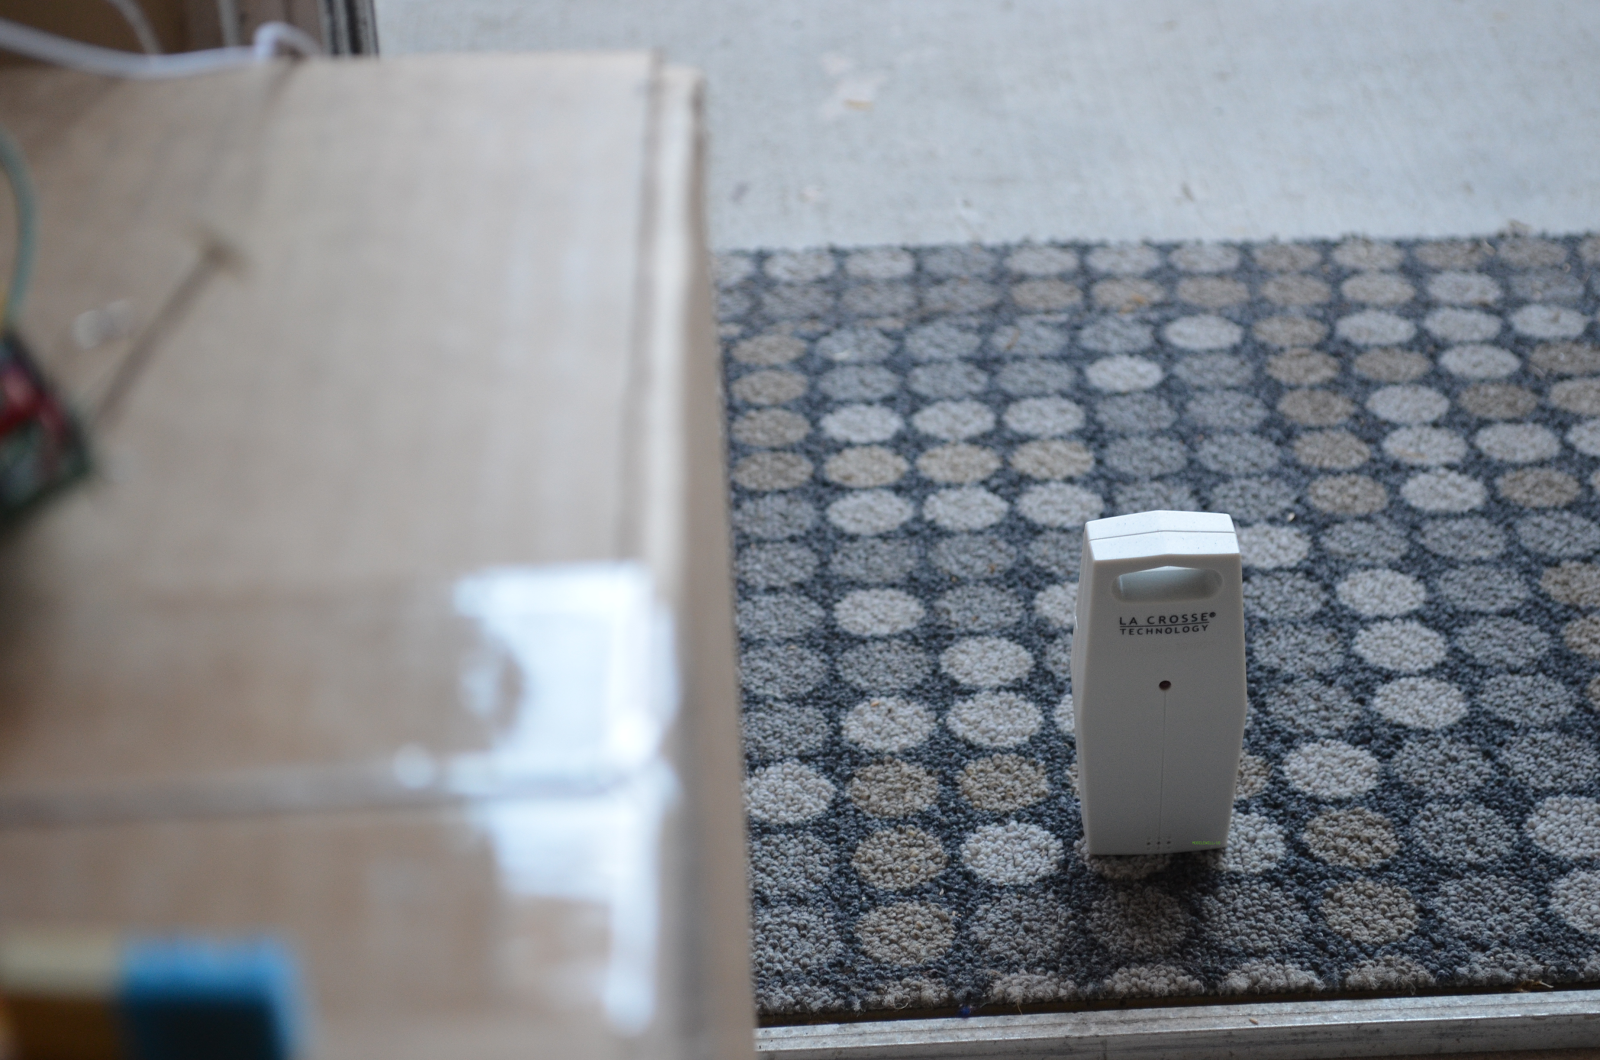 |
| Outdoor La Crosse Transmitter |
Since the sensor has to be constantly awake to receive the signal (didn’t work well mixing in sleep mode) I decided to power this off a 5V USB wall adapter. But then how do I connect it to USB without wasting a FTDI cable? USB Tester to the recuse! I have found more uses for the USB Tester than what I originally designed it for. This is one of them. Right now in this picture it is powering two projects. In this mode you would use the jumper to bridge the VCC over since we are not measuring power.
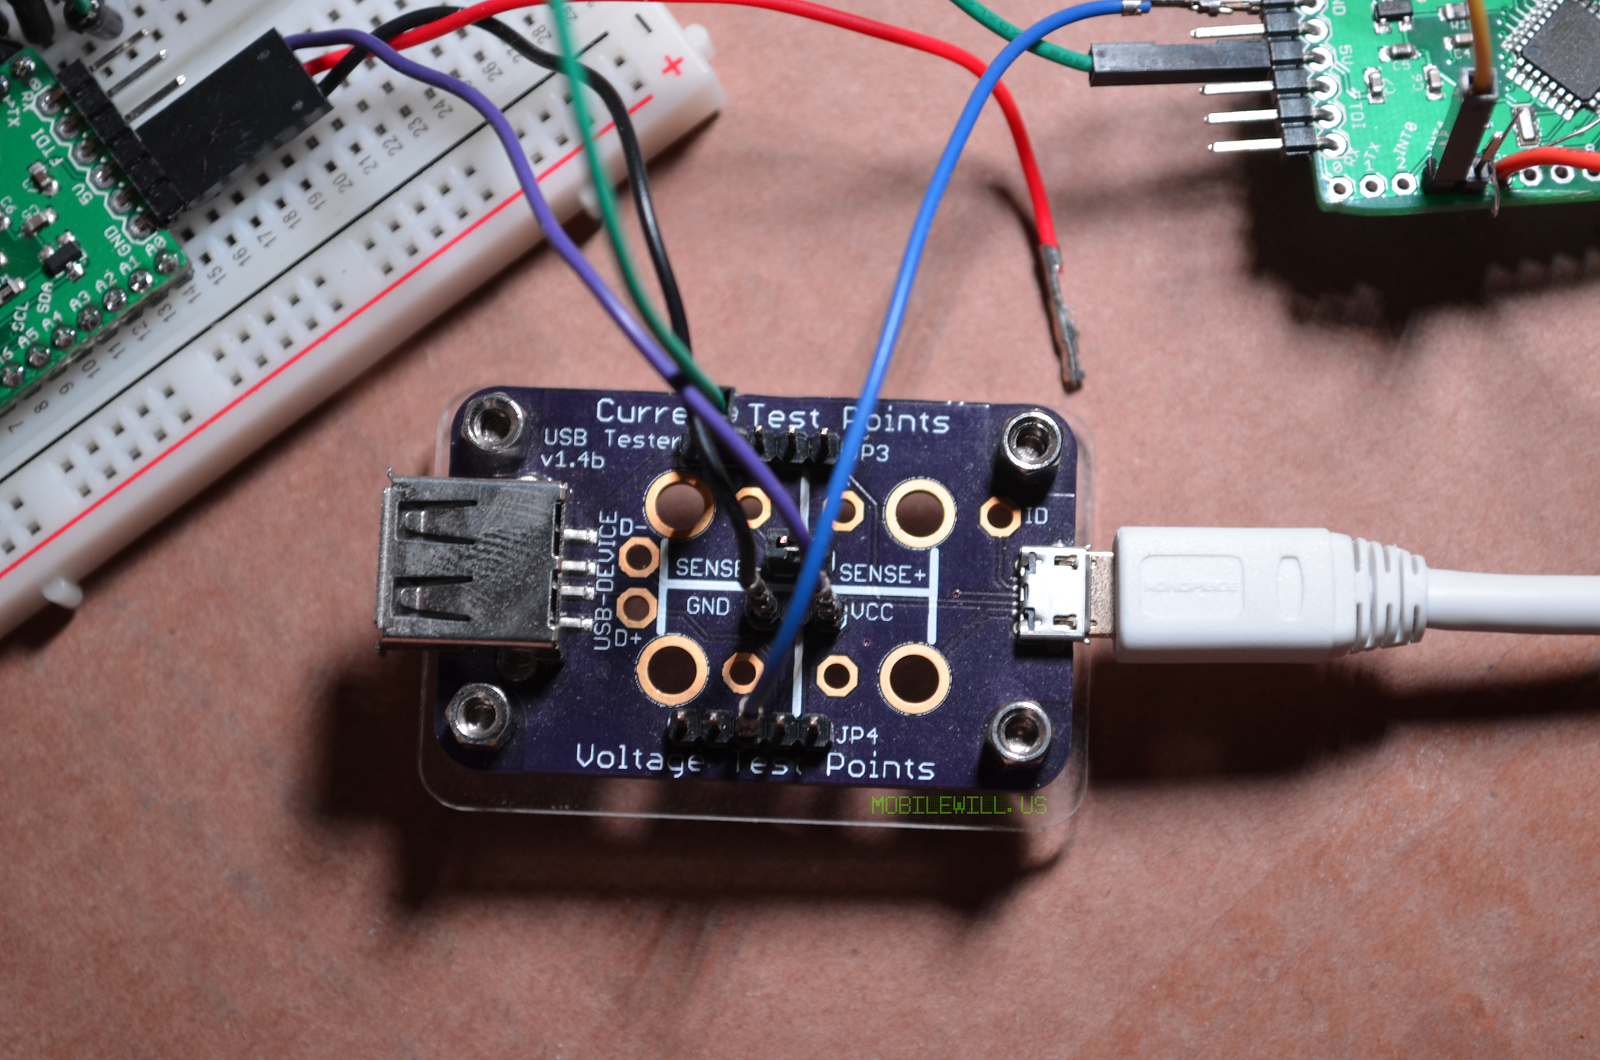 |
| USB Tester used as a power source adapter from USB to wire jumpers |
All of the code is on https://github.com/FriedCircuits/Weather_Station_Gateway (uploading soon) – I hope this helps you out. I have another weather station that is more advanced but I haven’t been able to capture the data yet. Hopefully more about that one later…
