
A few times a week Dangerous Prototypes does a give away for a free PCB. They have extra PCBs from prototyping that they offer up for grabs so you can try your hand at it. If you complete the build, then you can get another coupon. A few months ago I redeemed my free PCB coupon for the XT IDE Controller. It took some time to get the PCB and to order all of the needed parts, but finally everything was ready for assembly. I have to say this project was anything but cooperative but I finally finished the build. I decided to use a syringe of solder paste and re-flow it, which can be tricky without a stencil. Hence the uncooperative part.
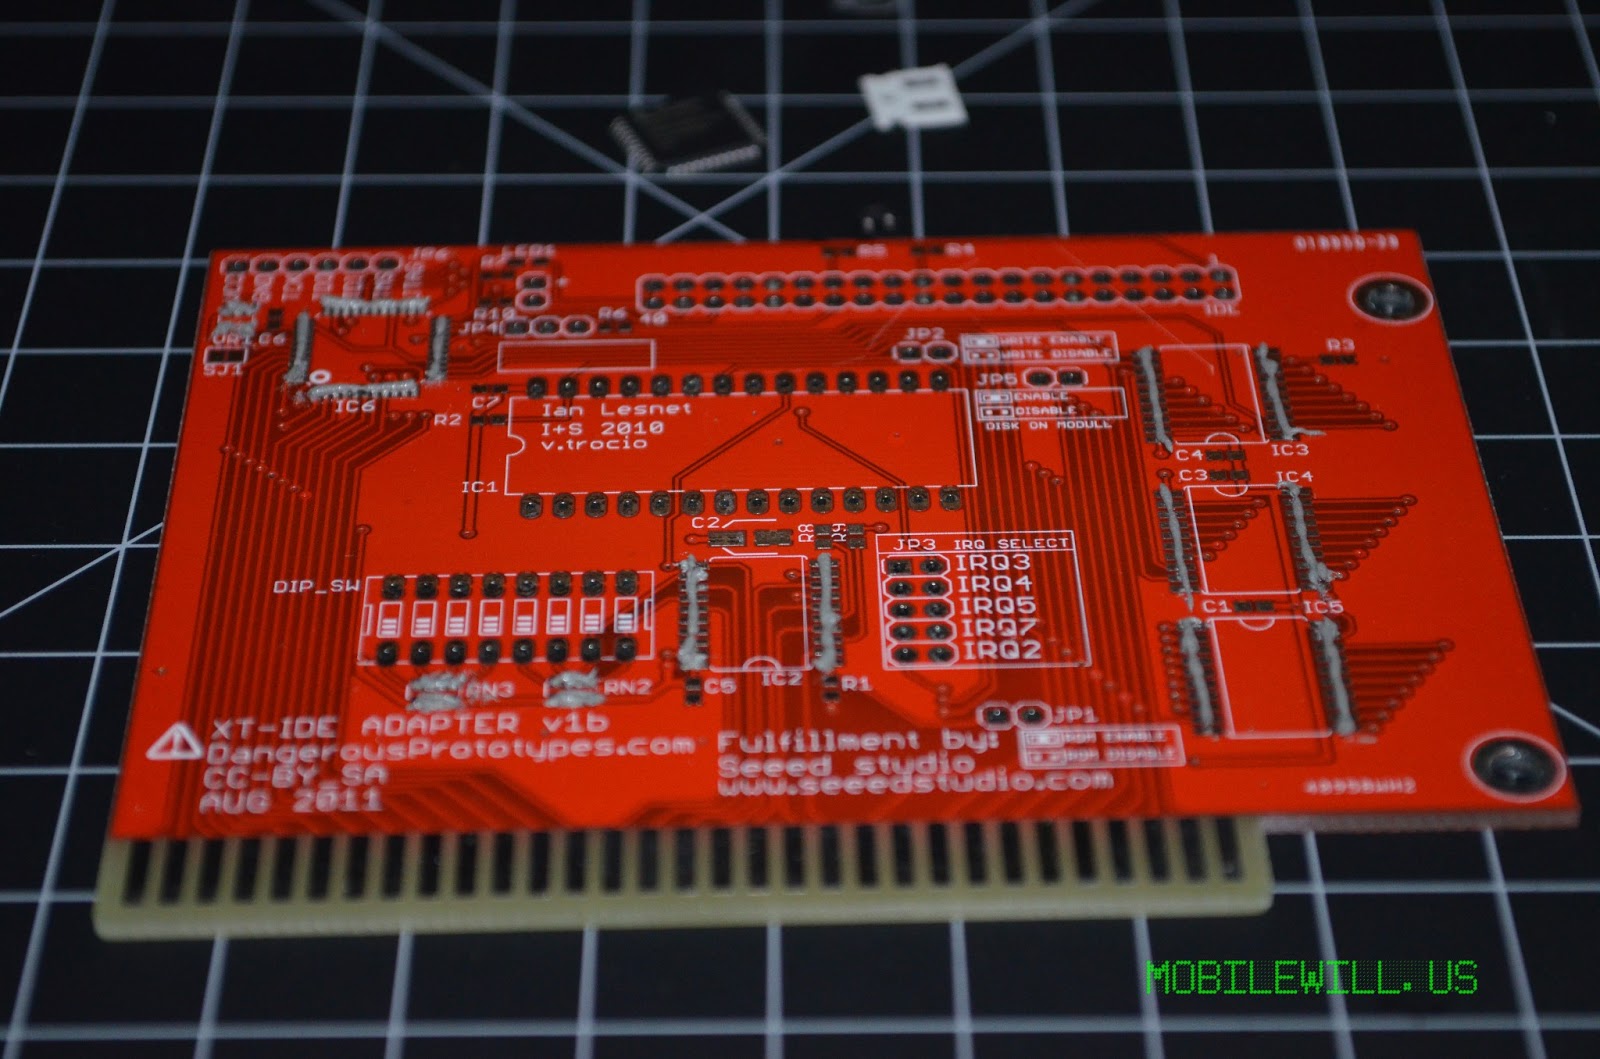 |
| The board with solder paste, awaiting parts. |
After re-flowing I had quite a few solder bridges. Most of them weren’t too bad to fix but the CPULD was. For some reason on the last side, the solder didn’t want to flow to the wick so I ended up loosing a pin and lifting two traces. Good thing I ordered two CPULDs. Using the hot air gun, I completely removed it and re-soldered it with drag soldering. I then used two thin wires to fix the traces. If I did it again I would either get a stencil and also use version 2, or just use drag soldering in the first place. I also have to thank DP for the drag soldering tip I won from them last year.
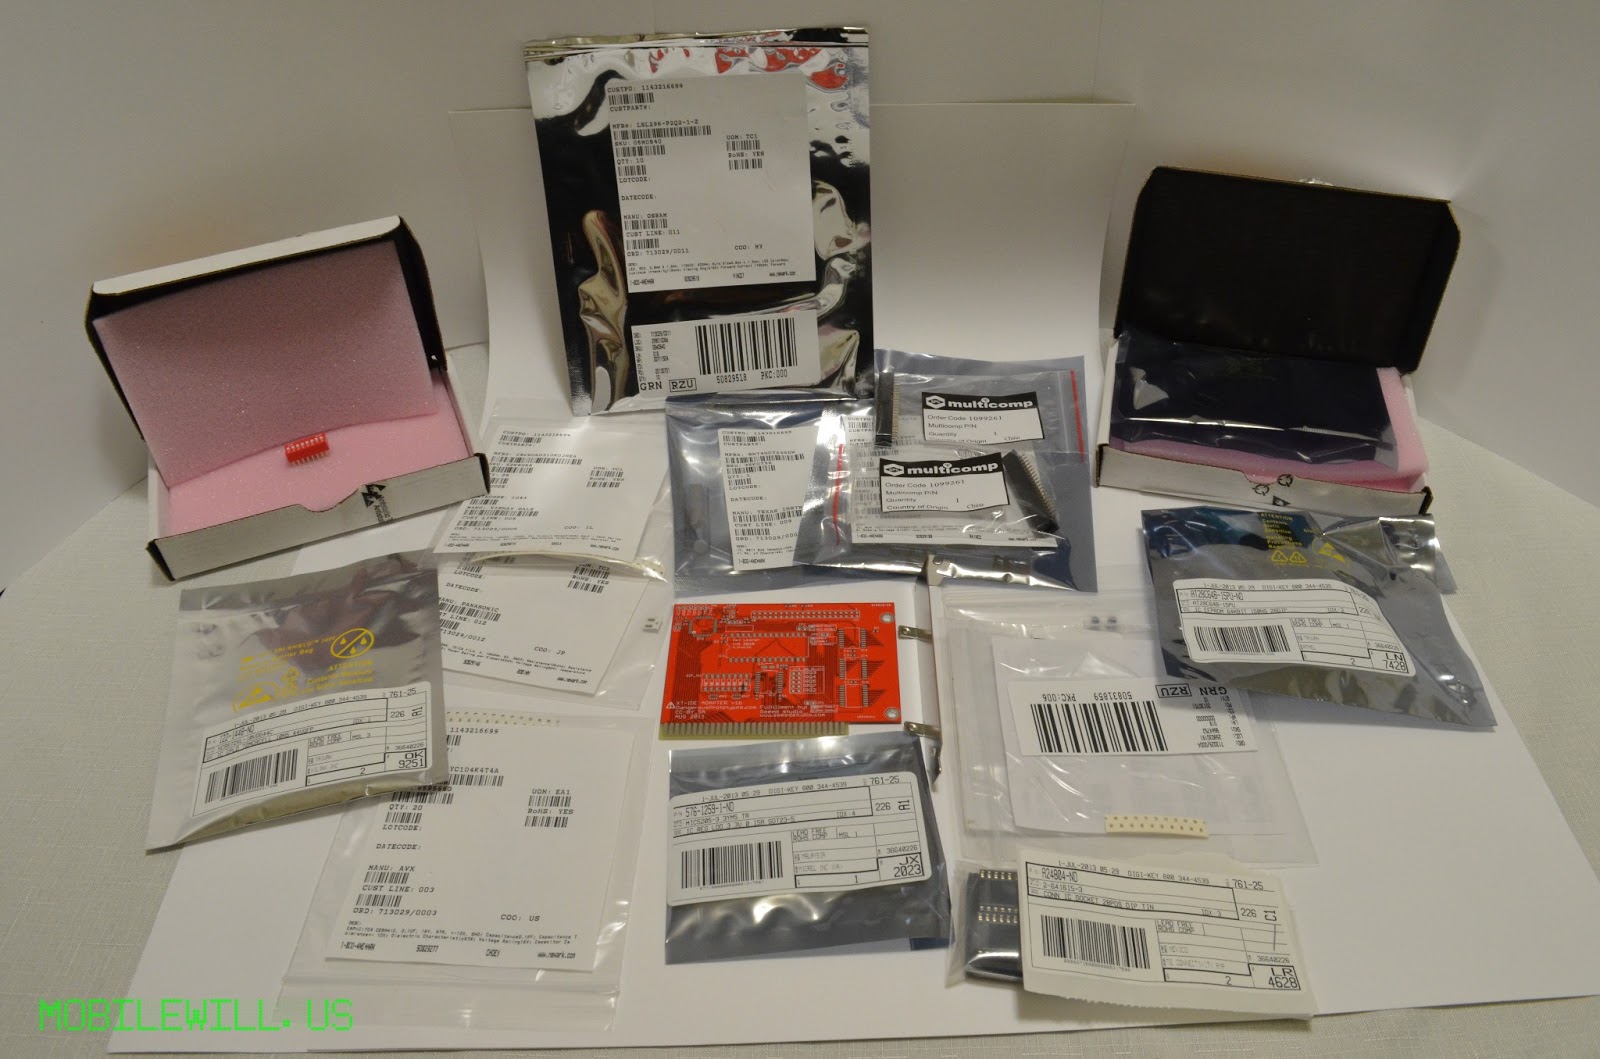 |
| All of the parts, ready to go! |
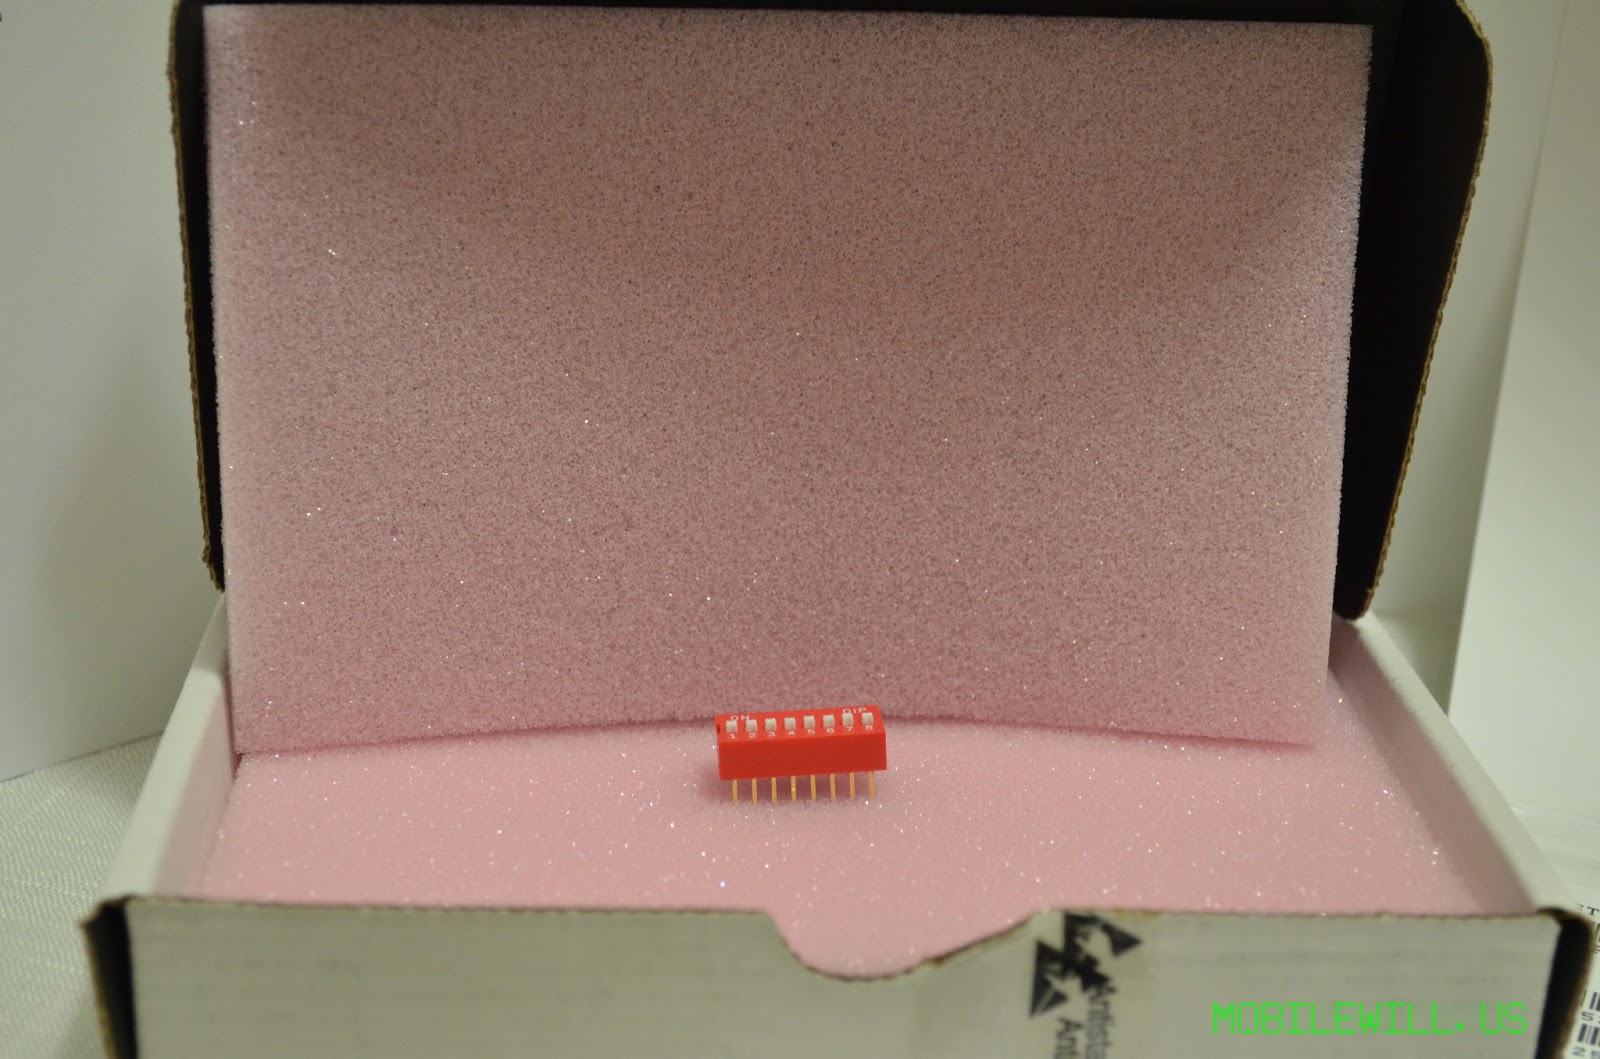 |
| Wow, tiny! |
So far I was able to program the CPULD with the bus pirate so I know there aren’t any shorts. The problem now is I need to flash the XT Universal BIOS but I can’t find the keyboard for my Tandy 1000TL/2. Which is the computer I plan to use it in. I have had this computer since it was brand new. It was a Christmas present from my mom in 1990. Thanks to her and this computer I am where I am today. I learned the basis of everything on that thing, programming, DOS, and what a computer was all about. Not to mention of course, getting school work done and being able to get online with the ol’ AOL dial-up. I pushed that thing to it’s limits and beyond.
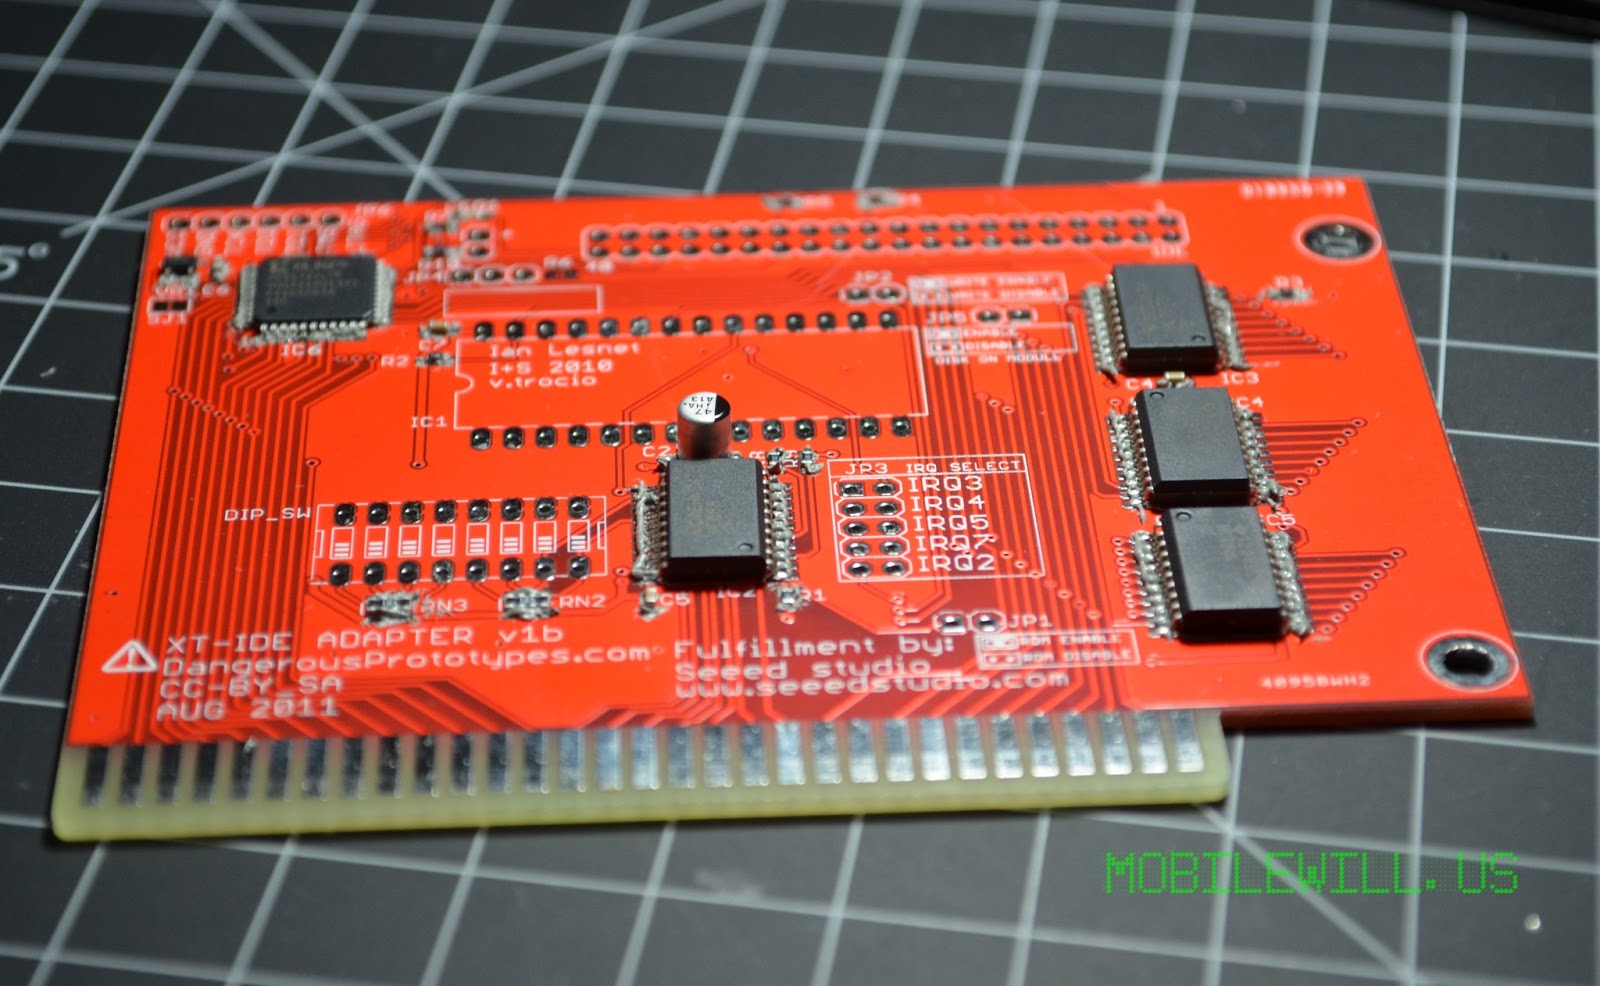 |
| Solder time! |
 |
| Can you spot the solder bridges? |
The plan is to copy all the data on the hard drive before it dies some day. I have to say that 40MB drive has been rock solid. Almost seems indestructible. I also hope I can find a old floppy disk to load the flashing program to flash the BIOS.
Here is the completed board…
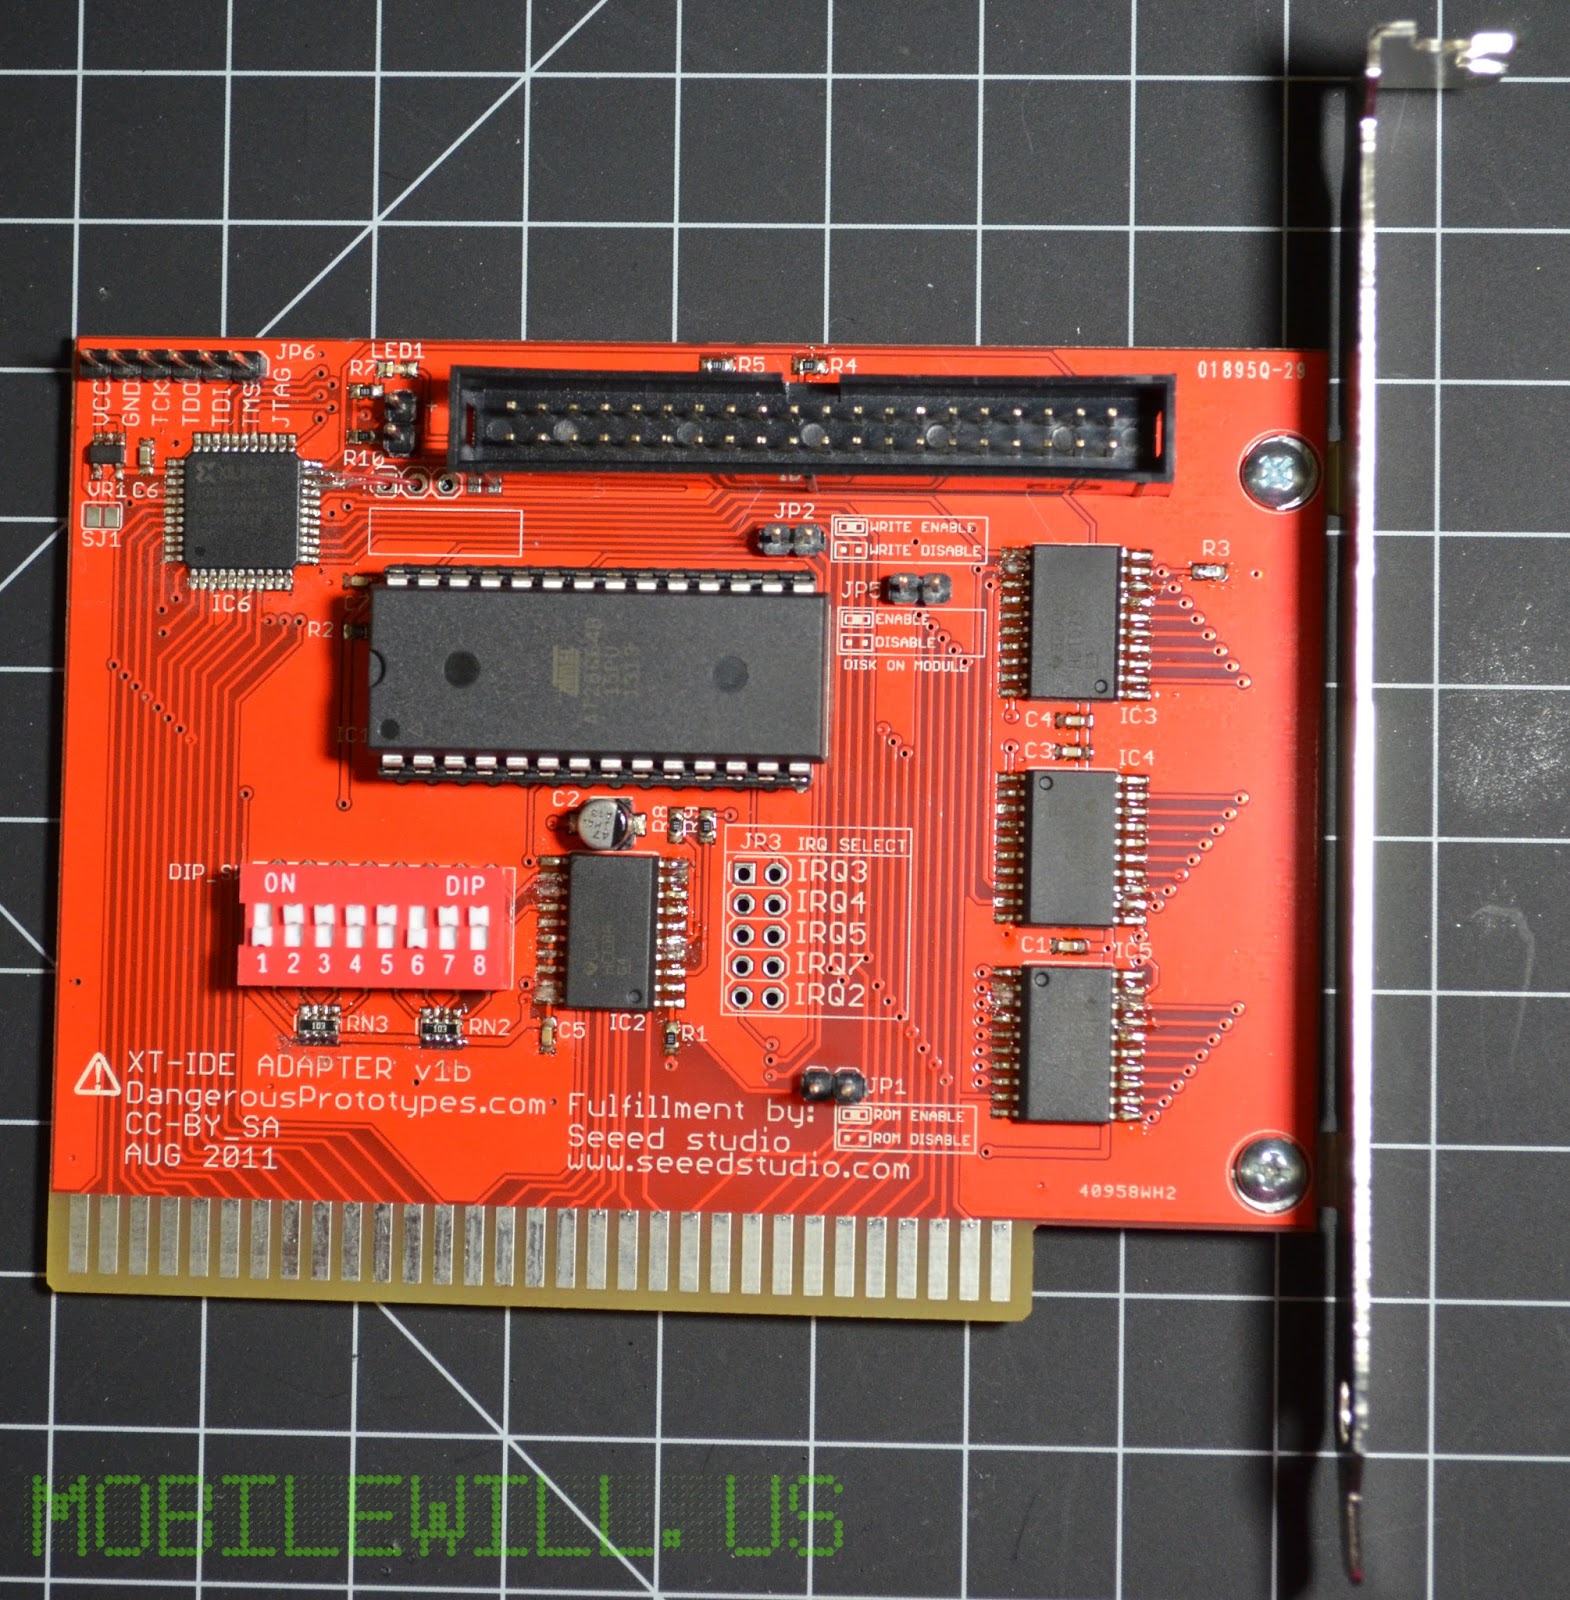 |
| Front |
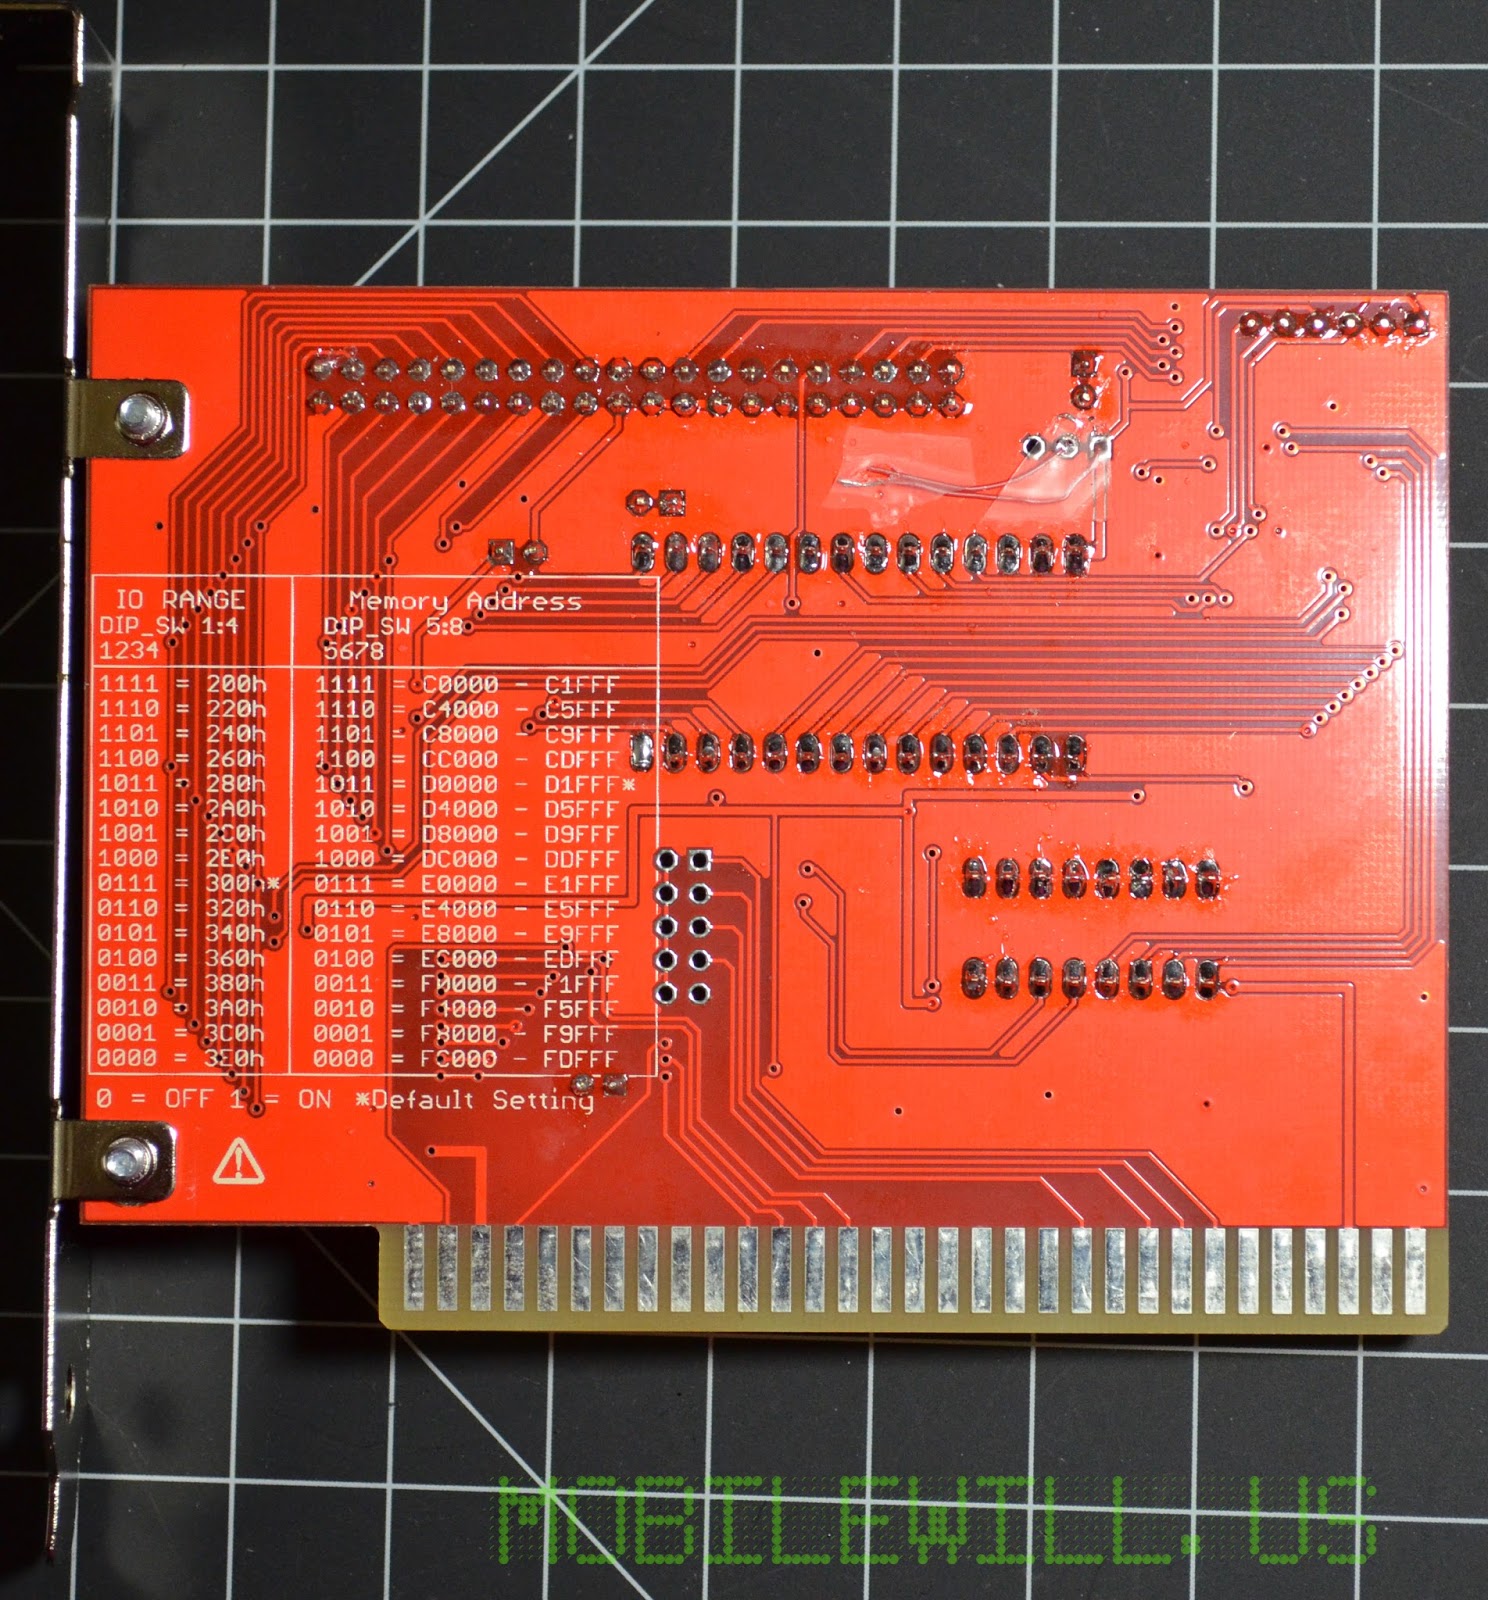 |
| Back |
Above you can see the wires that I used to fix the lifted traces. I ended up not needing to connect them because I scraped the traces enough that the wire was able to connect the traces to the pins. Just in case, though, I left them taped to the back if I need to connect them to the IDE pins.
Once I get a keyboard or use an Arduino to convert a PS/2 cable, I will post the rest of the project including the conversion part if I go that route.