
Since coming back from my Ohio trip, I had yet to come to a solution with Sbot 2, so I decided to take a break from it. Well, a few months have passed and I have returned to Sbot 1. I decided to finalize and polish it as a finished robot. (If there is such a thing as a completed robot, ha!)
About 2-3 weeks ago, I decided I wanted to learn Eagle CAD so I needed a simple project to get me going. I took a look at my Sbot 1 and decided it could use a custom PCB to remove all the jumper wires that make up the connections now. I figured this would be a simple circuit and would get me familiar with Eagle CAD. Well was I wrong about it being simple! It’s nothing complex but I ended up adding more to it. I am really happy with the design. During the process I ended up reevaluating the power system and the whole framework. After doing some research I decided to covert it to a 3.3 volt system instead of 5 volts. Unfortunately this would require basically replacing most of the electronics on the robot. I decided it was worth it and that it would make a really nice completed robot platform. Plus, I can have fun coding.
After weeks of redesigning and having to make multiple orders I ended up with the following:
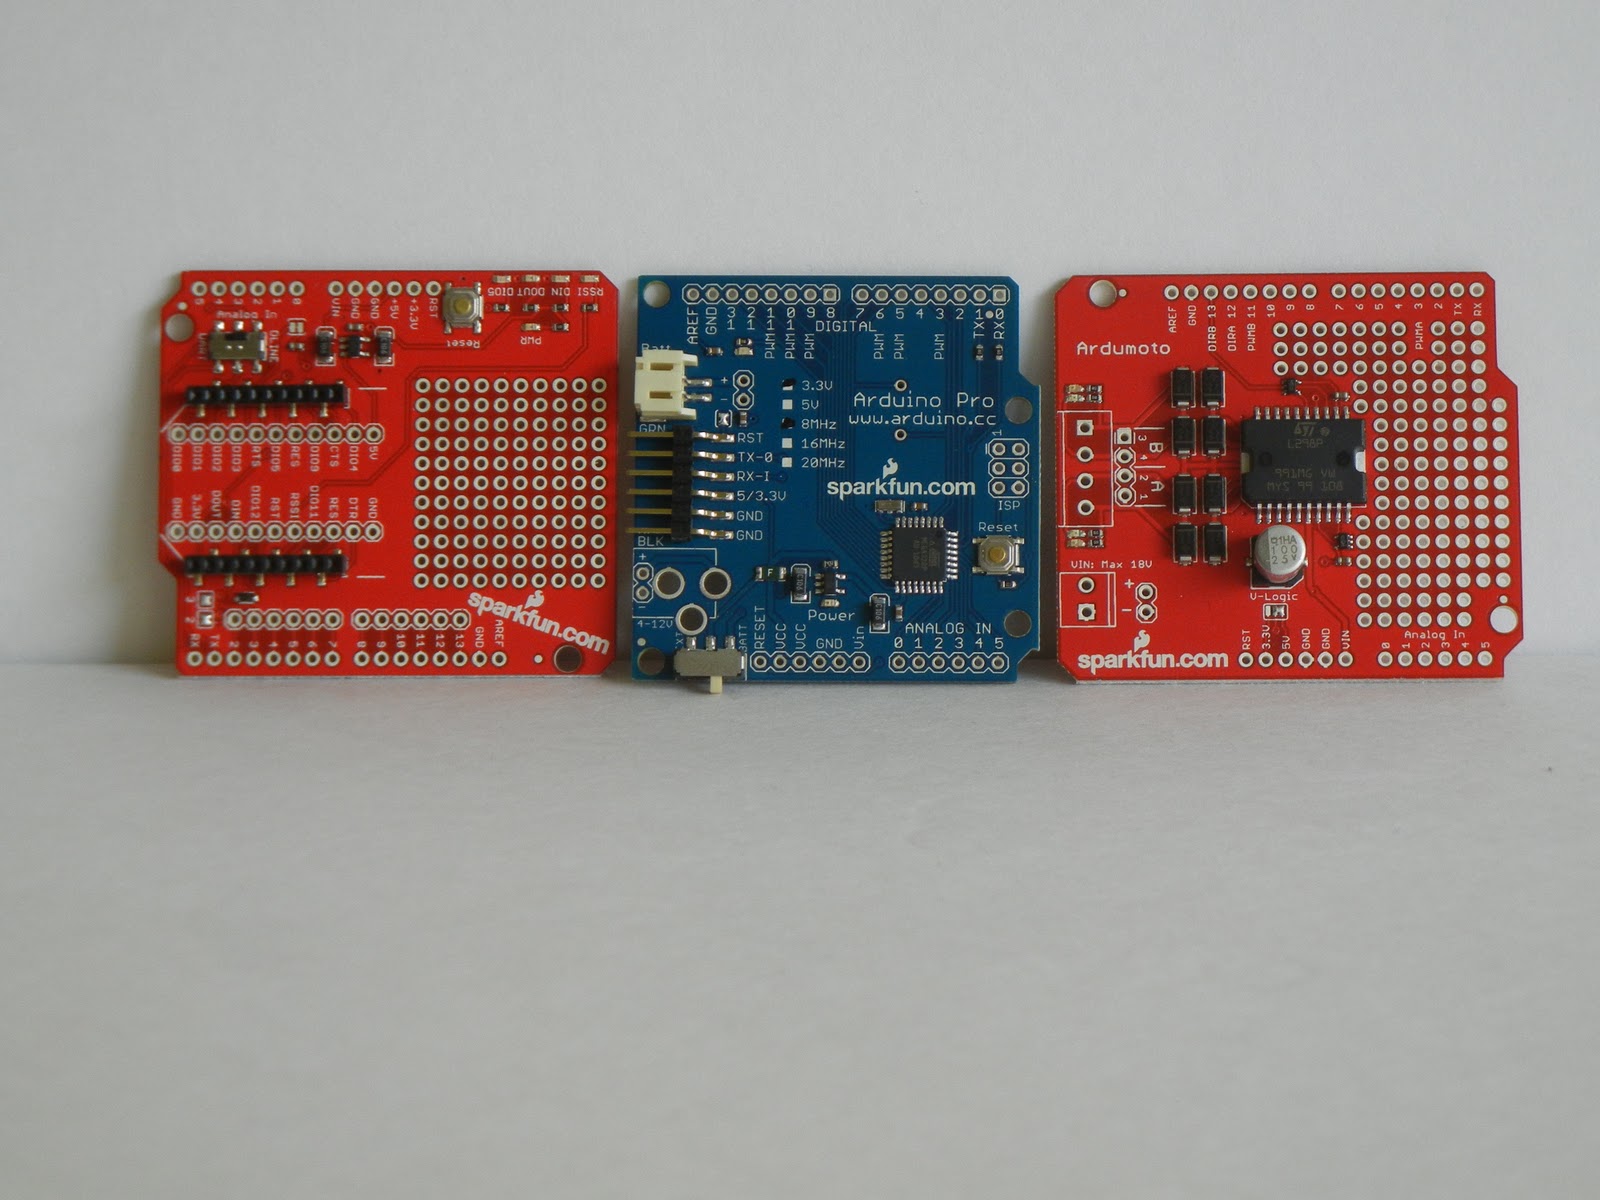
1x Arduino Pro 3.3v 8Mhz
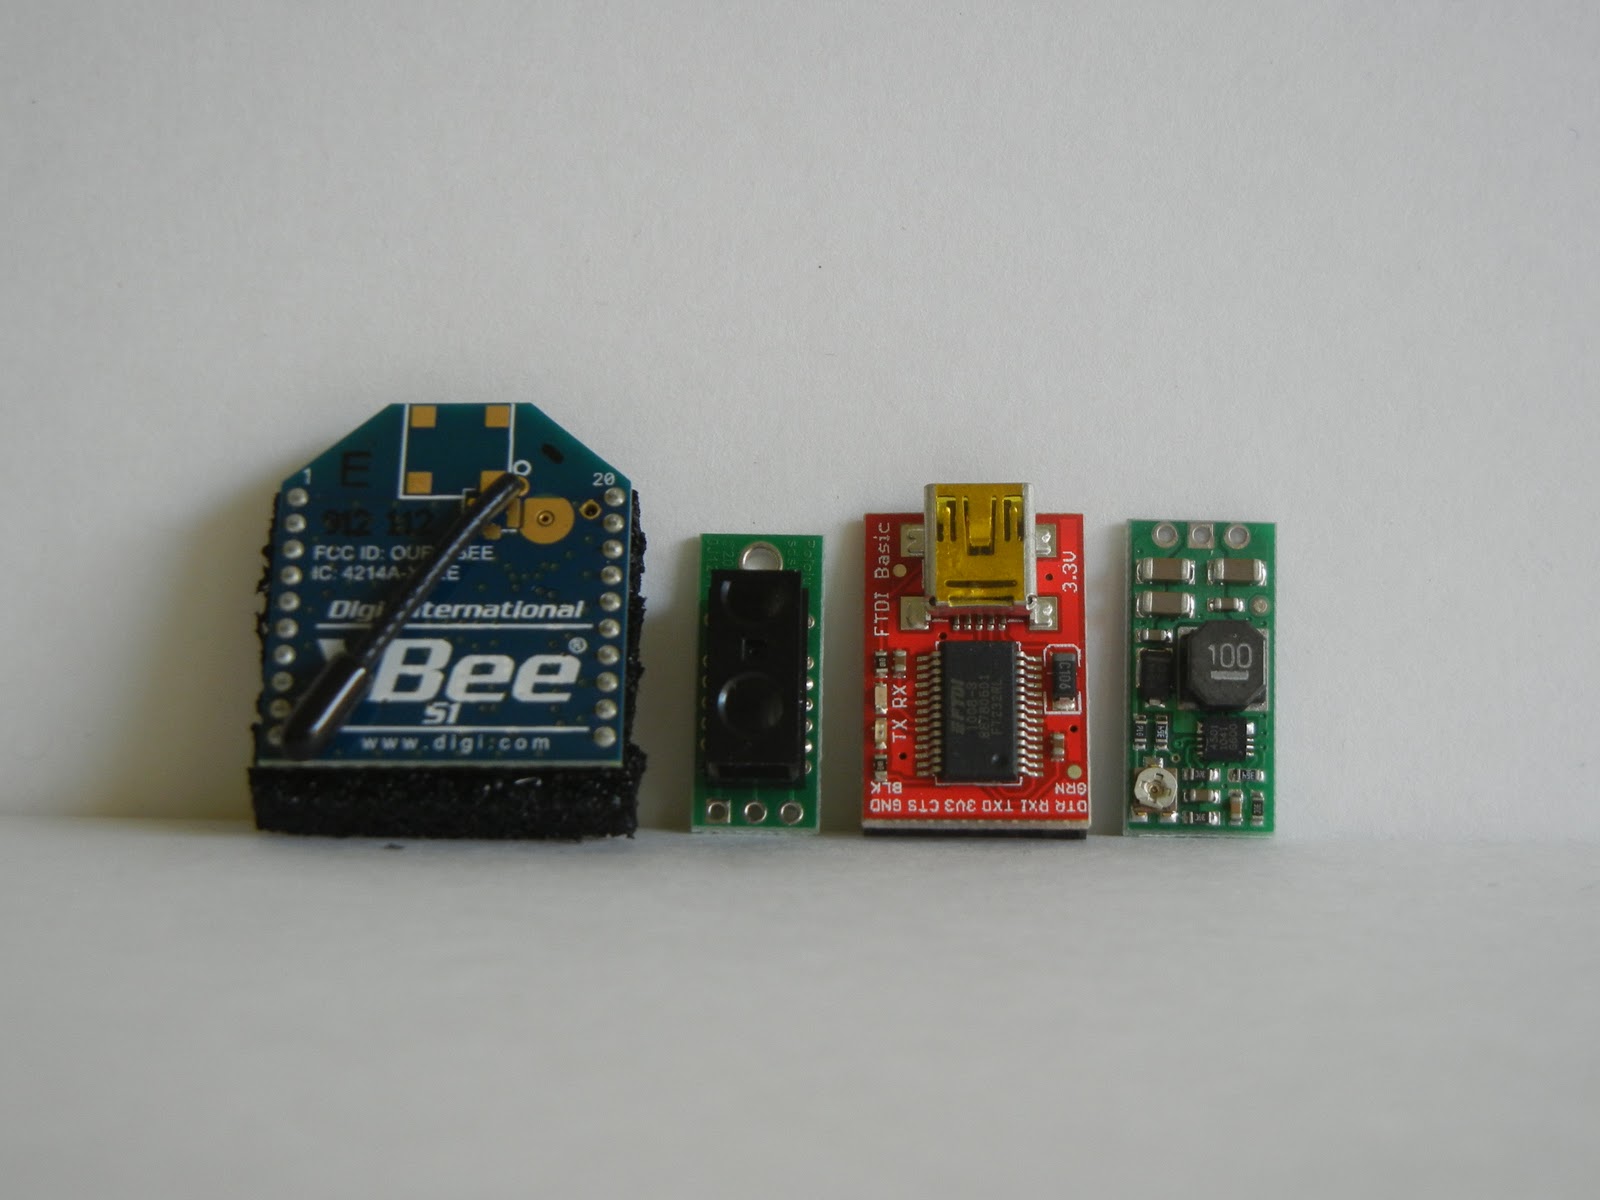
1x Xbee Series 1 900mhz
1x Xbee Shield
1x AruMoto Shield
1x FDDI Basic at 3.3v
Various headers and JST connectors
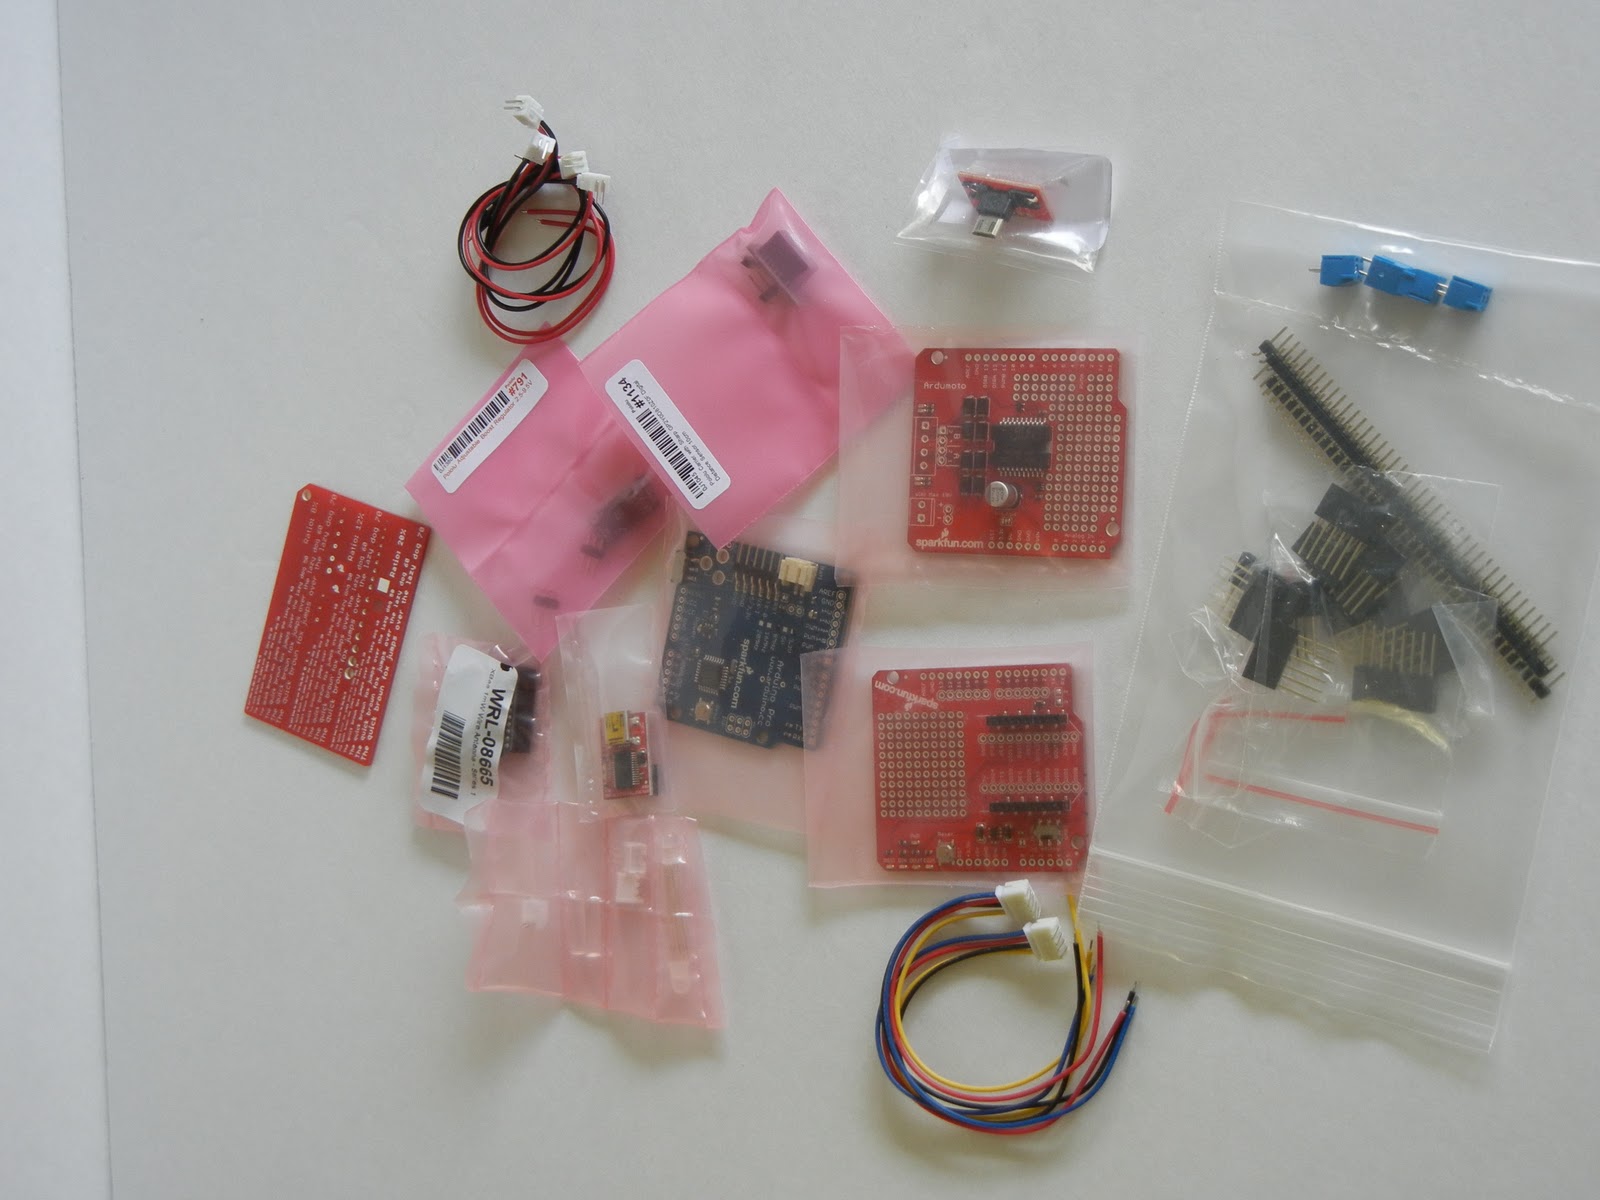
All from SparkFun except for the below:
Towards the end and my last order for missed parts I ended up adding
1x IR Switch (Polulu)
1x Step-Up (for the Camera so that IR works) (Polulu)
Maybe for another project to play with (Sparkfun)
2x RGB Defussed LED
2x LED Light Tubes
Once the items where ordered and I finalized my design using all JST connectors, I was finally able to send it off for printing. I went with BatchPCB.com since they are run by SparkFun and the prices seemed the cheapest I could find at the time. I have a few other places I can try next time but we will see how they turn out first.

I have started coding so that the code is mostly complete once the Custom PCB arrives, which I can hardly wait for!
So last night I started to setup up my new code framework using the original code as a base and borrowing code from SBot 2. I had decided to add a speaker for some fun and start playing with the code last night. After hours of troubleshooting odd problems with the Arduino acting up it turns out I have some memory overflows and it was running out of RAM already. I was used to programming on the Mega and not having to worry about RAM usage. So I think if I take the Melody strings and store them in EEPROM then I should have plenty of RAM.
Off to some more coding!
Edit:
I have solved the memory overflow problem by writing the music data to EEPROM. I had a hard time getting it to work but ended up finding a Flash Library to do the hard work for me.
Found it here: http://arduiniana.org/libraries/flash/
Works well and now I can continue with the other functions. Oh and some Halo CE Anniversary!!