With all the busyness of FriedCircuits and with taking a late honeymoon to Europe, there hasn’t been very much time left for other just-for-fun projects. It’s taken a long time to scale up productivity after our trip. A few weeks ago I finally started to dive into getting some sort of a start on home automation, or domotica, as its called across the pond. Since the failure of the Smart Outelet I decided to start on a smaller piece of the home automation beast this time around. Having been following JeeNodes for awhile now, I wanted to make a custom version in which I actually had done last year and never posted about it. I did some testing with his setup and the HouseMon server running on a Rasberry Pi. I have been toying with the idea of writing my own from scratch but I don’t have the time and why reinvent the wheel, right? On my daily travels of the web (Feedly) I have come across a lot of home automation projects, but one piece of software struck my interest and this is what got me back to exploring this space.
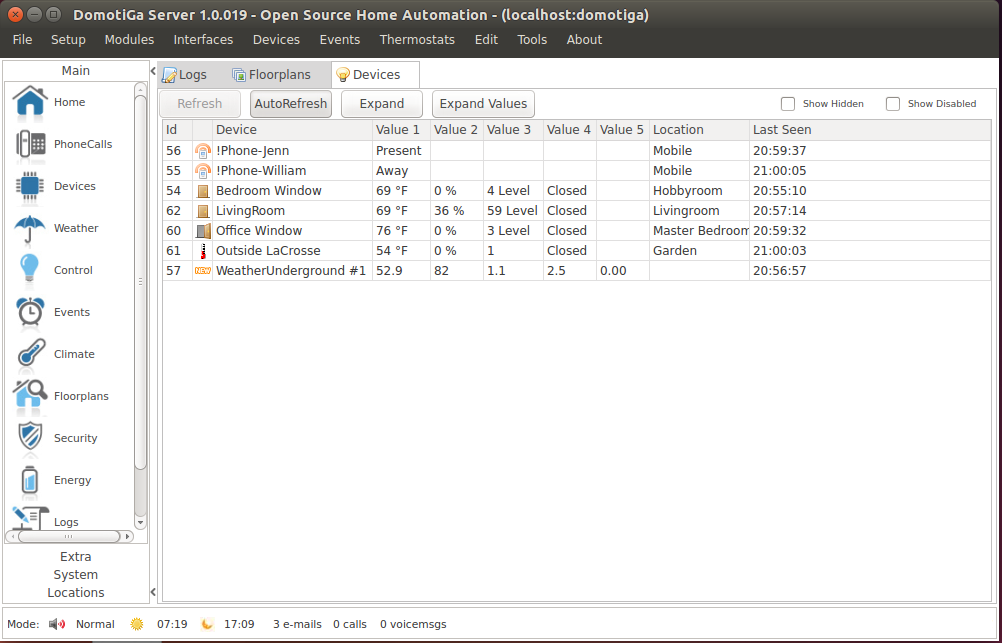
DomotiGA is flexible in supporting many off the shelf devices and has the ability to add your own connections especially with Arduino devices. Since I am using the JeeNode sketches, DomotiGA has a module you can enable for it. I made a few changes to the source code so that motion would be open closed for door/window magnetic reed switch.
Once your hardware is set up, you can easily create rules to perform actions based on sensor inputs. For example, I have it push a notification to my phone if the bedroom window is opened. What I plan to do using Bluetooth/WiFi proximity is to notify me if everyone leaves and there are windows or a door left open.
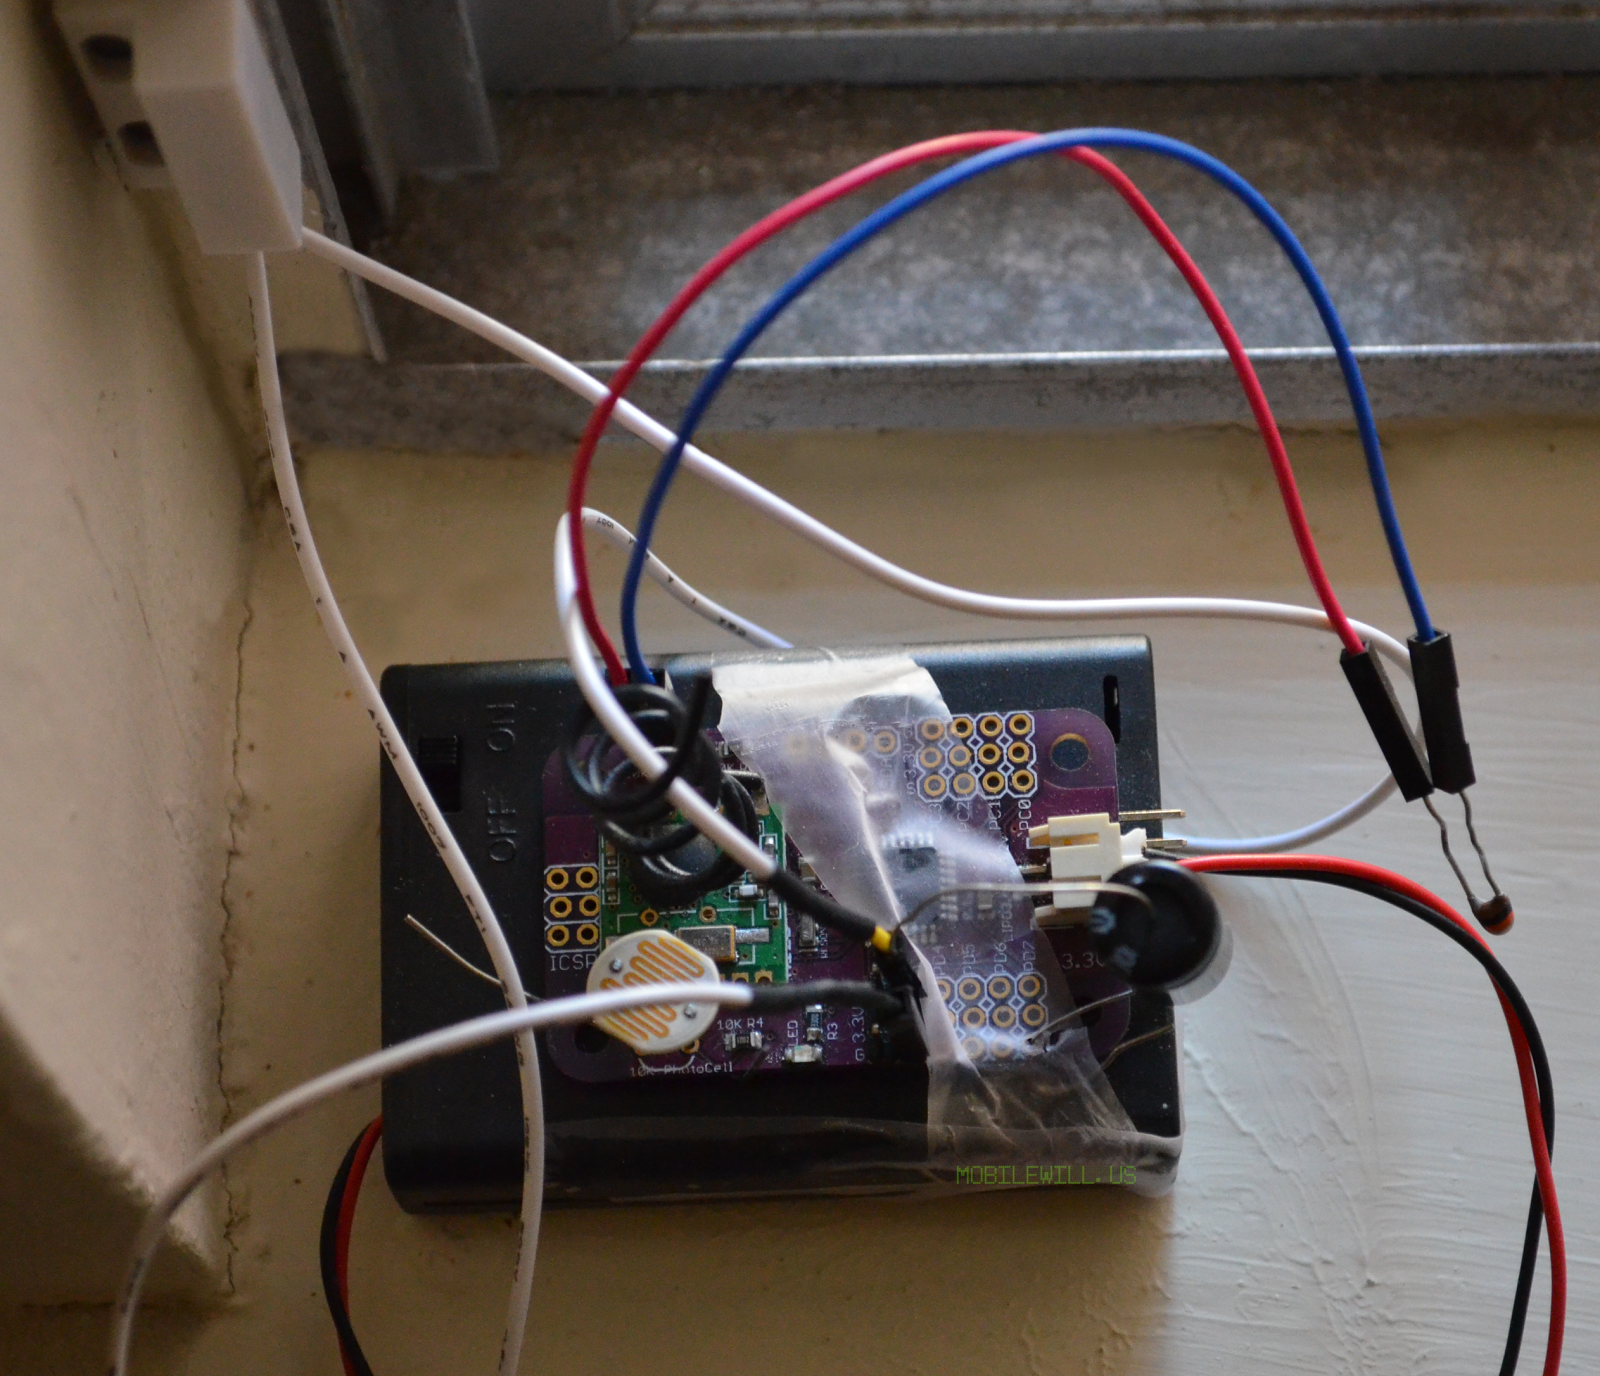
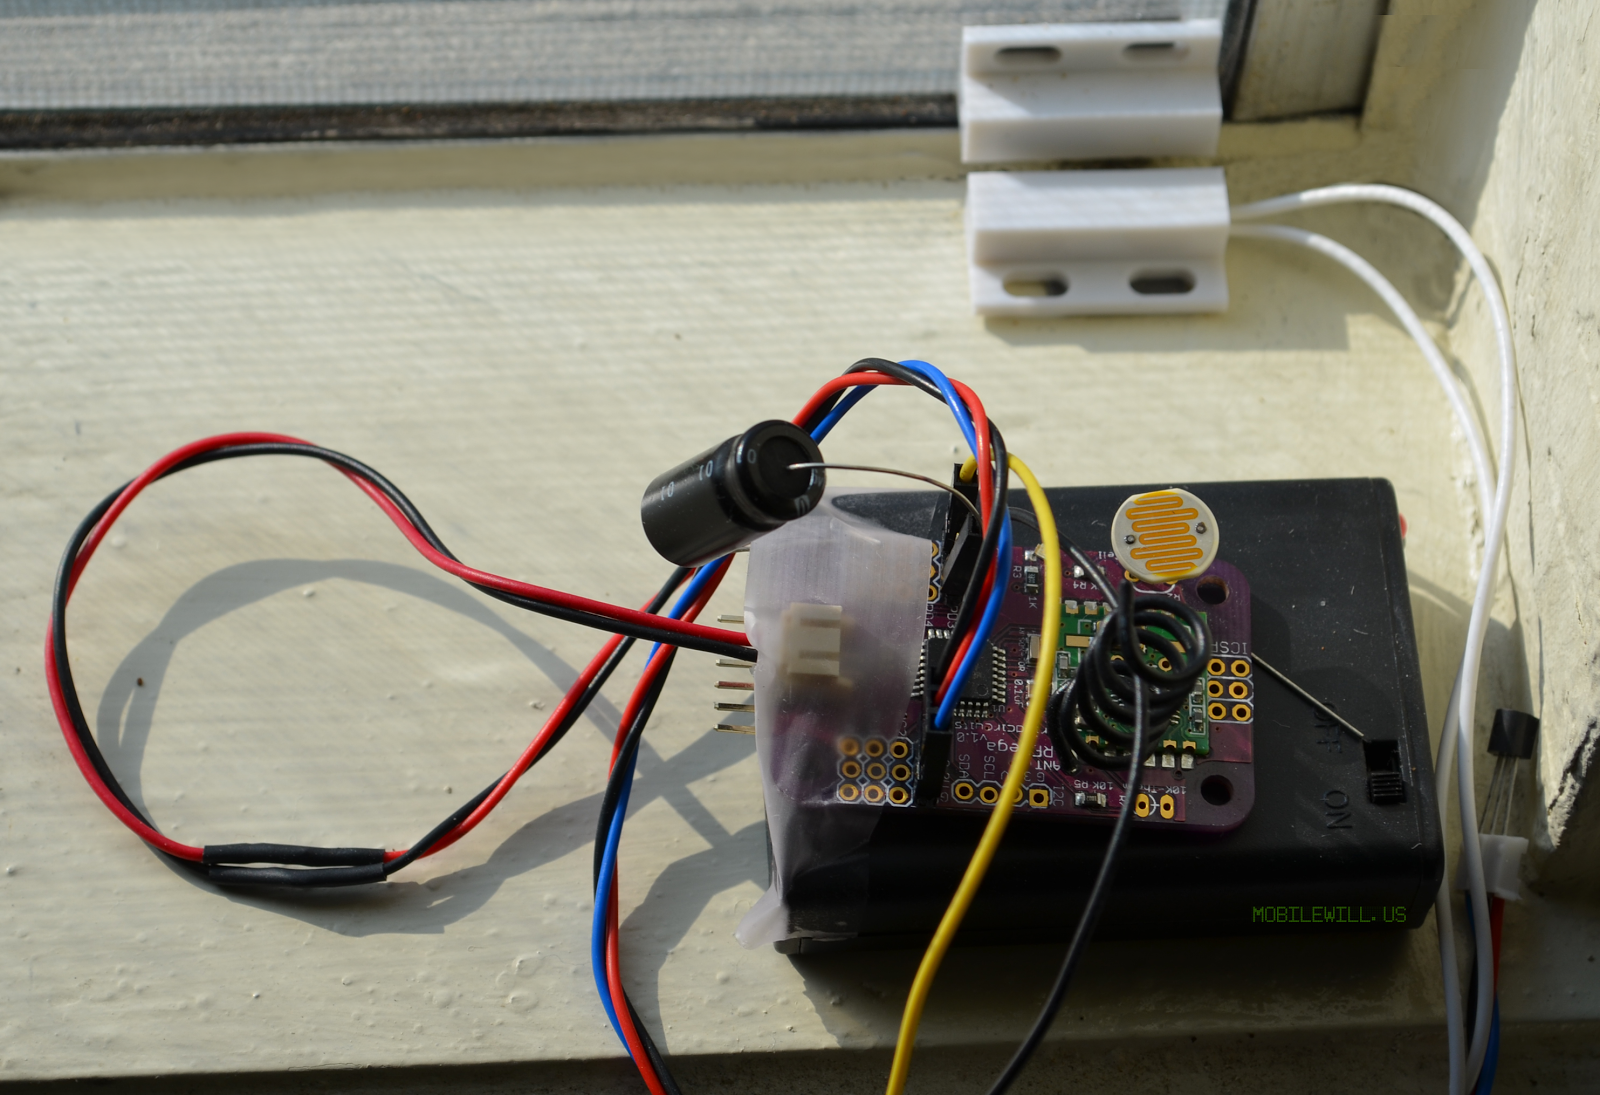
Here are pictures of my hardware setup. I still need to setup a few more for the rest of the windows and the front door. The tape is temporary till I can 3D print a nice case for it and mount it on the wall.
 |
| Bedroom window with thermistor |
It consists of a ATMega 328p 3.3v regulator and JST connector a 1S LiPo battery. The radio is the HopeRF RFM12B 433Mhz radio. With JeeLabs adventures in low power this little guy can run a very long time on just a few AA’s. If you used a boost circuit you could run on just one and drain it to the last drop. Unlike LiPo, AA batteries are great in that you can drain them all the way down. I got the battery housing from http://dipmicro.com. They have some good goodies.
If you noticed there is a large capacitor. I will explain it in a separate post, but it does something I wasn’t able to do in software and so much easier with just a single large cap!
I do want to transition to the RFM69, which has better range and RSSI indicator. This Kickstarter should help with that. https://www.kickstarter.com/projects/1754284174/ardurf-wireless-arduino-done-right/
 |
| Office window with TMP36 |
I haven’t decided if I want to spin these boards up as a product in our shop. I was going to but I don’t have the resources to focus on making it an awesome device. Moteino from Low Power Labs has done a great job – plus you have JeeNodes. The main reason for even making my own version is I wanted to have sensor ports each with power, ground, and signal. Most of the other boards don’t, except for JeeNodes. But I wanted to use the standard 3pin header for each port. I also added headers for LDR (light sensor) and Temperature (thermistor) – so all you need is the sensor as the resistor divider circuit is already on board. The idea was that I can gather environmental readings from all over the house even if it’s just monitoring the door/window or other things. Each node would have light and temp as well as its main duty. Then I can create an environmental map of the house which can be used for the system to make better informed decisions. One example is the heater can take into account of the further parts of the house before turning off. Especially if it knows there are occupants.
I hope to work on more projects to future my experience and to come with awesome ideas for home automation above the usual things you see. Controlling lights and switches etc…


