After the MOSFETs arrived! I attempted the rear MOSFET labeled U4 first. Instead of desoldering it, I just clipped the legs and heated up the other side. It come off without a hitch. Cleaned up the pads, added some flux and soldered the new part. Piece of cake, one more and I am done.
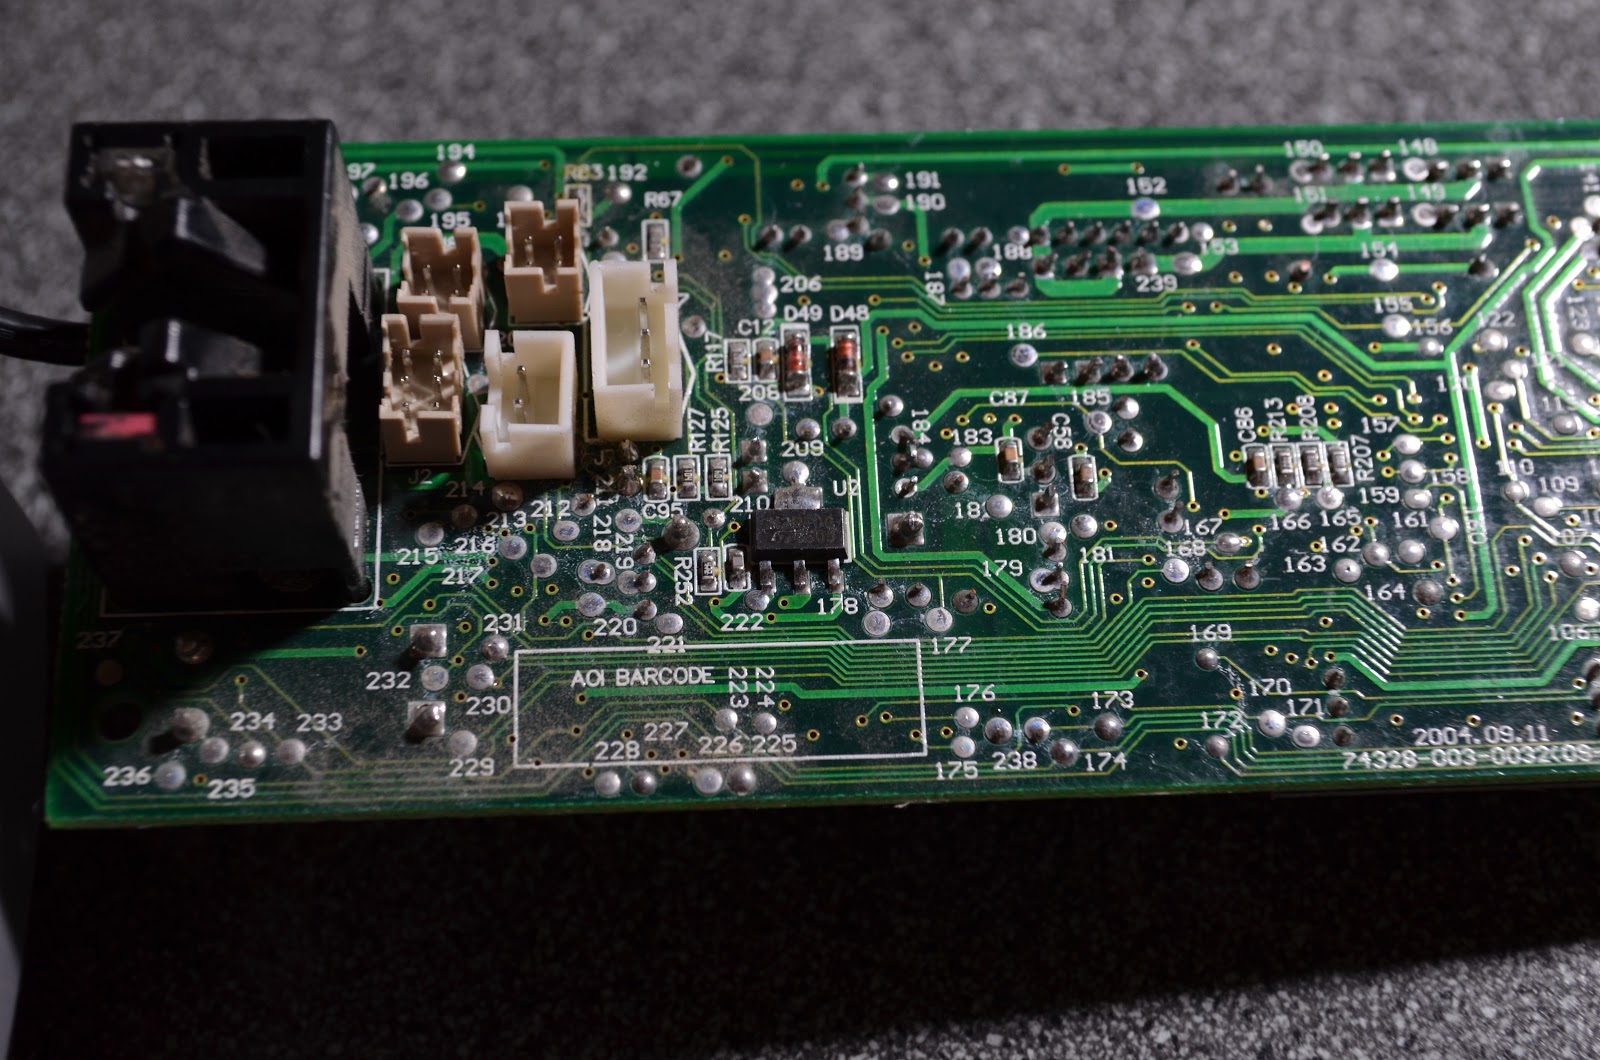
Back side MOSFET before removal
The second one didn’t go so well. There is a large diode above the MOSFET which makes it hard to heat up enough to remove it.Adding more heat was a bad idea as the MOSFET rear drain plate transfers heat rather well and heats up the PCB. Which, combined with me trying to pull the MOSFET out with tweezers, I ended up lifting the pad. My first reaction was game over, man. I took a step back and took another look. It wasn’t too bad, I just needed to scrap the tint off and add some solder to fill the gap. Then solder on the new MOSFET – good as new!
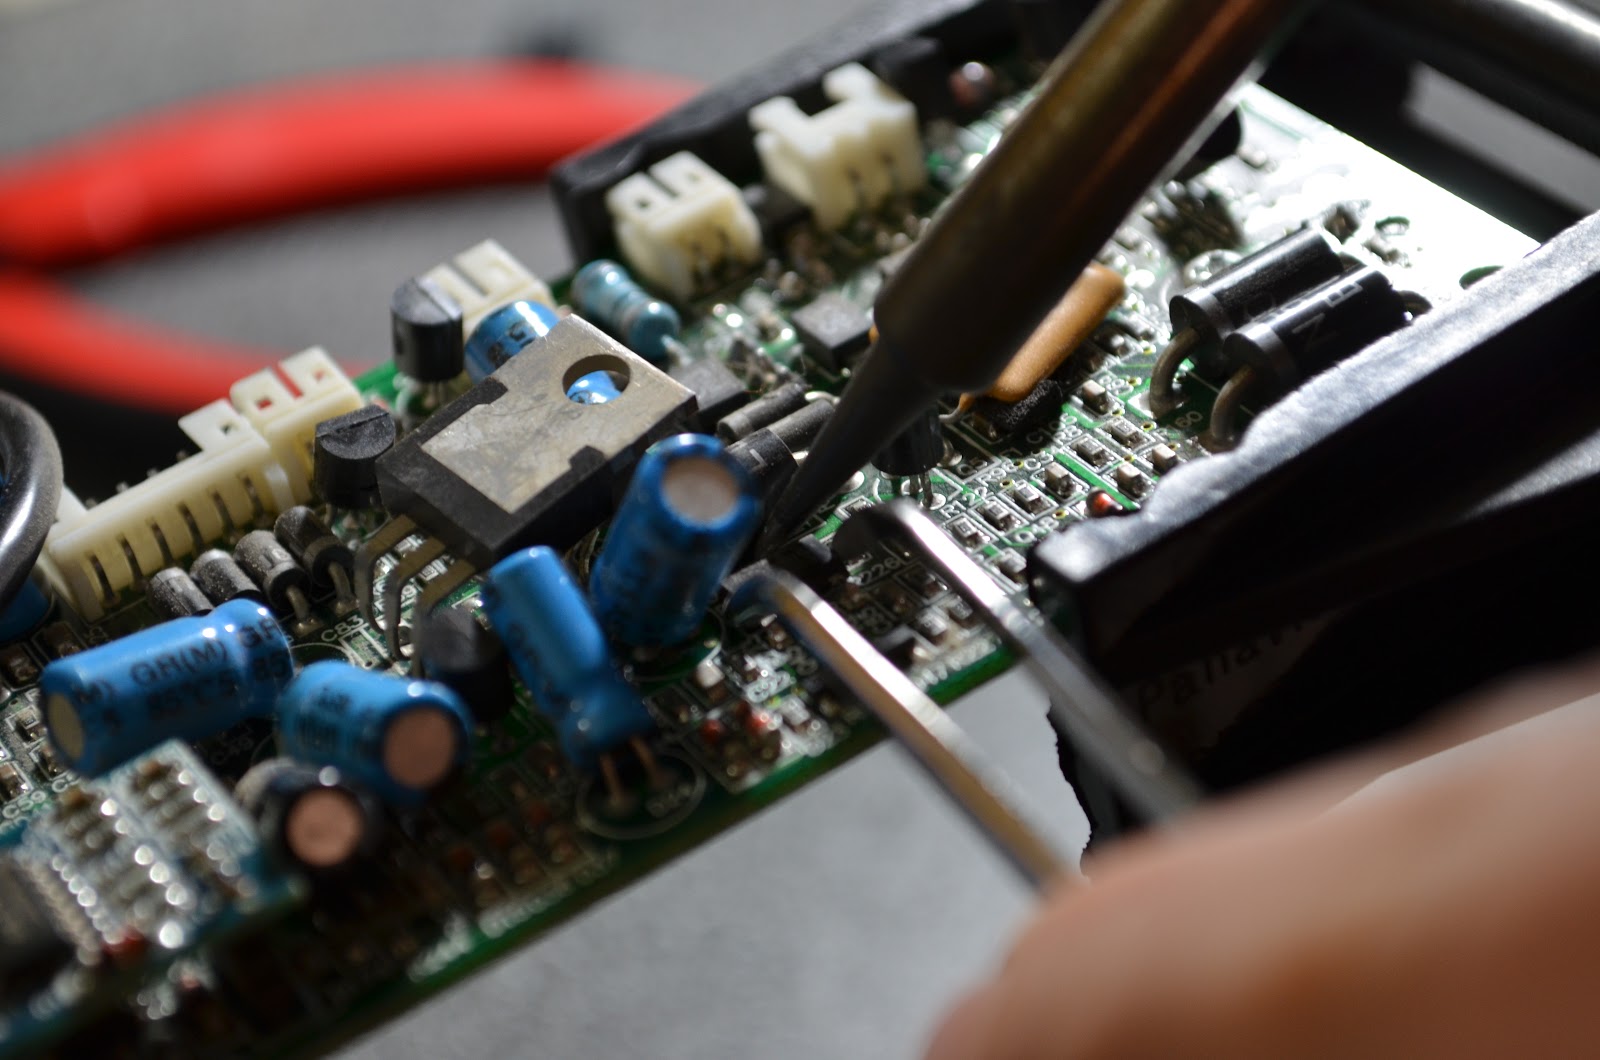
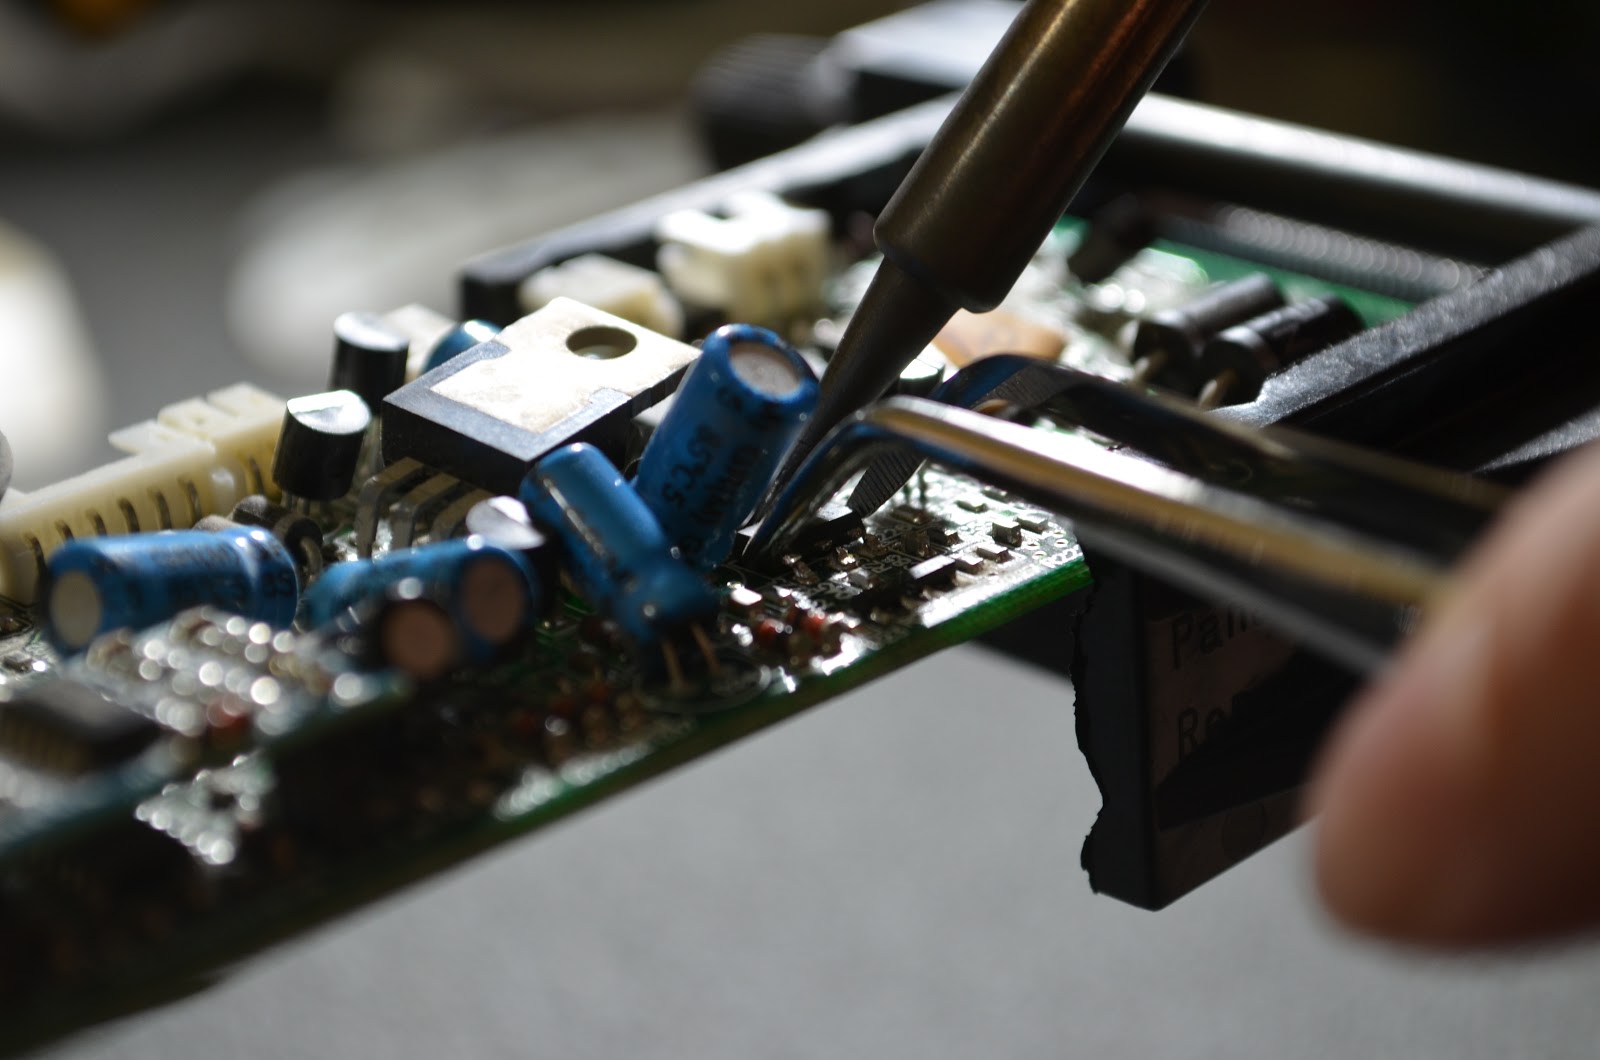
Front side MOSFET during removal
Still trying to remove the MOSFET
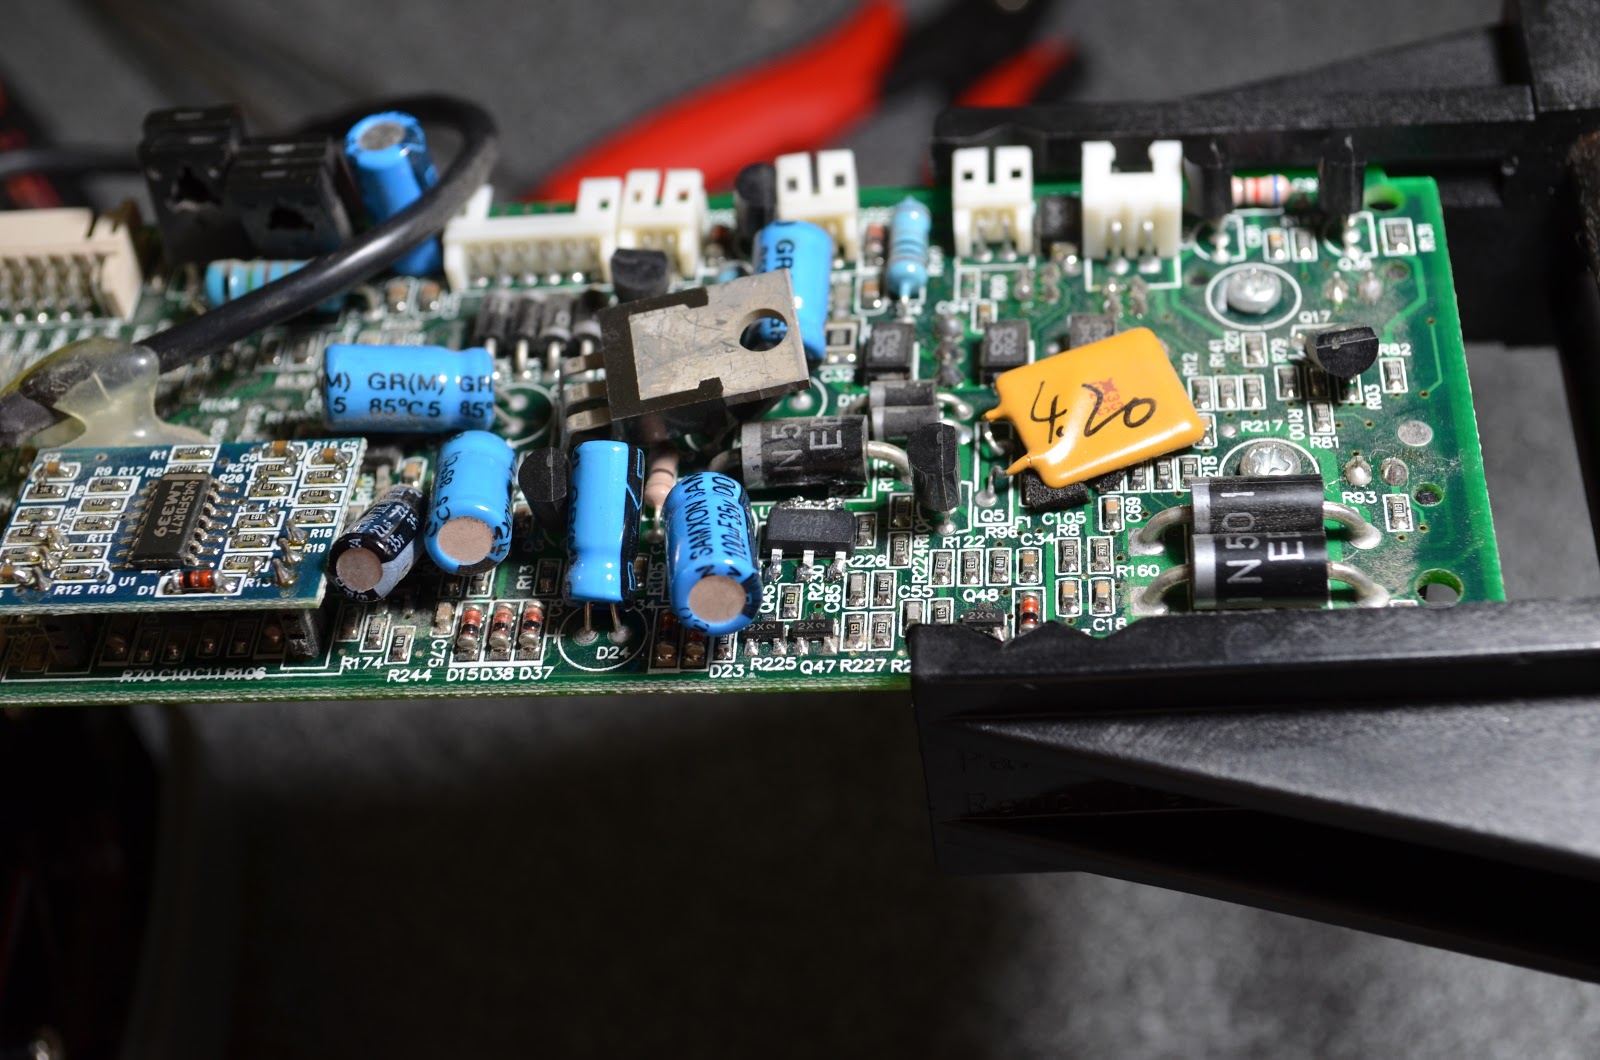
MOSFET after replacement and repairing damaged trace
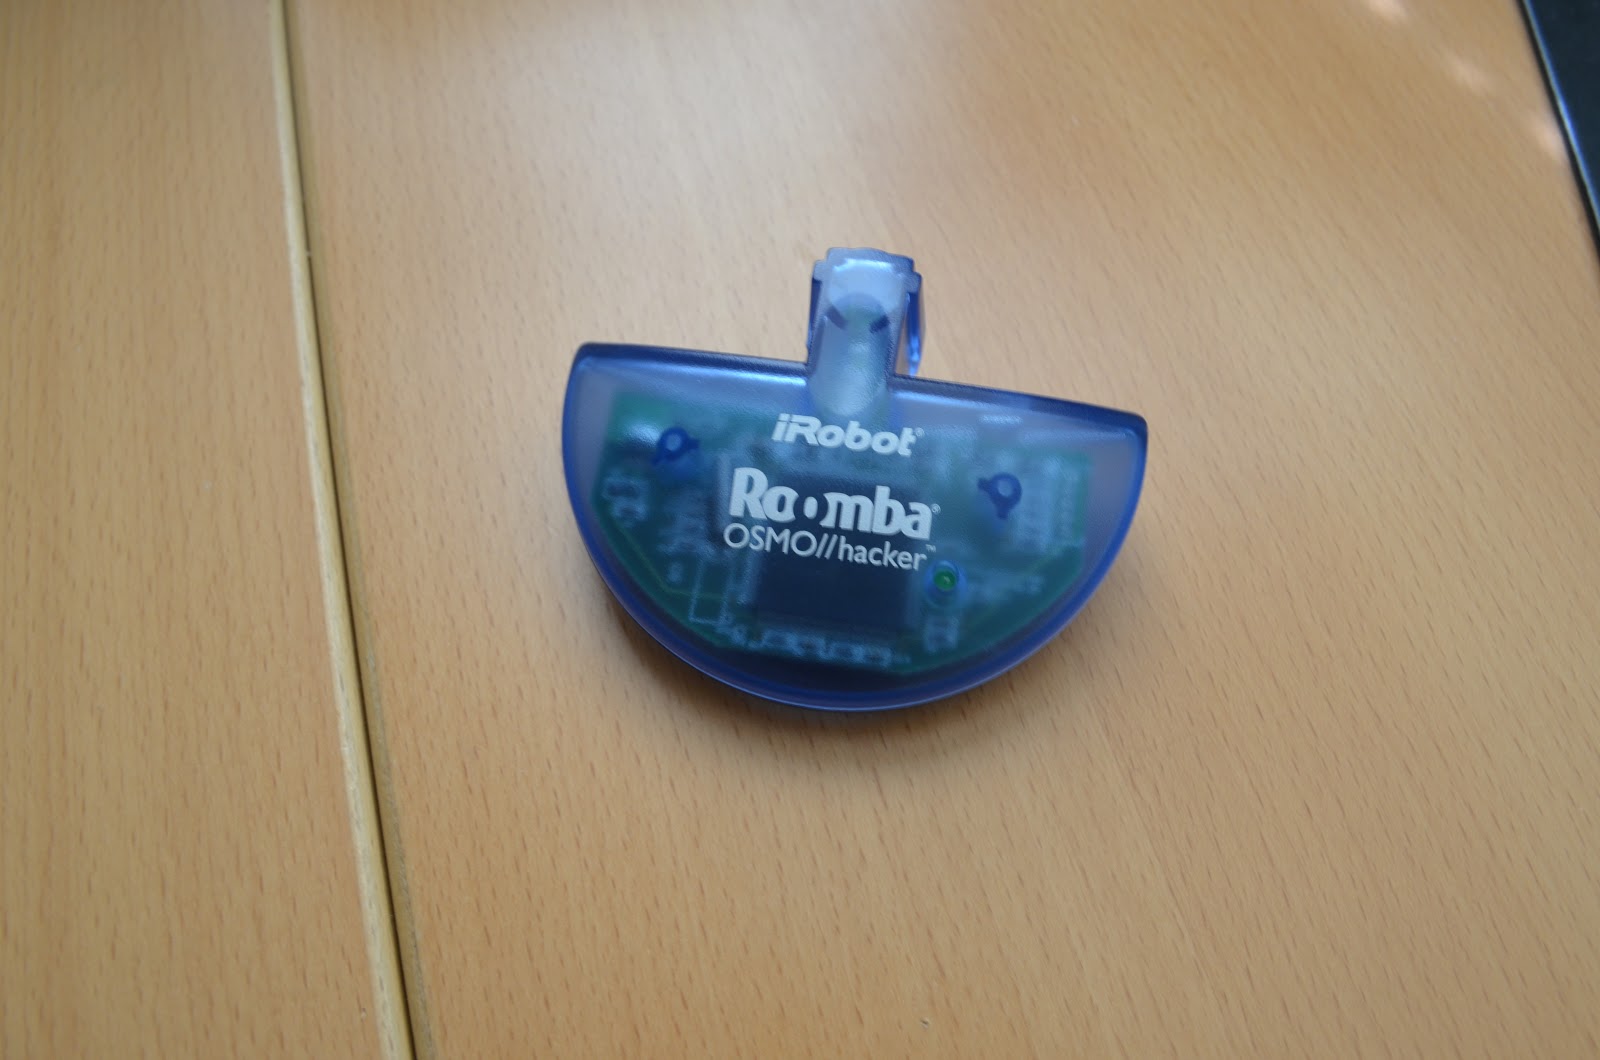
The OSMO arrived a day earlier than expect, I was excited to get home and see if the software update would work. Plugged in the programmer and within 2 minutes it was finished. Sure enough I was able to connect to it using this processing sketch. (Here is an OSX version compiled in Java.)
OSMO front
OSMO rear
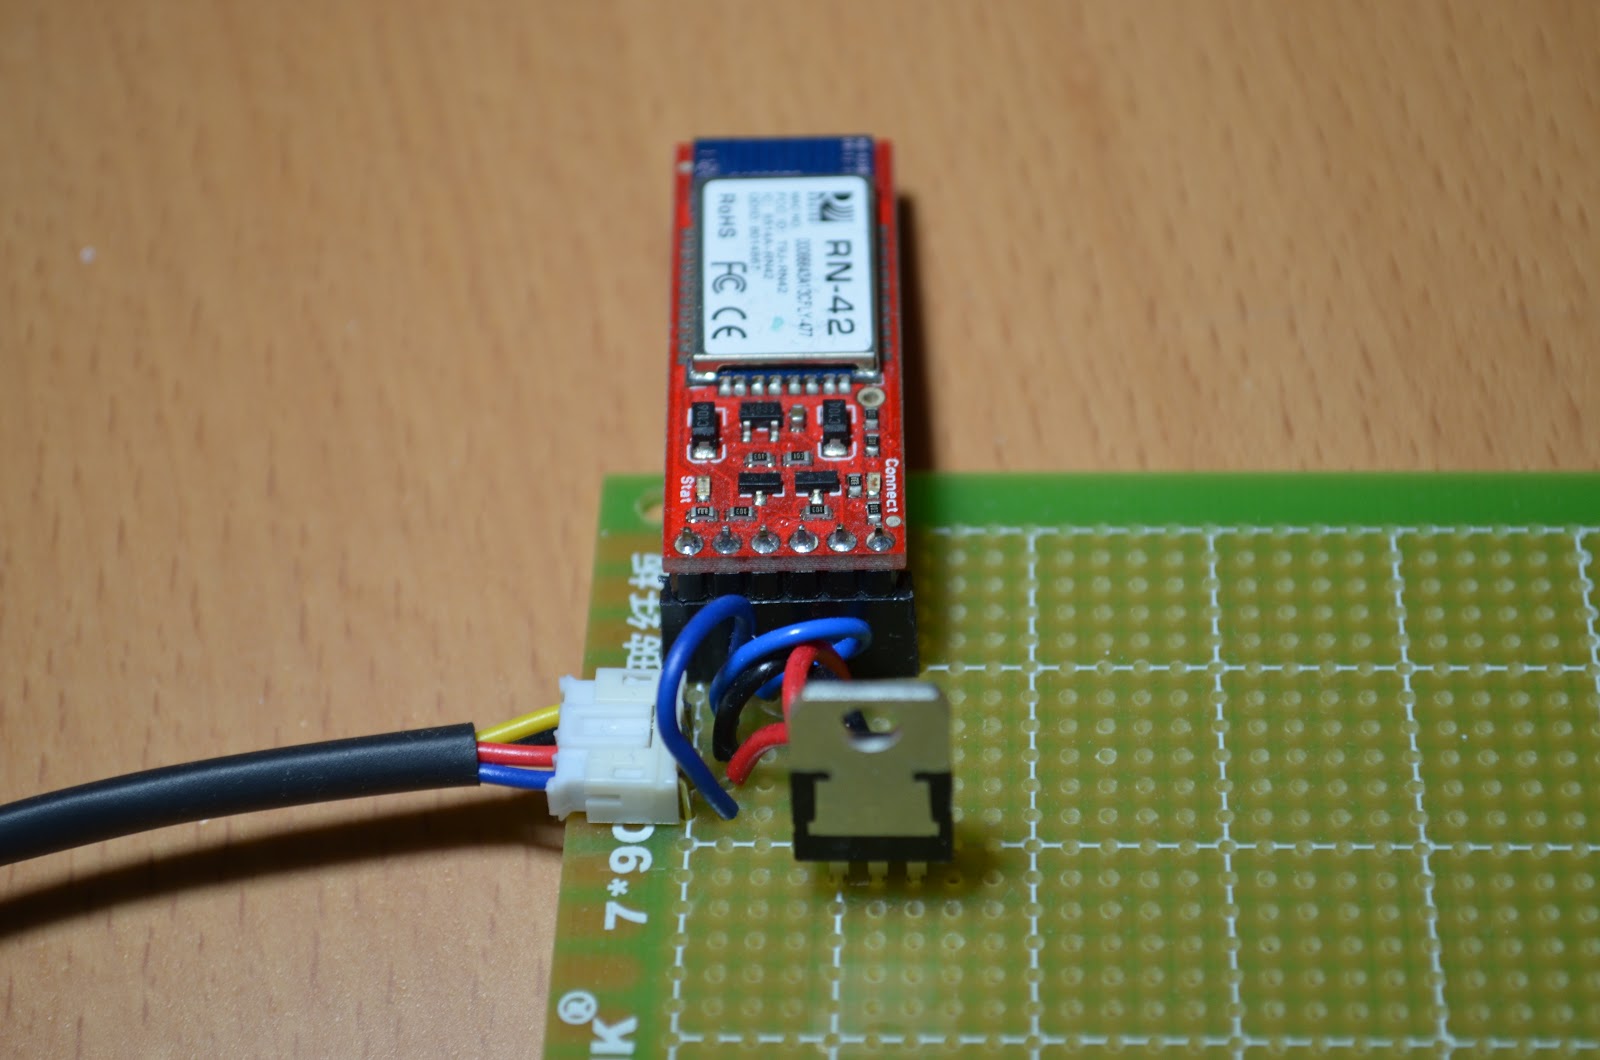
Now that the Bluetooth radio was working on the breadboard and the software updated, it was time to solder it up on a perfboard. I had some perfboard that came with a kit, which I think was in the original Maker Shed kit that includes some basics and an Arduino Uno (what got me started). After some layout testing I soldered some headers and some short wires as jumpers instead of solder bridgers. Then added the regulator and a four pin JST connector I had. Came out pretty nice, plenty of room left for a second regulator for the camera and an XbeeWifly socket.
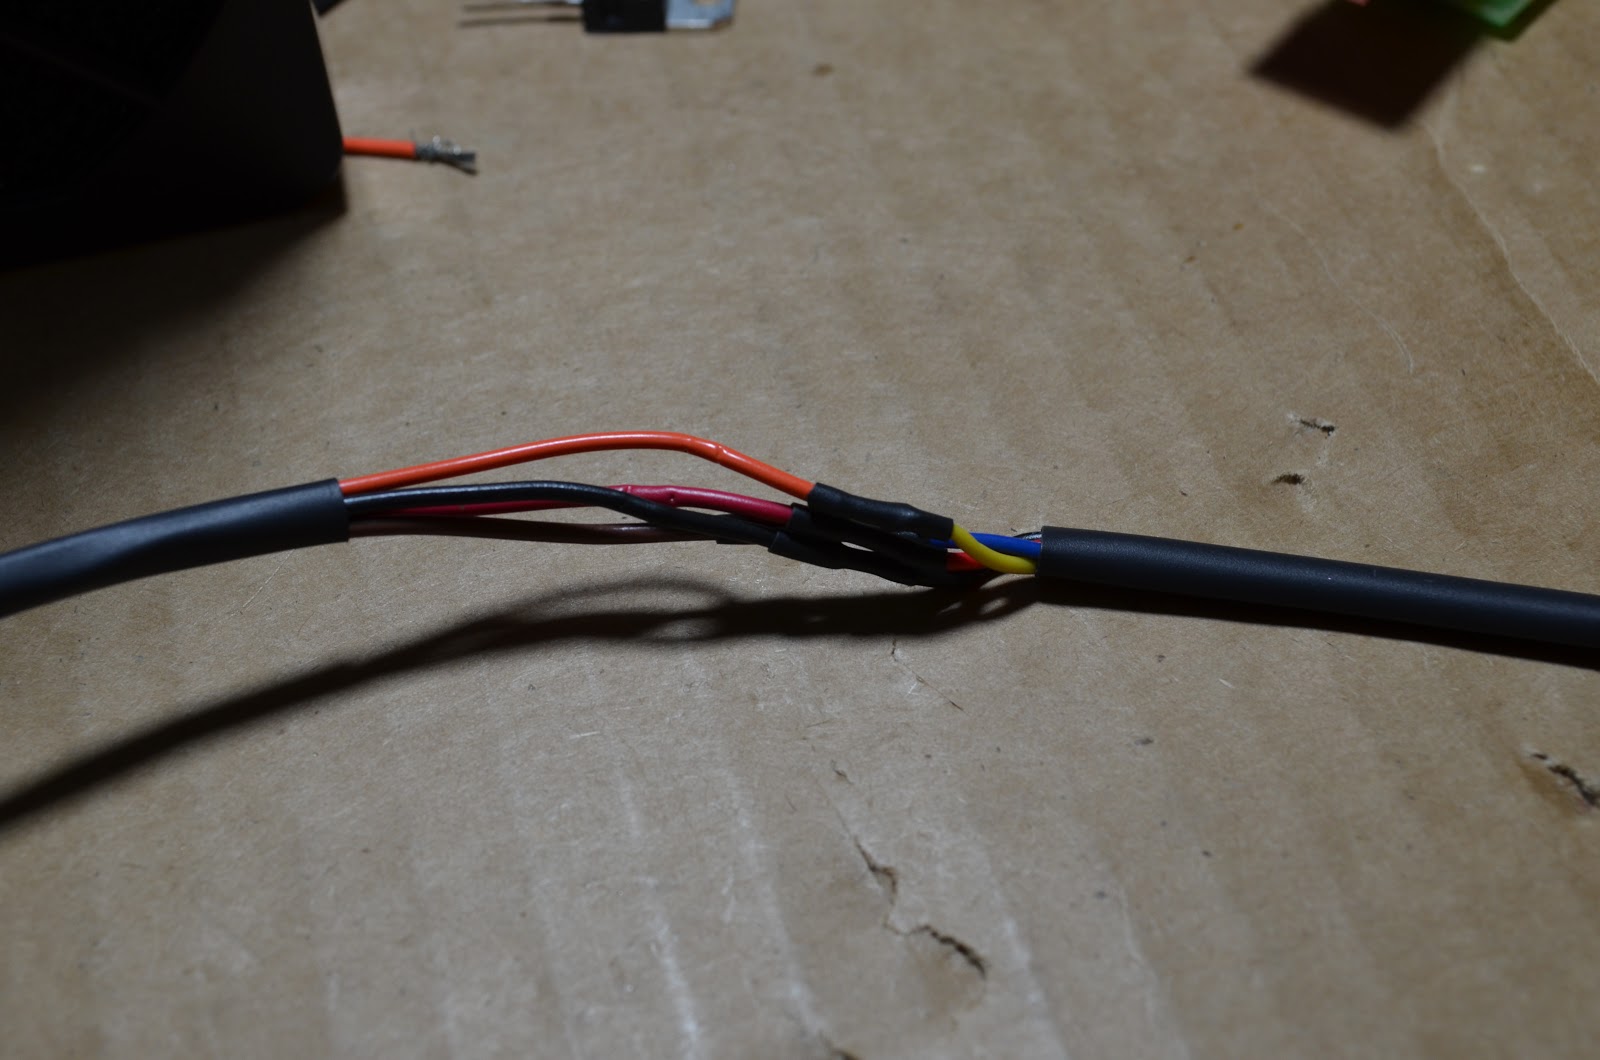
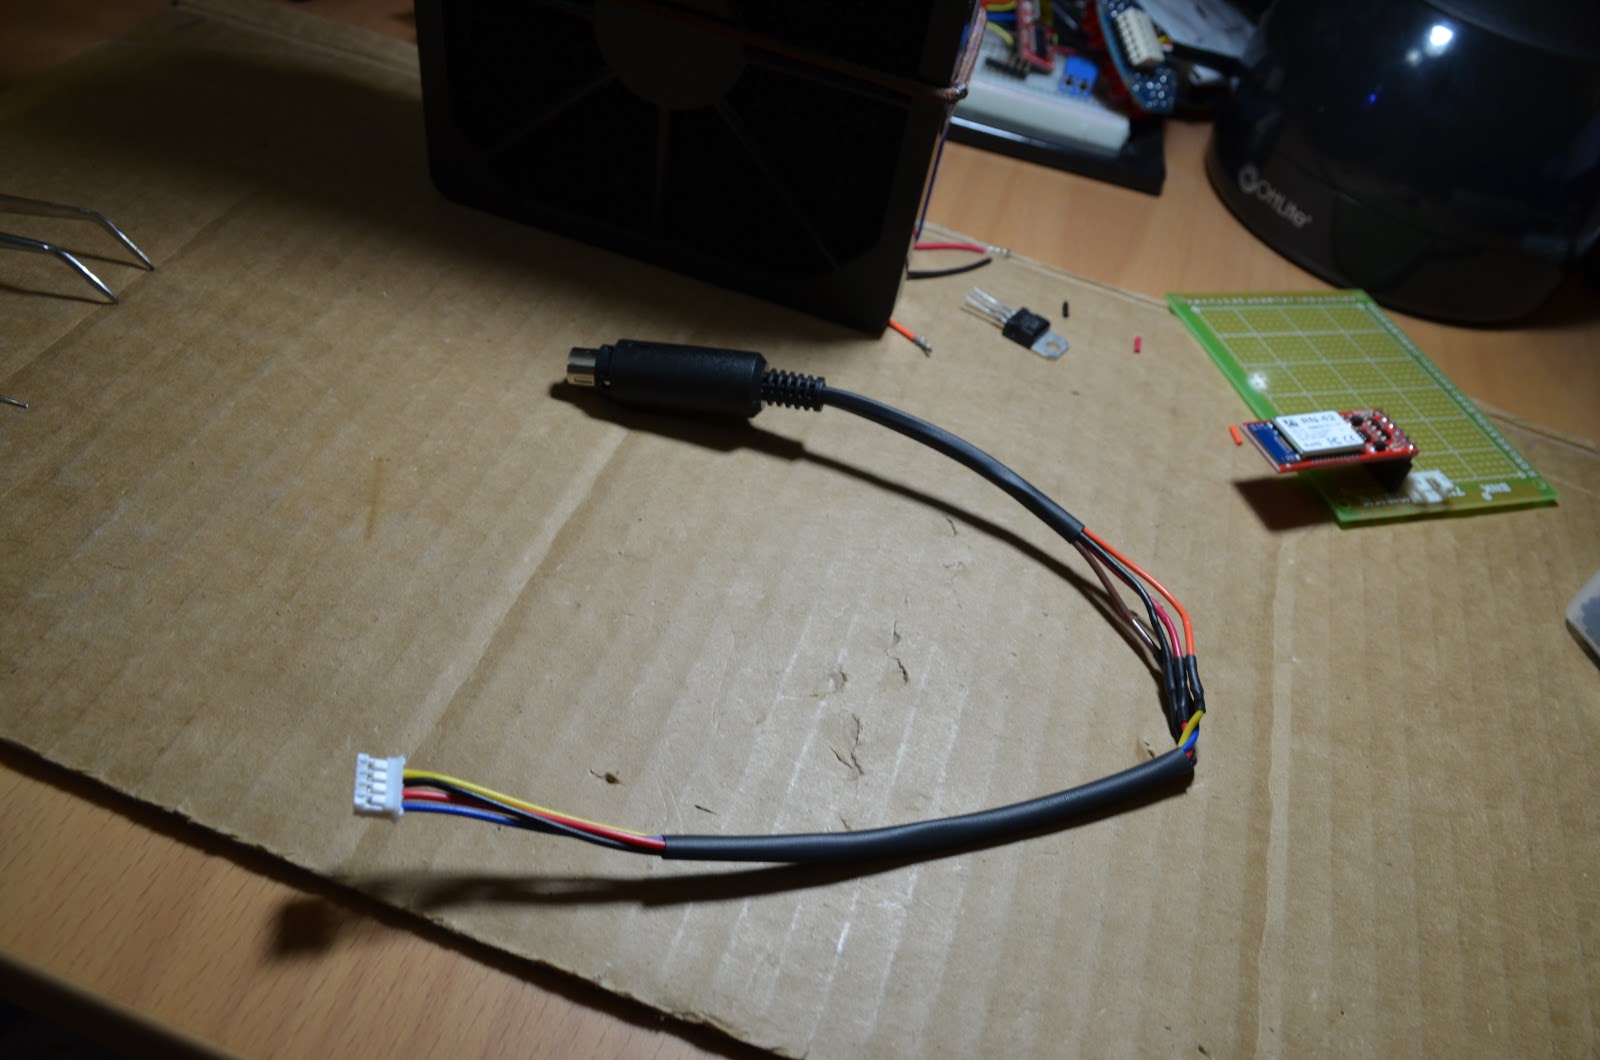
Adding JST to serial cable
Complete serial cable
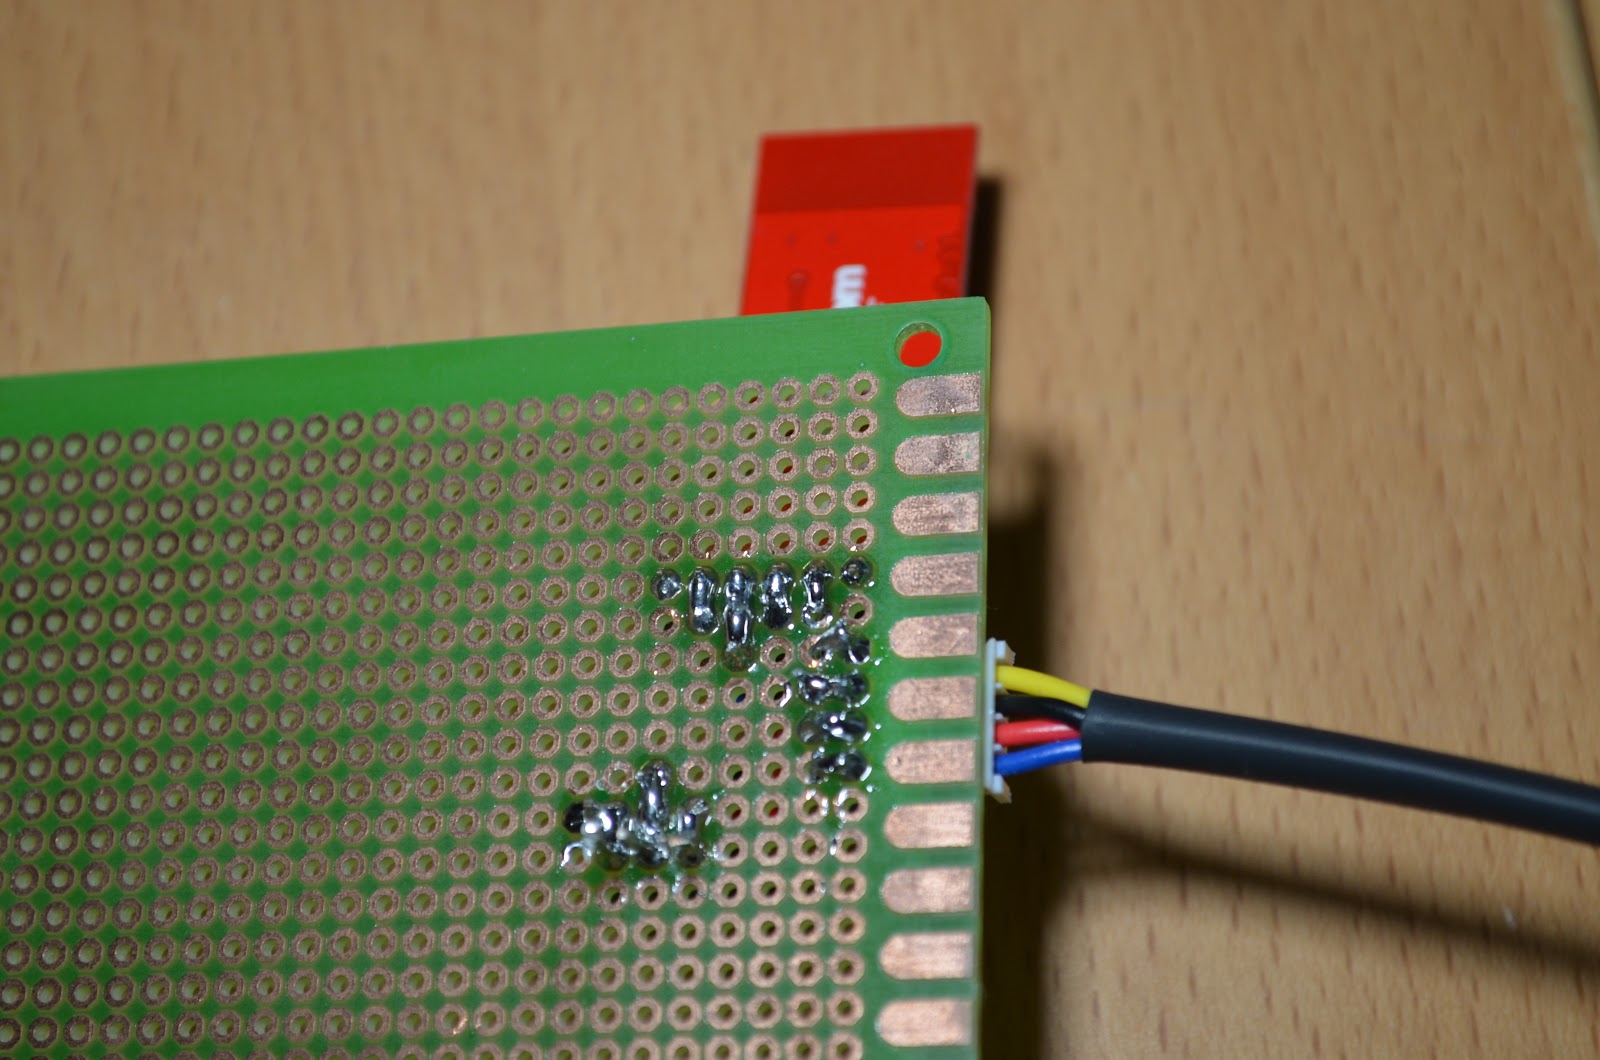
Bluetooth board
Solder connections on rear of Bluetooth board
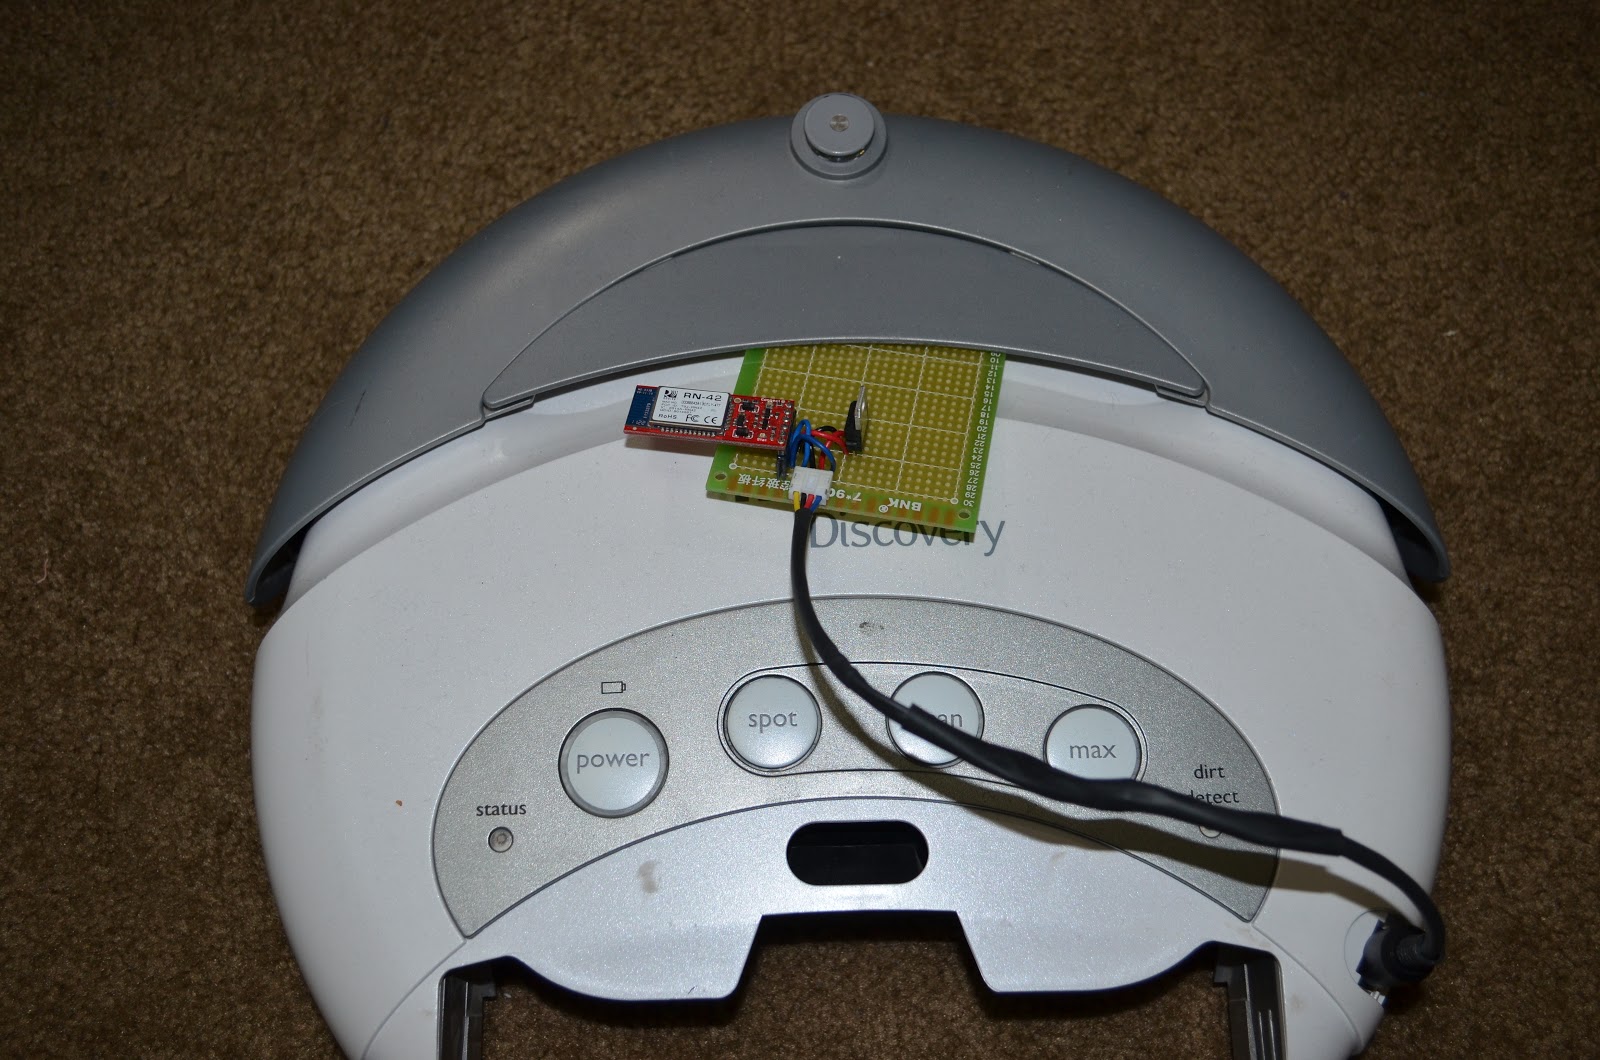
Mounted on Roomba
Not sure what I am going to do with it at this point. Thinking of writing my own application for it and or adding it to the SBot website for web control away from home.